Overview
The VMware subtab allows viewing and managing the VMware connections established with the Backup & Disaster Recovery appliance, as well as the virtual machines (VMs) available via those connections.
For more information about backup and restore of the VMware VMs, see the VMware backup and restore guide.
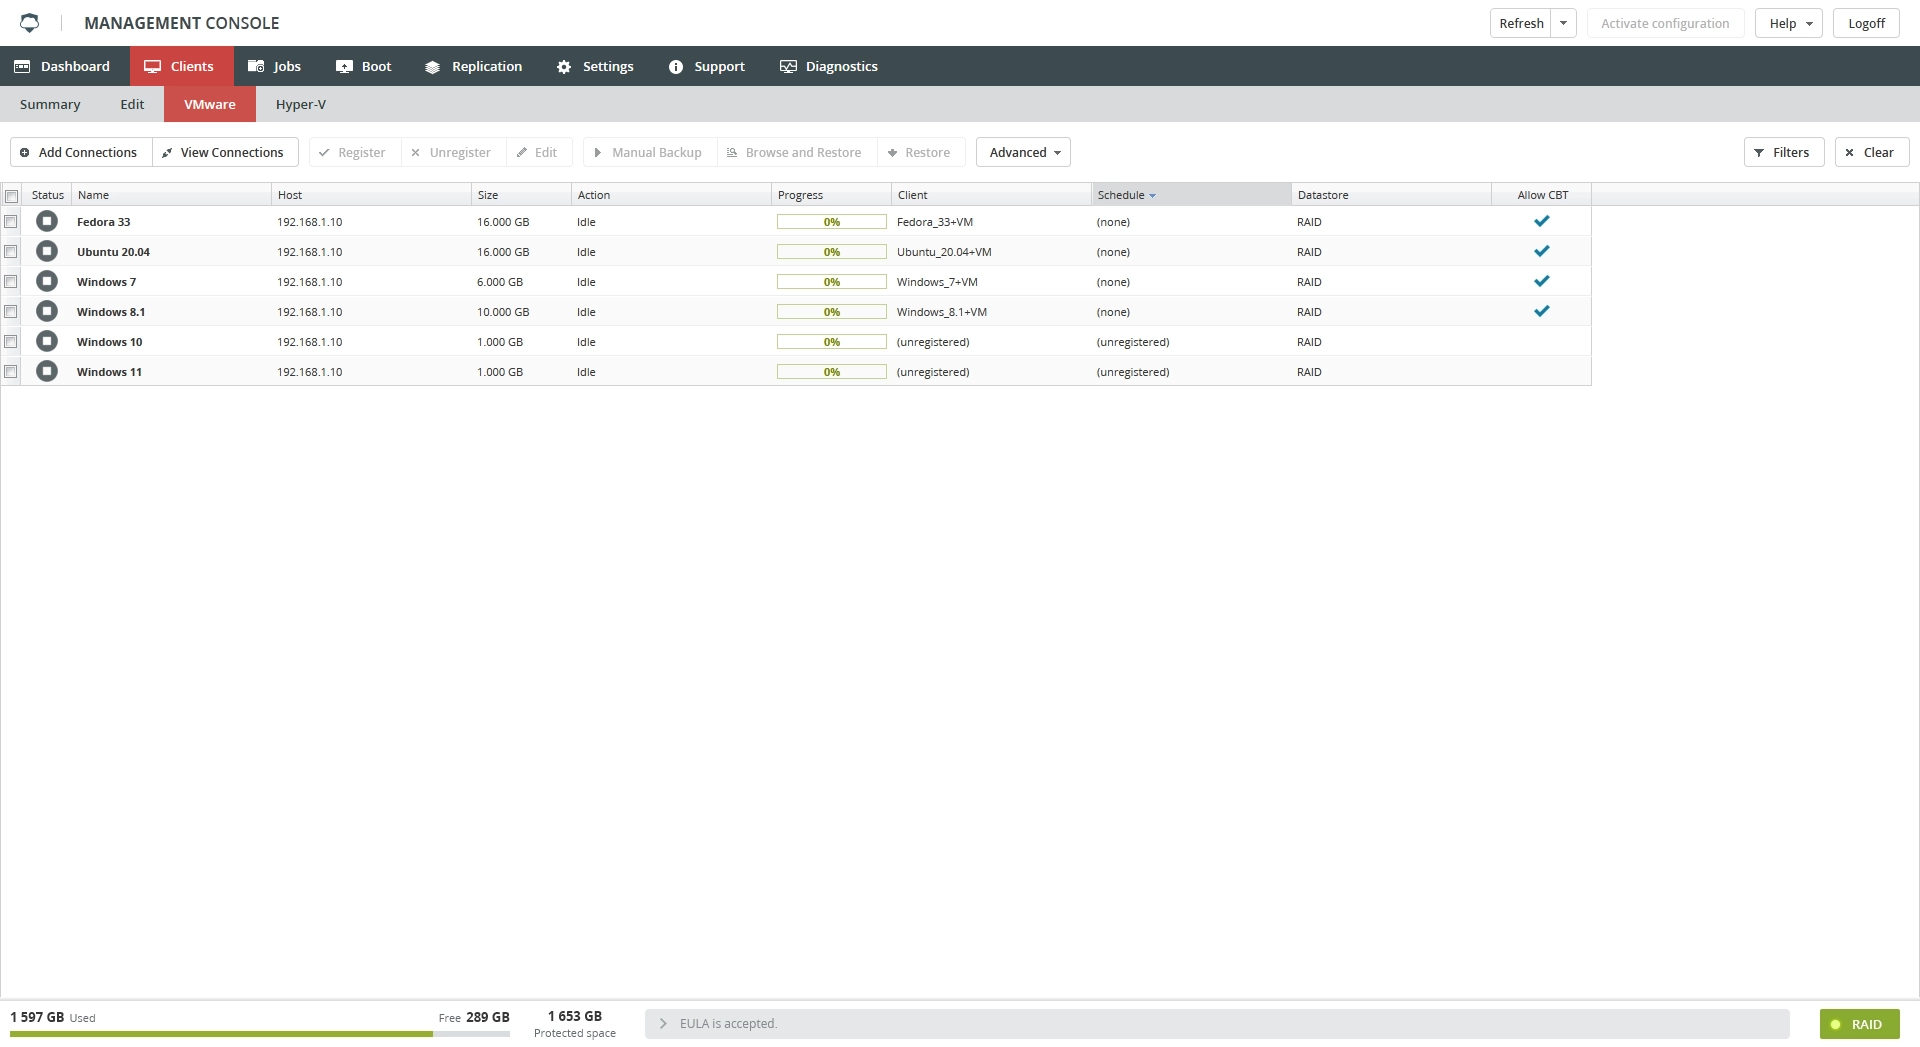
Information on the subtab is presented in the table format with the following columns:
| Column | Description | Notes |
|---|---|---|
| Status | Current (last known) status of the VM | |
| Name | Name of the VM | |
| Connection ID | GUID of the VM connection | Hidden by default |
| Host | IP address and domain name of the VM host | |
| Host Version | Version info of the VM host | Hidden by default |
| Host vStorage | Indication if the VM host is licensed to access the vStorage APIs | Hidden by default |
| Size | Size of data associated with the VM | |
| Guest OS | Operating system running on the VM | Hidden by default |
| Action | Current backup or restore operation, if any, performed with the VM | |
| Progress | Status of the current backup or restore operation, if any, performed with the VM | |
| Client | Name of the client associated with the VM | |
| Schedule | Backup schedule set for the VM | |
| Template | Indication if the VM is a template | Hidden by default |
| Datastore | Storage area set for and used by the VM configuration file | |
| VMware Tools | Version info of the VMware Tools of the VM | Hidden by default |
| Allow CBT | Indication if the Changed Block Tracking (CBT) is turned on for the VM client | |
| Has Snapshots | Indication if the VM has any snapshots | Hidden by default |
| Registered | Indication if the VM is registered with appliance | Hidden by default |
| Directory | Full path to the VM directory | Hidden by default |
| UUID | Unique identifier of the VM | Hidden by default |
| Instance UUID | Unique identifier used by vCenter to track the VM across hosts | Hidden by default |
| HW Version | VM hardware version | Hidden by default |
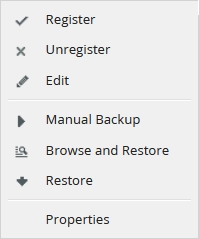
Actions
All actions on the subtab are available:
on the toolbar

in the VM context menu
| Action | Description |
|---|---|
| Basic | |
| Add Connections | Add a VMware connection to appliance |
| View Connections | View and manage the VMware connections on appliance |
| Register | Register a VM with appliance for backup |
| Unregister | Unregister a VM from appliance |
| Edit | Edit client configuration of a VM |
| Manual Backup | Instantly start backup of a VM |
| Browse and Restore | Restore files and folders from a VM backup |
| Restore | Restore a VM |
| Advanced | |
| Remove All Snapshots | Delete all snapshots of a VM |
| Enable Migration of VM on vCenter | Turn on the migration option for the VM |
| Run Stun-Unstun Cycle | Pause and resume execution of the VM |
| Reset CBT | Reset CBT for a VM |
| Download CSV | Export and save the data shown in the table (only in visible columns) to a CSV file |
| Properties | View properties of a VM |
Show or hide data
You can select what data to show on the subtab. For this, click More (![]() ) next to a column name, hover over Columns, and then select or clear the columns you want to show or hide.
) next to a column name, hover over Columns, and then select or clear the columns you want to show or hide.
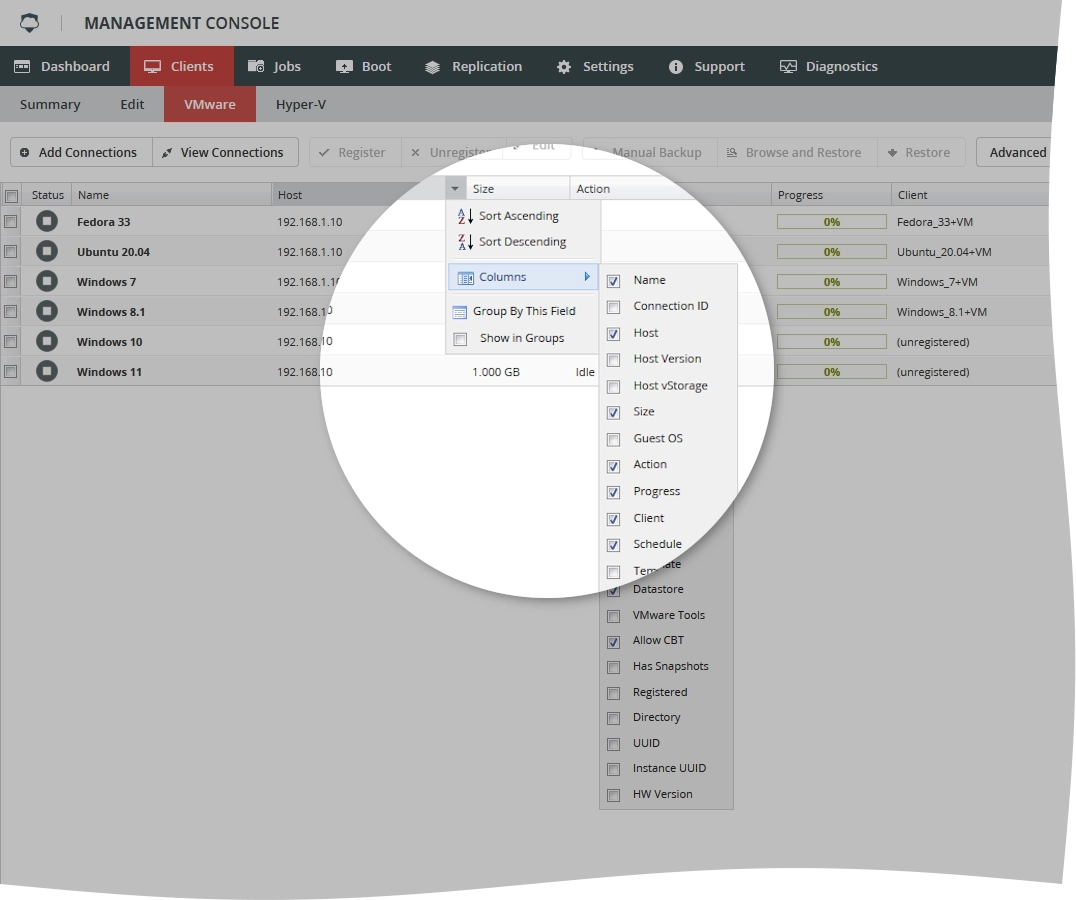
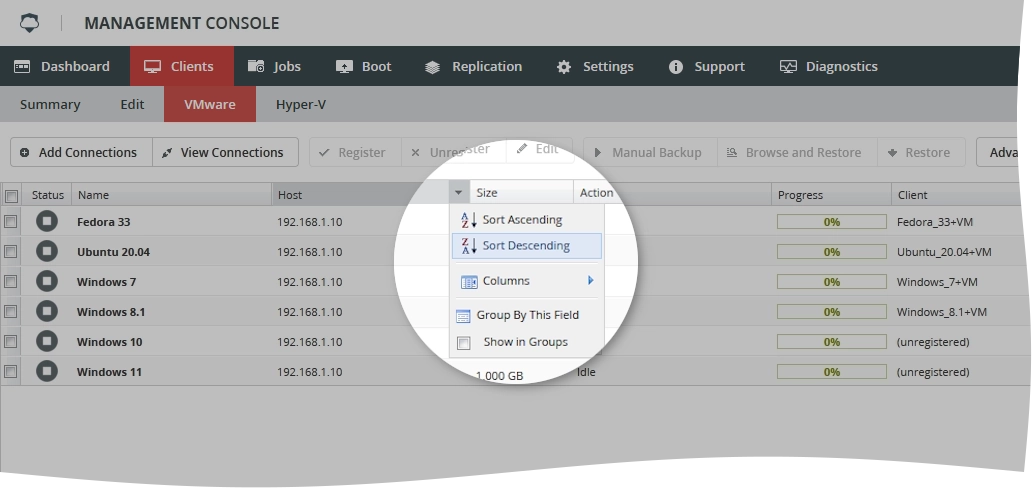
Sort data
You can sort data in the table in ascending or descending order by the values in the specific column. For this, click the name of the corresponding column, or click More (![]() ) next to a column name, and then select Sort Ascending or Sort Descending.
) next to a column name, and then select Sort Ascending or Sort Descending.
Filter data
You can filter data in the table by:
current (last known) status of the VM (Status),
name of the VM (Name),
IP address and domain name of the VM host (Host),
storage area set for and used by the VM configuration file (Datastore),
version of the VMware Tools of the VM (VMware Tools), and
status of registration of the VM with appliance.
For this, click Filters on the toolbar, and then set the desired filtering options.

To reset all filters, click Clear on the toolbar.
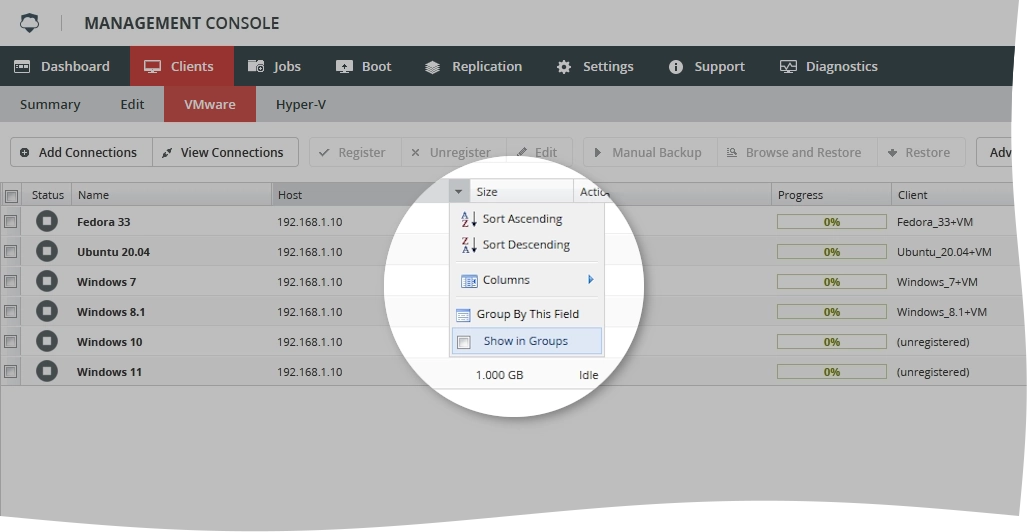
Group data
You can group data in the table by the values in the specific column. For this, click More (![]() ) next to a column name, and then select Show in Groups.
) next to a column name, and then select Show in Groups.
Navigate
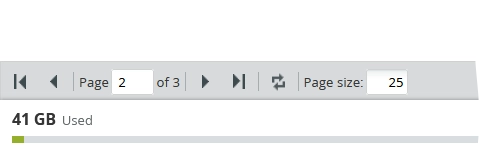
By default, the system shows 25 records in the table per page. To browse over the records, use the navigation buttons at the bottom of the page. To go to a specific page, enter a number in the Page box, and then press Enter.
| Name | Icon | Description |
|---|---|---|
| First Page | Go to the first page | |
| Previous Page | Go to the previous page | |
| Next Page | Go to the next page | |
| Last Page | Go to the last page | |
| Refresh | Refresh data in the table |
Also, you can set the number of records to show on the page. For this, enter a number in the Page size box, and then press Enter.