Infrascale Backup & Disaster Recovery lets you restore virtual machines (VMs) to the same or to a different VMware host connected to the appliance.
To restore a VMware VM:
In the appliance Management Console, go to Clients › VMware (or to Clients › Summary).
Select a VMware VM to restore.
Click Restore on the actions toolbar, or right-click the selected VM, and then click Restore in the context menu.
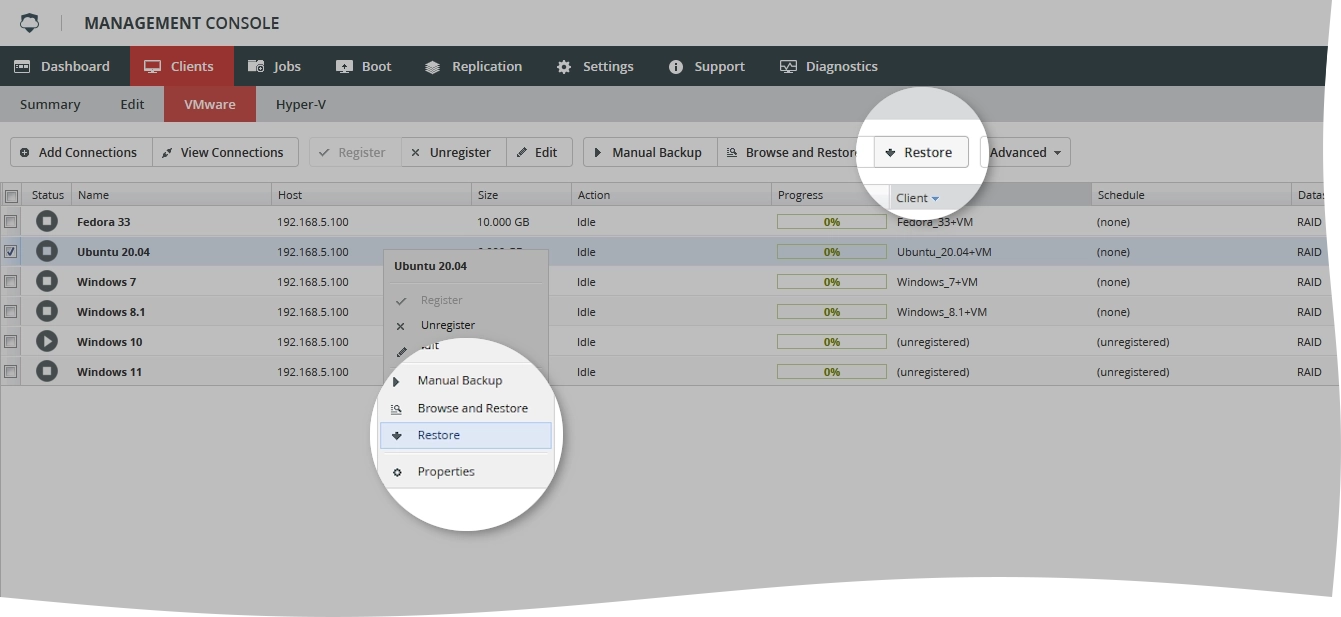
The restore wizard opens.
Select a backup job associated with the VM to restore from, and then click Next.

Select a restore method, and then click Next.
Method Description Restore to Existing Virtual Machine Backup is restored to the VM existing on its original host. Note: This restore method does not affect the VM configuration. New virtual disks may appear as a result of restoring, but no other devices are added, removed, or changed. Create New Virtual Machine Backup is restored to a new VM on the original or on an alternate host 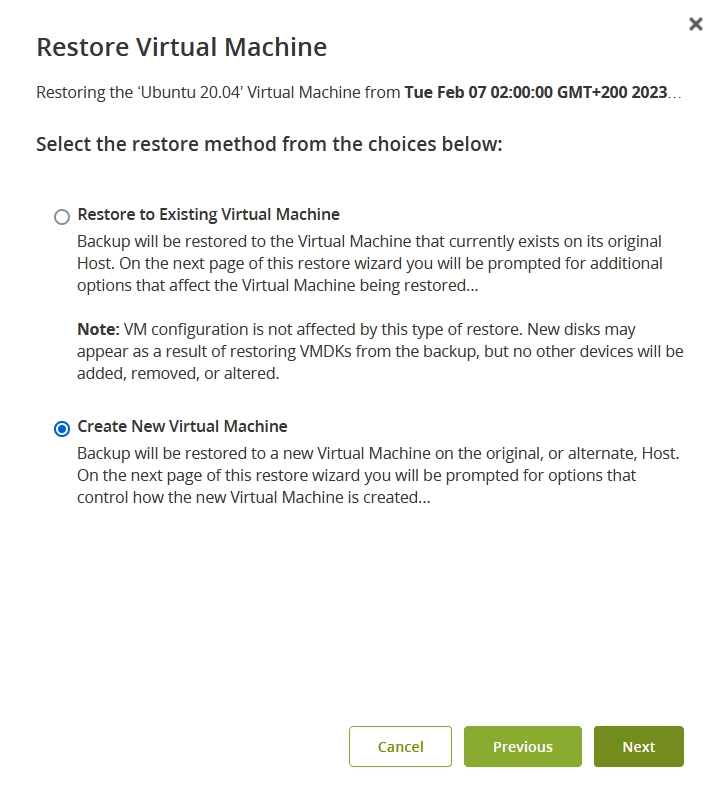
Select options and configure settings for the selected restore method.
Click Finish to start restoring.
You can monitor the status of the restore in the Action column in Clients › VMware.
Restore to an existing virtual machine
After you selected Restore to Existing Virtual Machine:
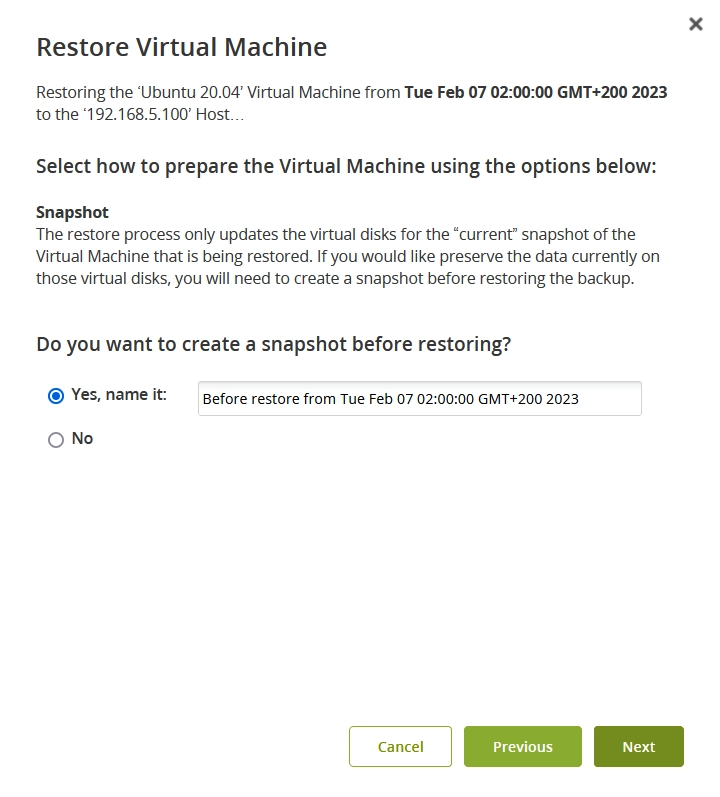
Select if you want to create a snapshot of the VM, name it, and then click Next.
The restore process only updates virtual disks for the current snapshot of the restored VM. To preserve data on those virtual disks, create a new snapshot before restoring.
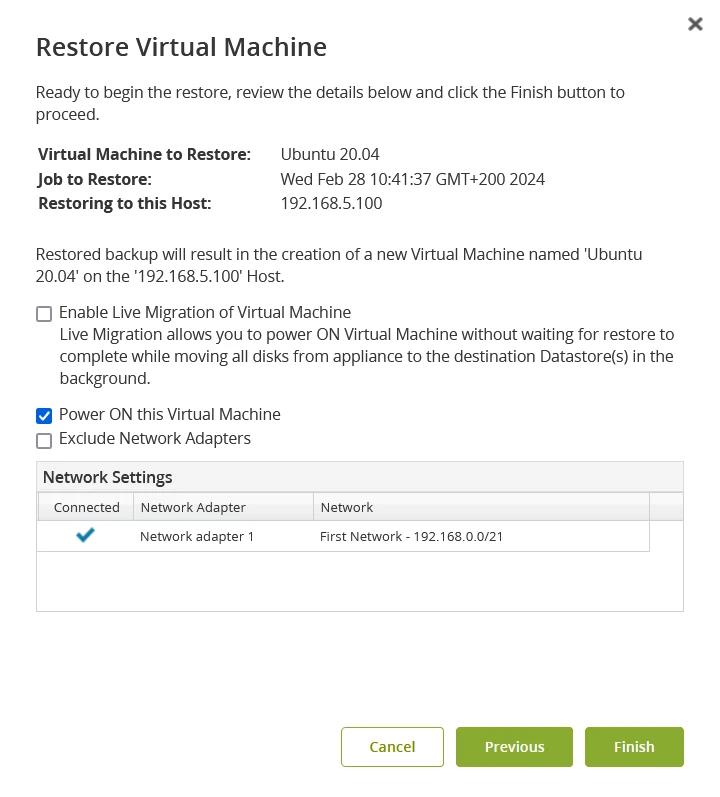
Review the restore settings and details, and select extra restore options if needed:
Option Description Power ON this Virtual Machine Select to immediately power on the VM after it is restored Exclude Network Adapters Select to restore VM without a network adapter or a virtual distributed switch if its not supported by the target VMware host 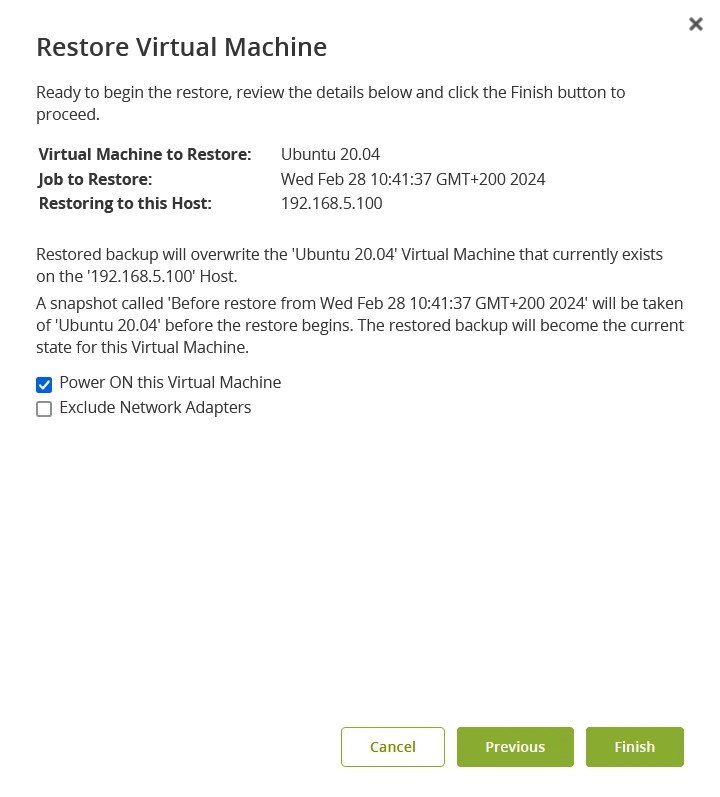
Create and restore to a new virtual machine
After you selected Create New Virtual Machine:
Configure where and how to create the VM, and then click Next.
Destination A VMware host licensed and connected to the appliance to create the VM on Datastore Datastore is used for the core VM data. Virtual disks can be stored on different datastores. Resource Pool Resource pool is used to control the CPU and memory access of the VM 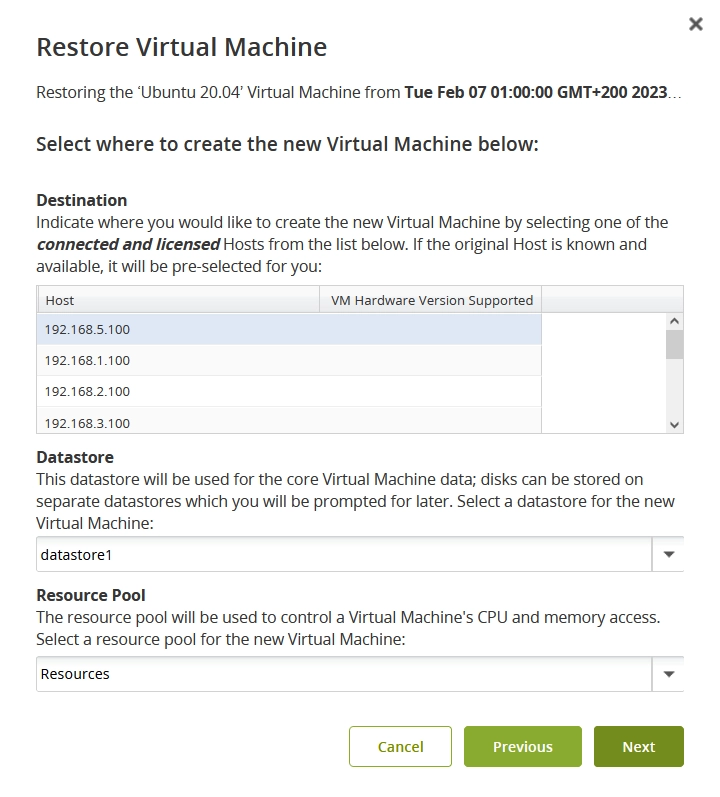
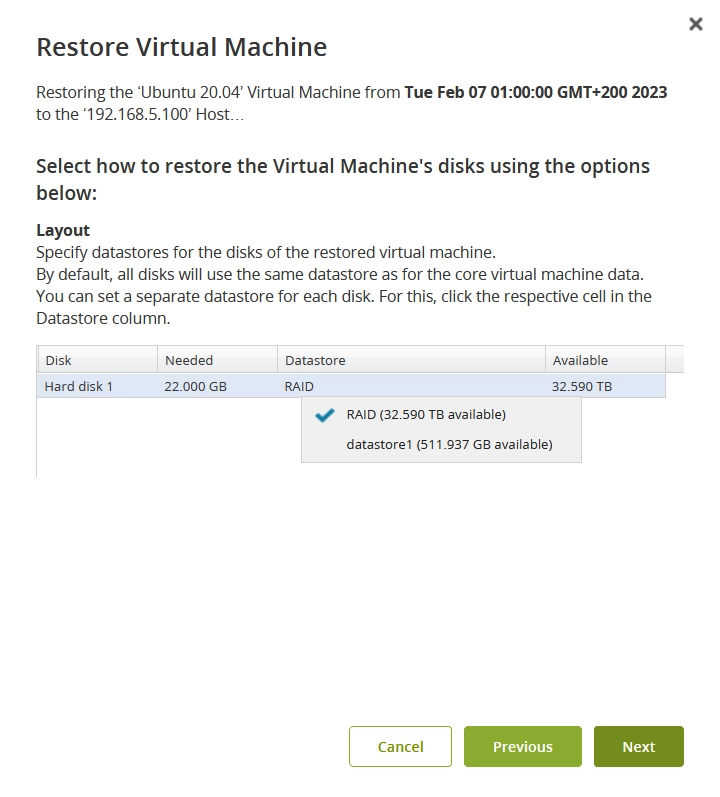
Select datastores for the disks of the restored VM, and then click Next.
By default, all VM disks use the same datastore as the core VM data. You can select a separate datastore for each disk. For this, click the respective cell in the Datastore column.
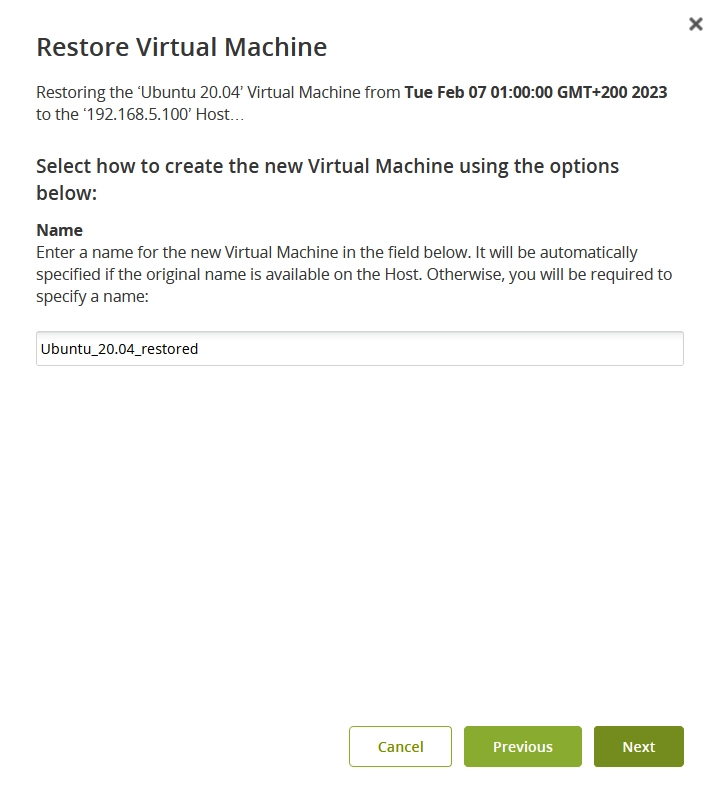
Enter a name for the new VM, and then click Next.
Review the restore settings and details, and select extra restore options if needed:
Option Description Enable Live Migration of Virtual Machine This lets the VM start without waiting for the restore to complete. All disks from the appliance are moved to the destination datastores in the background. Power ON this Virtual Machine Select to immediately power on the VM after it is restored Exclude Network Adapters Select to restore VM without a network adapter or a virtual distributed switch if its not supported by the target VMware host