Before adding a Hyper-V connection, make sure you have:
created a client for the host,
installed DR backup agent on the host, and
paired the host with Backup & Disaster Recovery appliance.
To add a Hyper-V connection to appliance:
In the appliance Management Console, go to Clients › Hyper-V.
On the actions toolbar, click Add Connections.

The connection wizard opens.
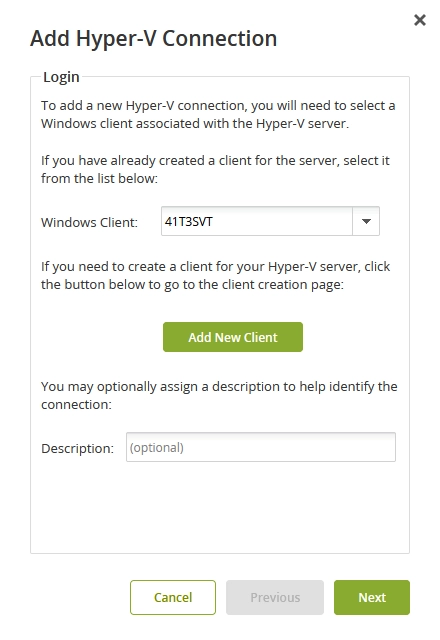
At the first step of the connection wizard:
From the Windows Client drop-down list, select the client you created for the Hyper-V host.
If you have not created a client previously, click Add New Client and follow the instructions to create one.
In the Description box, enter optional description for the connection, and then click Next.
Click Next to continue.
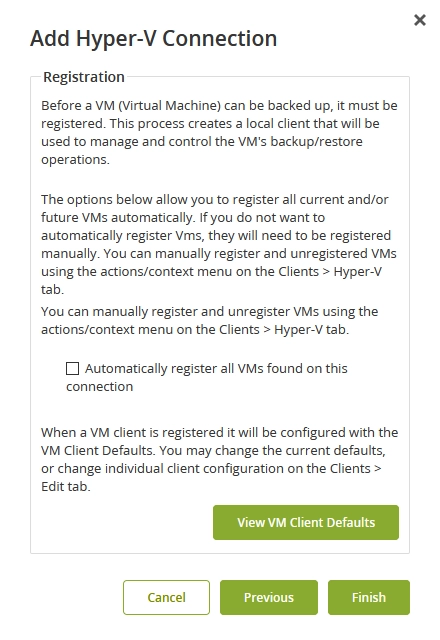
At the second step of the connection wizard:
Select if you want to automatically register all Hyper-V virtual machines (VMs) available via the connection with appliance.
Before a VM can be backed up, it must be registered with appliance. Upon registering a VM, appliance creates a local client for the VM used to manage and control backup and restore operations.
You can also register VMs manually later.
Click View VM Client Defaults to view the default configuration settings used when registering a VM.
You can change configuration settings for individual VM clients later.
Click Finish to save changes and add the connection.