Create client for Microsoft Hyper-V host
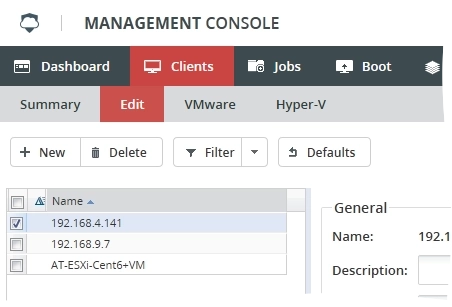
In the Management Console of the Backup & Disaster Recovery appliance, go to Clients › Edit (or to Clients › Summary).
On the actions toolbar, click New.

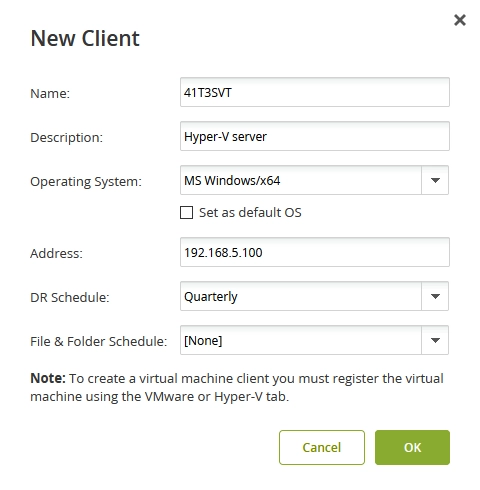
The New Client dialog opens.
In the New Client dialog, configure settings for the new client.
Setting Description Name Name of the client. You cannot change it after the client is created. Description Optional description of the client Operating System Operating system installed on the host Set as defaults OS Make the selected operating system default when creating clients Address IP address or DNS name of the backed host DR schedule Schedule for DR image backup File & Folder Schedule Schedule for file and folder backup 
Click OK to create client, and wait for the process to complete.
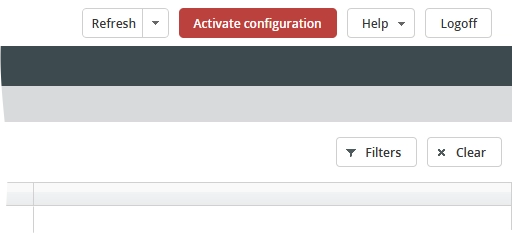
Click Activate configuration to apply changes.

Review and change client settings if necessary.
