
First of all, you have to match each ConnectWise company with the corresponding company in the Infrascale Dashboard. Matching is based on the ConnectWise company identifier.
If you have matched companies previously, for example when configuring integration for billing purposes, skip this step.
Match companies
Sign in to your account in the Dashboard.
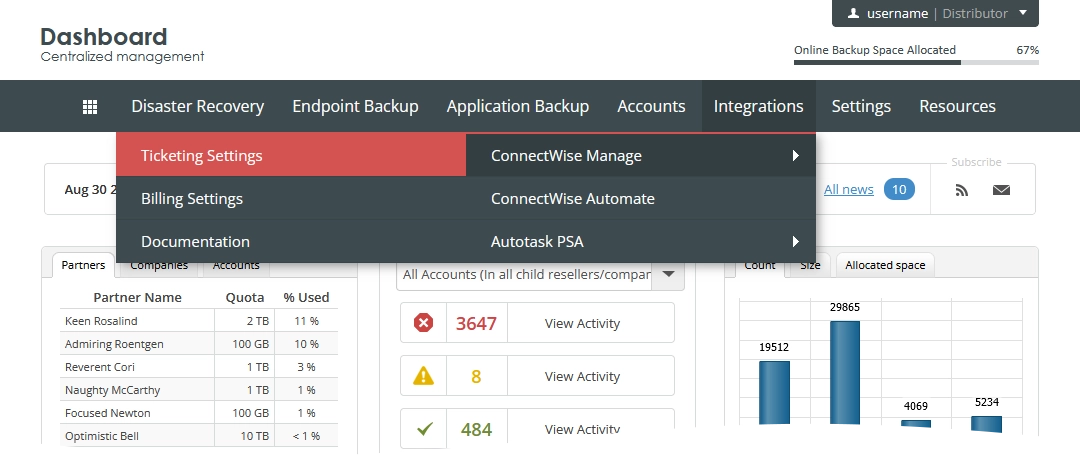
Go to Integrations › ConnectWise Manage › Ticketing Settings.
The consolidated ticketing data page opens.
Go to the Companies Matching tab.
Find a company to match.
In the ConnectWise Id column of the company record, click the respective cell.
In the ConnectWise Company Id drop-down list, select the appropriate ID.
If you ever want to cancel the matching, select Not Set.
Click Save And Close to apply changes.
If you do not want to save and apply changes, click Close (
 ) or press Esc to discard changes and close the dialog.
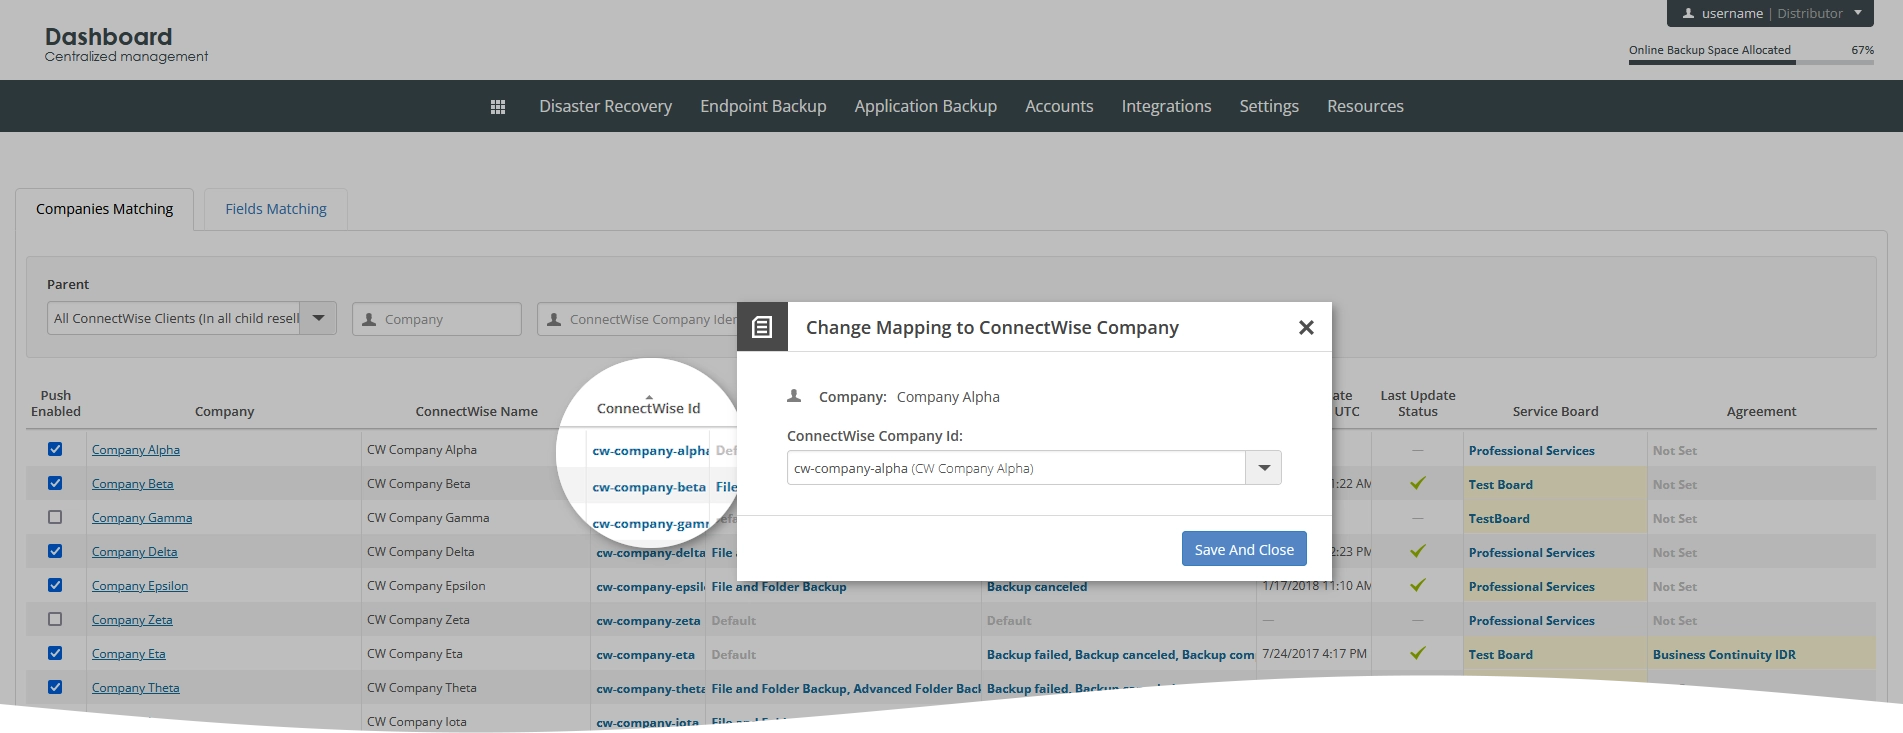
Repeat steps 4–7 for each company.
Set service boards
Default
After matching the companies, you have to set a service board where the newly created service tickets will be sent to by default.
Sign in to your account in the Dashboard.
Go to Integrations › ConnectWise Manage › Ticketing Settings.
The consolidated ticketing data page opens.
Click Settings.
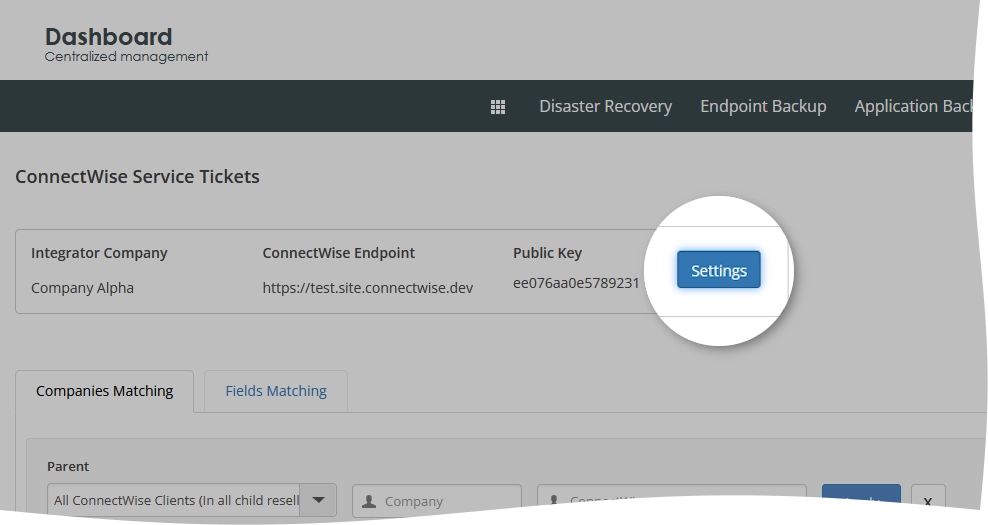
The integration settings open.
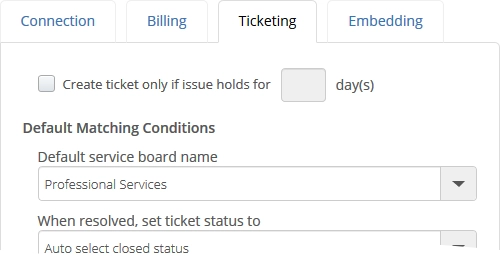
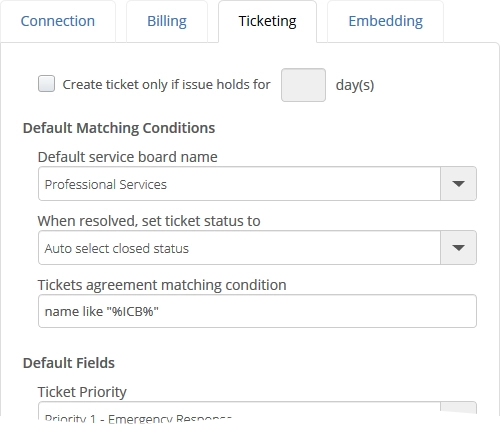
On the Ticketing tab, in the Default service board name drop-down list, select a service board.
Click Apply to save changes.
If you do not want to save and apply changes, click Go back to return to the consolidated ticketing data page.
The system will start sending all monitoring alerts for all matched companies to the specified service board as service tickets.
Company-specific
If you want the system to send tickets regarding a specific company to a service board other than the default one, you can change the default service board for that company as follows.
Sign in to your account in the Dashboard.
Go to Integrations › ConnectWise Manage › Ticketing Settings.
The consolidated ticketing data page opens.
Go to the Companies Matching tab.
Find a company to set a different service board for.
In the Service Board column of the company record, click the respective cell.
In the Board Name drop-down list, select a service board.
Click Save And Close to apply changes.
If you do not want to save and apply changes, click Close (
) or press Esc to discard changes and close the dialog.
The system will start sending all monitoring alerts for the given company to the specified service board as service tickets.
Resolve agreements
Unlike for the billing purposes, resolving the agreements for ticketing purposes is optional.
Automatically
You can resolve multiple agreements according to the default matching condition. For example, if you know that agreements contain, or start with, or end with a specific text string.
Sign in to your account in the Dashboard.
Go to Integrations › ConnectWise Manage › Ticketing Settings.
The consolidated ticketing data page opens.
Click Settings.
The integration settings open.
On the Ticketing tab, in the Tickets agreement matching condition box, enter the expression rule (see details in Expression rules for matching).
Click Apply to save changes.
If you do not want to save and apply changes, click Go back to return to the consolidated ticketing data page.
The default matching condition is sufficient to resolve the agreements, if each company has only one agreement that matches the default condition. Otherwise, the match will be ambiguous, and thus agreements will not be resolved.
Manually
Most of the agreements can be resolved automatically. If there are still the unresolved agreements, that is the agreements not matching the default condition, or the improperly resolved agreements, you have to resolve them manually.
Sign in to your account in the Dashboard.
Go to Integrations › ConnectWise Manage › Ticketing Settings.
The consolidated ticketing data page opens.
Go to the Companies Matching tab.
Find a company to resolve the agreement for.
In the Agreement column of the company record, click the respective cell.
In the Agreement Name drop-down list, select an agreement.
If you ever want to discard the agreement, select Not Set.
Click Save And Close to apply changes.
If you do not want to save and apply changes, click Close (
) or press Esc to discard changes and close the dialog.Repeat steps 4–7 for all companies with unresolved agreements.
Configure filters
All monitoring alerts for the protected endpoints are associated with the specific backup and event types.
Backup types identify the nature of backups, while event types indicate the kinds and severity of the alerts.
Default
These filters allow selecting backup and event types of the monitoring alerts, which will be sent to your ConnectWise environment as service tickets for all matched companies.
Sign in to your account in the Dashboard.
Go to Integrations › ConnectWise Manage › Ticketing Settings.
The consolidated ticketing data page opens.
Click Settings.
The integration settings open.
On the Ticketing tab, select the desired filters in the Default Backup Type Filters and Default Event Type Filters groups.
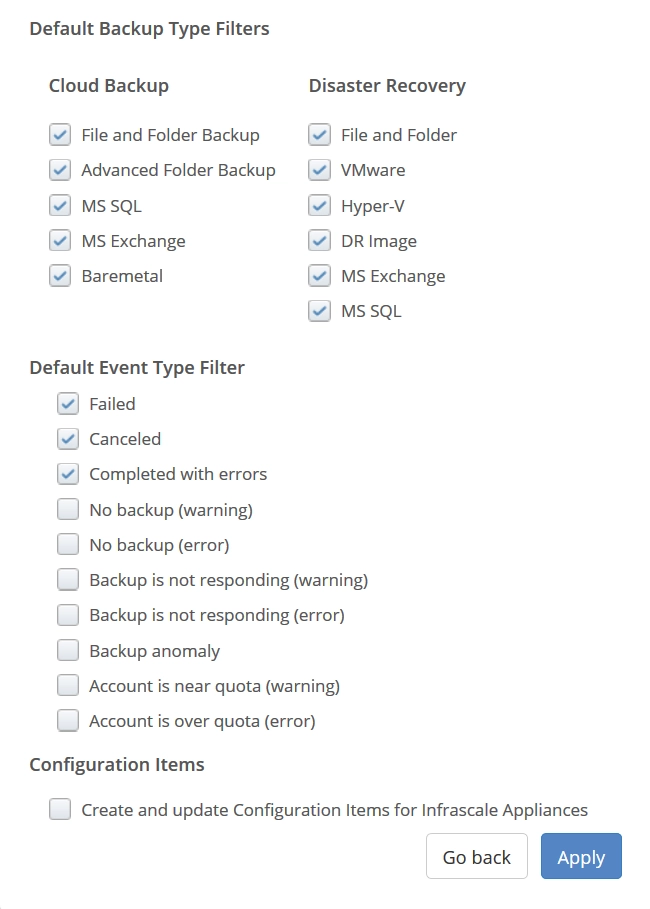
Click Apply to save changes.
If you do not want to save and apply changes, click Go back to return to the consolidated ticketing data page.
Company-specific
These filters allow selecting backup and event types of the monitoring alerts, which will be sent to your ConnectWise environment as service tickets for a specific matched company.
Sign in to your account in the Dashboard.
Go to Integrations › ConnectWise Manage › Ticketing Settings.
The consolidated ticketing data page opens.
Go to the Companies Matching tab.
Find a company to set custom filters for.
In the Backup Types or the Event Types column of the company record, click the respective cell.
Clear Use Default Backup Types or Use Default Event Types respectively.
Select the filters you want to apply in regard to the company.
Click Save And Close to apply changes.
If you do not want to save and apply changes, click Close (
) or press Esc to discard changes and close the dialog.
Configure tickets
Default settings
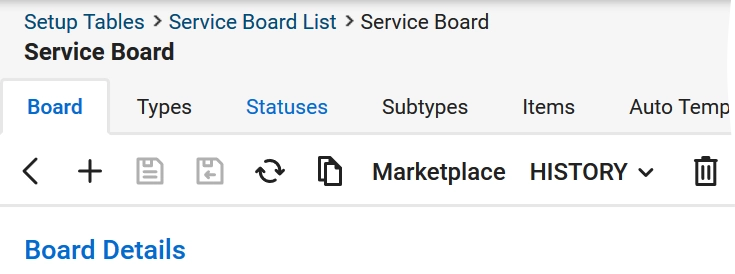
In your ConnectWise Manage environment, go to System › Setup Tables.
Find the desired service board, or create a new one.
In the service board, create new type, subtype, item, and status.
Sign in to your account in the Dashboard.
Go to Integrations › ConnectWise Manage › Ticketing Settings.
The consolidated ticketing data page opens.
Click Settings.
The integration settings open.
On the Ticketing tab:
Select Create ticket only if issue holds for X day(s), and enter the desired number of days if you want to set a delay for creating the tickets.
In the When resolved, set ticket status to drop-down list, select a status to set by default for resolved tickets.
In the Default Fields group, set properties to apply by default to all newly created tickets (unless they have specific properties applied).
Ticket priority (Critical, High, Medium, Low) is a global ticket property defined in ConnectWise by default. It does not depend on a service board where the ticket is generated.
In the Summary Format box, enter the default convention for naming the tickets.
By default, ticket names follow the convention
{CompanyName}/{AccountName}/{SystemName}. You can change it using the other placeholders. Click Help on the right to see all available placeholders.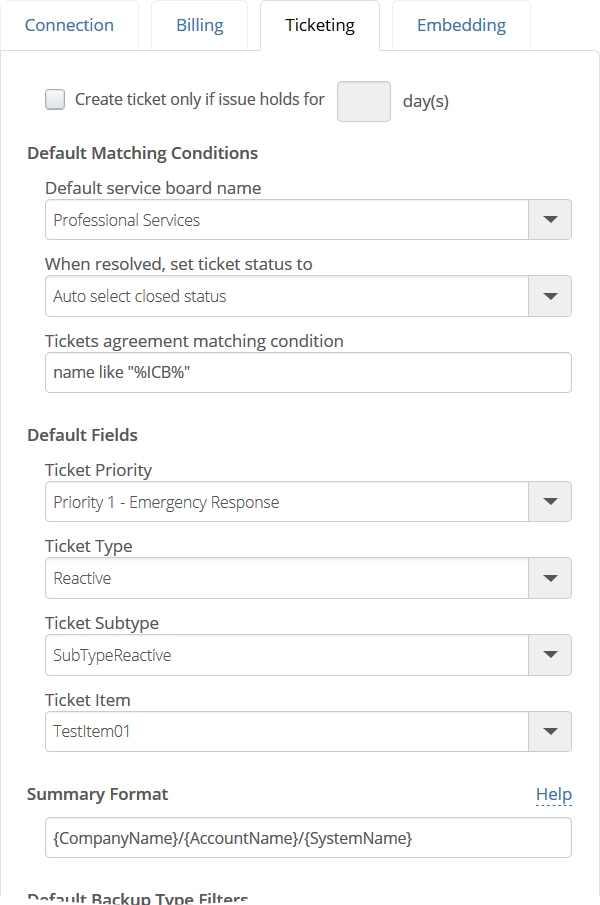
Click Apply to save changes.
If you do not want to save and apply changes, click Go back to return to the consolidated ticketing data page.
Ticket-specific properties
Sign in to your account in the Dashboard.
Go to Integrations › ConnectWise Manage › Ticketing Settings.
The consolidated ticketing data page opens.
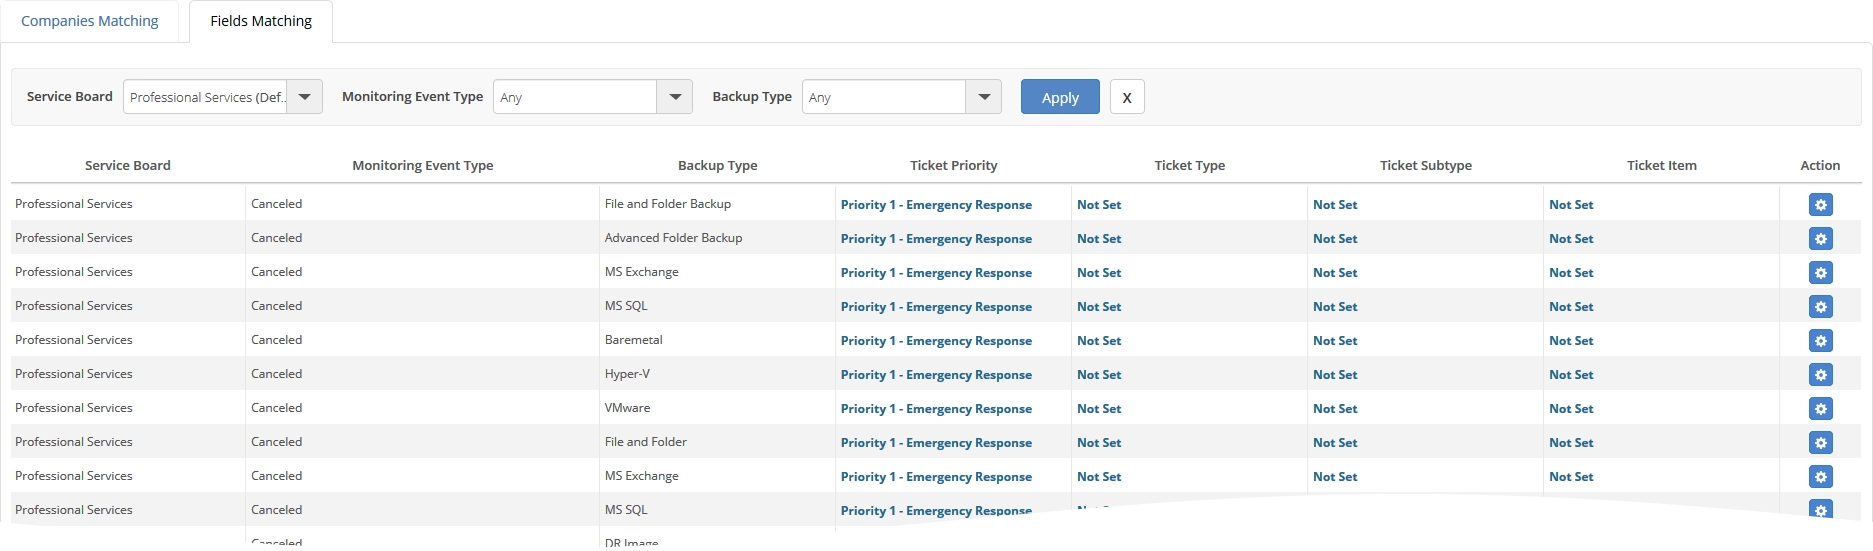
On the Fields Matching tab:
In the Action column of the service board record, click Manage (
 ) to change all ticket properties at once; or
Click the respective cell in each separate column (Ticket Priority, Ticket Type, Ticket Subtype, or Ticket Item) to change a specific property.
Push events to ConnectWise
After you configure the integration itself, the system will automatically push events as service tickets to ConnectWise Manage.
You can turn automatic pushing for a specific company on or off as follows:
Sign in to your account in the Dashboard.
Go to Integrations › ConnectWise Manage › Ticketing Settings.
The consolidated ticketing data page opens.
Go to the Companies Matching tab.
Find a company to push the events for.
In the Push Enabled column of the company record, select companies to push the events for.
Also, you can push events manually if needed. This is available if data pushing was enabled for the company, and the event is covered by filters. For this:
Sign in to your account in the Dashboard.
Go to Disaster Recovery › Backup Status.
Also, you can go to Endpoint Backup › Backup Status, or to Application Backup › Backup Status.
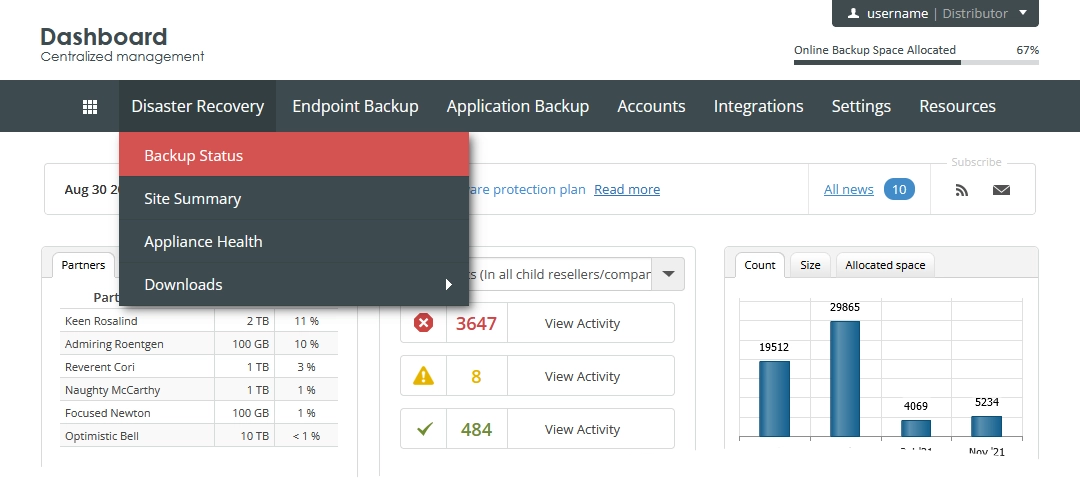
The backup status monitoring page opens.
Click View All Events on the upper right.
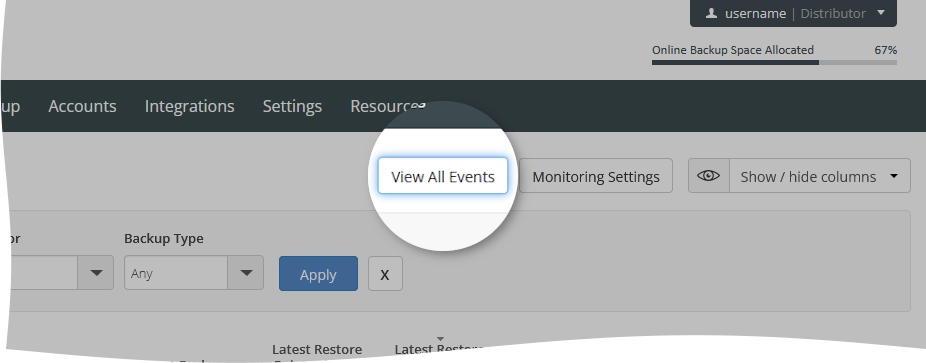
The backup history page opens.
In the Event column of the backup event record, click the status of the backup event.
The backup event details open.
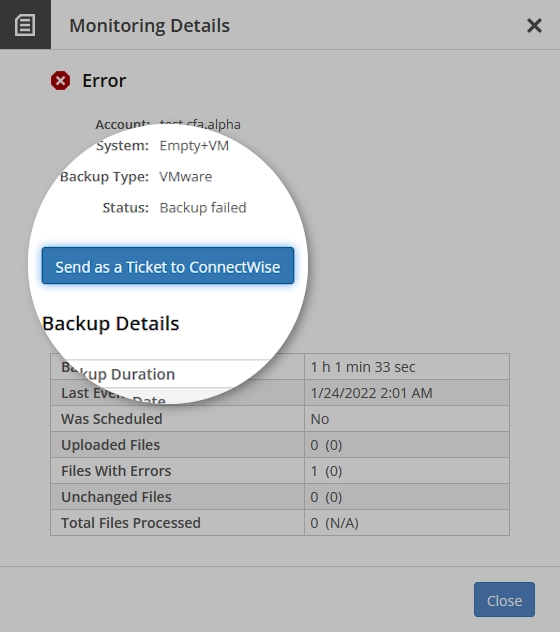
Click Send as a Ticket to ConnectWise.