
If you distribute multiple Infrascale products, you can configure billing integration for each of them.
First of all, you have to match each ConnectWise company with the corresponding company in the Infrascale Dashboard. Matching is based on the ConnectWise company identifier.
If you have matched companies previously, for example, when configuring integration for ticketing purposes, skip this step.
Match companies
Sign in to your account in the Dashboard.
Go to Integrations › ConnectWise Manage › Billing Settings.
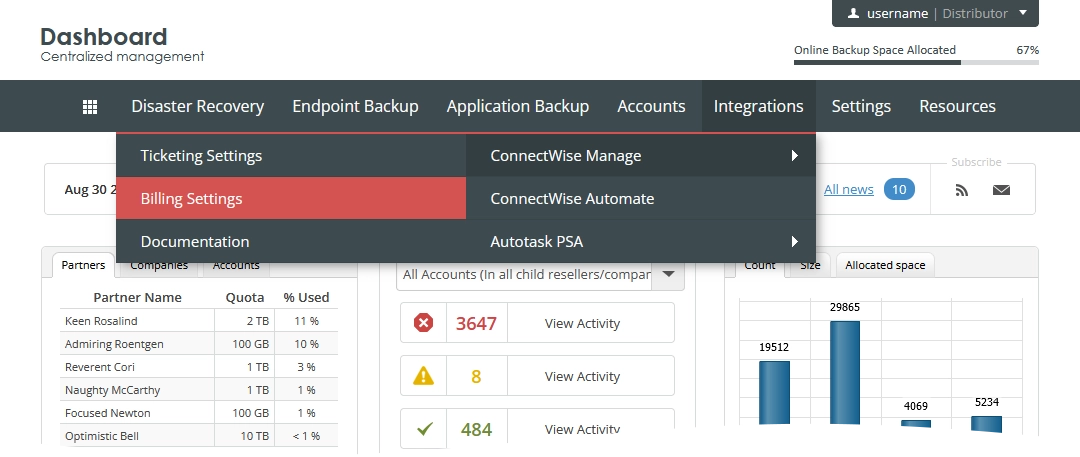
The consolidated billing data page opens.
Click the tab with an Infrascale product of interest.
Find a company to match.
In the ConnectWise Id column of the company record, click the respective cell.
In the ConnectWise Company Id drop-down list, select the appropriate company ID.
If you ever want to cancel the matching, select Not Set.
Click Save And Close to apply changes.
If you do not want to save and apply changes, click Close (
 ) or press Esc to discard changes and close the dialog.
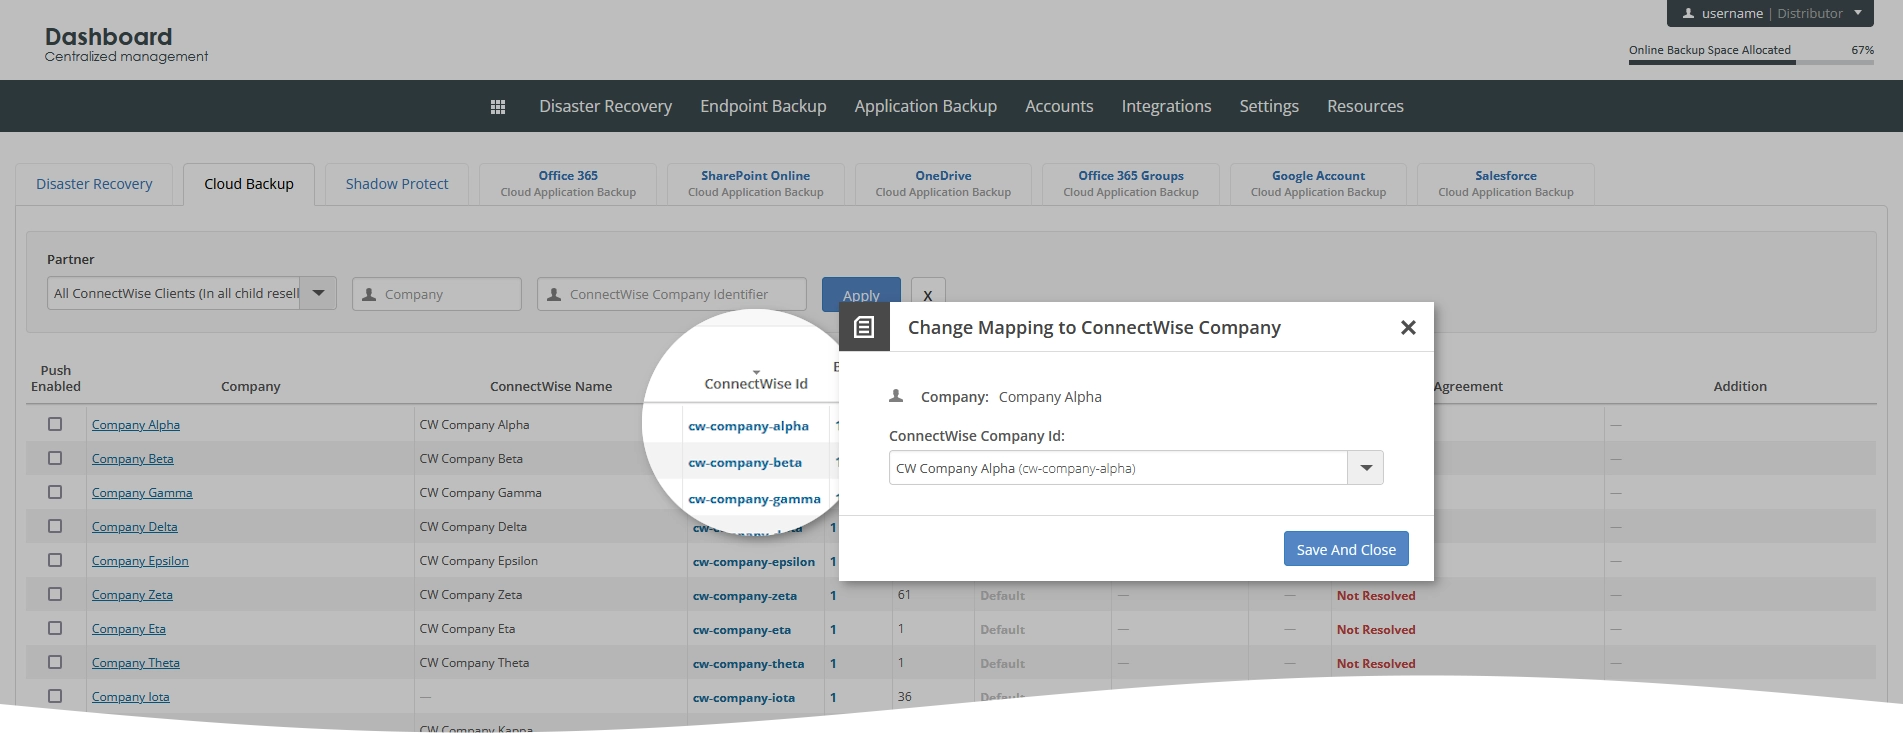
Repeat steps 4–7 for each company of interest.
Resolve agreements
Automatically
You can resolve multiple agreements according to the default matching condition. For example, if you know that agreements contain, or start with, or end with a specific text string.
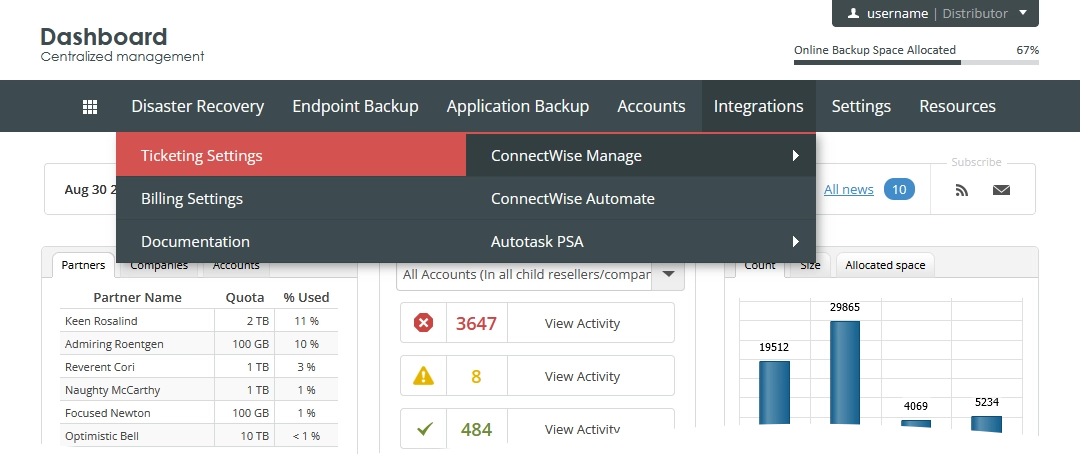
Sign in to your account in the Dashboard.
Go to Integrations › ConnectWise Manage › Billing Settings.
The consolidated billing data page opens.
Click Settings.

The integration settings open.
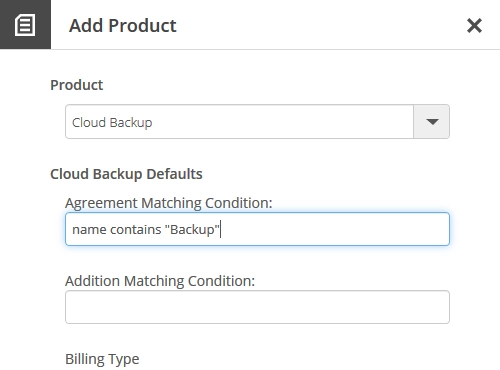
On the Billing tab, click + add product.
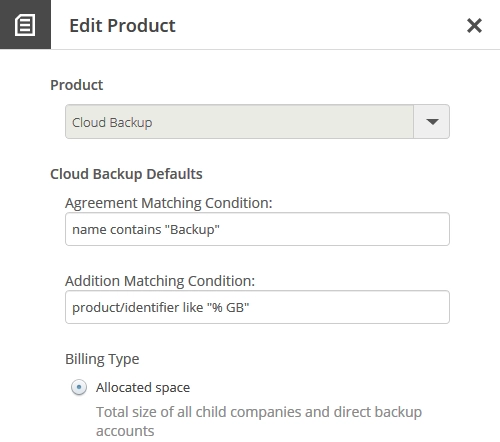
In the Product drop-down list, select the required product.
In the Agreement Matching Condition box, enter the expression rule (see details in Expression rules for matching).
Click Apply to save changes.
If you do not want to save and apply changes, click Close (
) or press Esc to discard changes and close the dialog.
The default matching condition is sufficient to resolve the agreements if each company has only one agreement that matches the default condition. Otherwise, the match will be ambiguous, and thus agreements will not be resolved.
Manually
Most of the agreements can be resolved automatically. If there are still the unresolved agreements, that is the agreements not matching the default condition, or the improperly resolved agreements, you have to resolve them manually.
Sign in to your account in the Dashboard.
Go to Integrations › ConnectWise Manage › Billing Settings.
The consolidated billing data page opens.
Click the tab with an Infrascale product of interest.
Find a company to resolve the agreement for.
In the Agreement column of the company record, click the respective cell.
In the Agreement Name drop-down list, select an agreement.
If you ever want to discard the agreement, select Not Set.
Click Save And Close to apply changes.
If you do not want to save and apply changes, click Close (
) or press Esc to discard changes and close the dialog.Repeat steps 4–7 for all companies with unresolved agreements.
Resolve additions
Before resolving the additions, you have to resolve the agreements.
Automatically
Sign in to your account in the Dashboard.
Go to Integrations › ConnectWise Manage › Billing Settings.
The consolidated billing data page opens.
Click Settings.
The integration settings open.
On the Billing tab, click the name of the product.
In the Addition Matching Condition box, enter the expression rule (see details in Expression rules for matching).
Click Apply to save changes.
If you do not want to save and apply changes, click Close (
) or press Esc to discard changes and close the dialog.
Manually
Most of the additions can be resolved automatically. If there are still the unresolved additions, that is the additions not matching the default condition, or the improperly resolved additions, you have to resolve them manually.
Sign in to your account in the Dashboard.
Go to Integrations › ConnectWise Manage › Billing Settings.
The consolidated billing data page opens.
Click the tab with an Infrascale product of interest.
Find a company to resolve the addition for.
In the Addition column of the company record, click the respective cell.
In the Product ID drop-down list, select the appropriate ID.
You cannot select a product ID if there is no respective addition in ConnectWise. Thus, create the addition in ConnectWise beforehand.
Click Save And Close to apply changes.
If you do not want to save and apply changes, click Close (
) or press Esc to discard changes and close the dialog.Repeat steps 4–7 for all companies with unresolved additions.
Send data to ConnectWise
After you configure the integration itself, you will be able to send the company data to ConnectWise Manage for billing purposes. You can send the data automatically and manually.
First, you have to verify that the data can be successfully sent to ConnectWise.
Sign in to your account in the Dashboard.
Go to Integrations › ConnectWise Manage › Billing Settings.
The consolidated billing data page opens.
Click the tab with an Infrascale product of interest.
Find one or more companies to send the data for.
The Data Usage column of the company record shows the data (storage space, accounts) transferred to ConnectWise in blocks. You can adjust the size of the block in the Block Size column.
In the Push Enabled column, select the desired companies.
Click Push Now to verify that the system sends data to ConnectWise.
You can check the results in ConnectWise Manage. For this, go to Companies › [Company name] › Agreements › [Agreement name] › Additions.
If manual sending succeeds, you can configure the automatic sending on schedule.
Click Settings.
The integration settings open.
On the Billing tab, select Automatic data usage push, and enter the required number of days.
This will enable automatic data sending on the specified day of each month.
Click Apply in the lower part of the page to save changes.