Step 1. Create new API member
In your ConnectWise Manage environment, go to System › Members.
On the API Members tab, click New Item (
 ).
).Provide all the required details.
Make sure the Role ID is set to Admin.
Click Save (
 ).
).
Step 2. Create API keys
On the API Keys tab, click New Item (
).In the Description box, enter whatever you want to identify the integration.
Click Save (
).Copy and save the public key and the private key so you can use them later.

Private key will no longer be available once you leave this tab.
Step 3. Establish connection
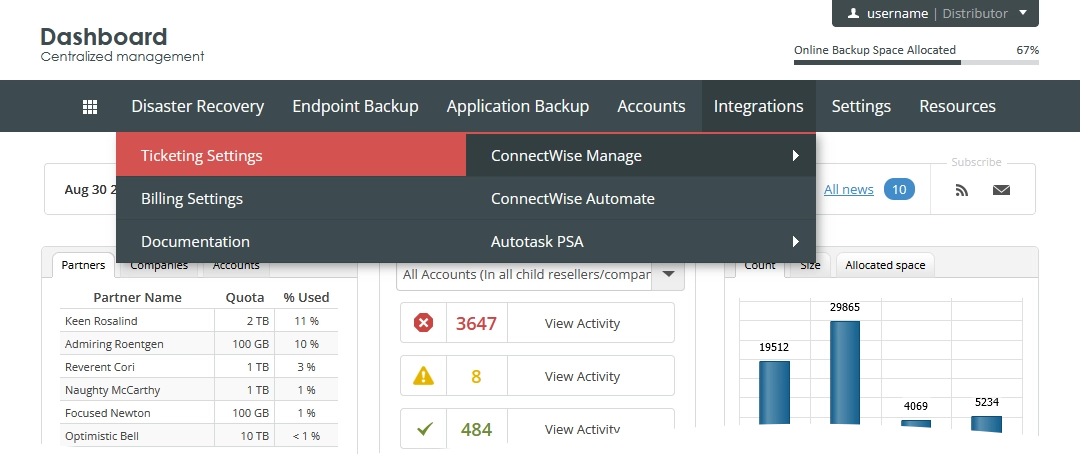
Sign in to your account in the Dashboard.
Go to Integrations › ConnectWise Manage › Ticketing Settings (or Billing Settings).
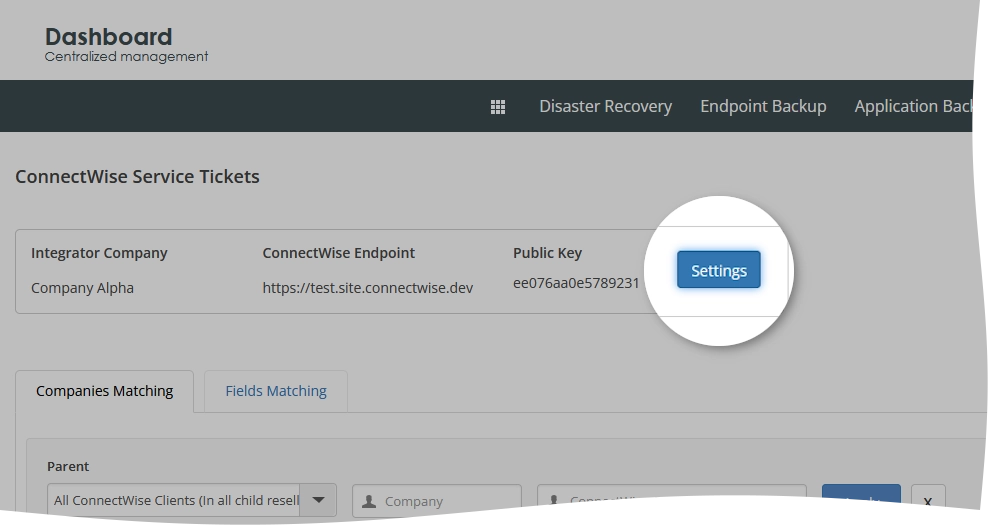
The consolidated billing data page opens.
Click Settings.
The integration settings open.
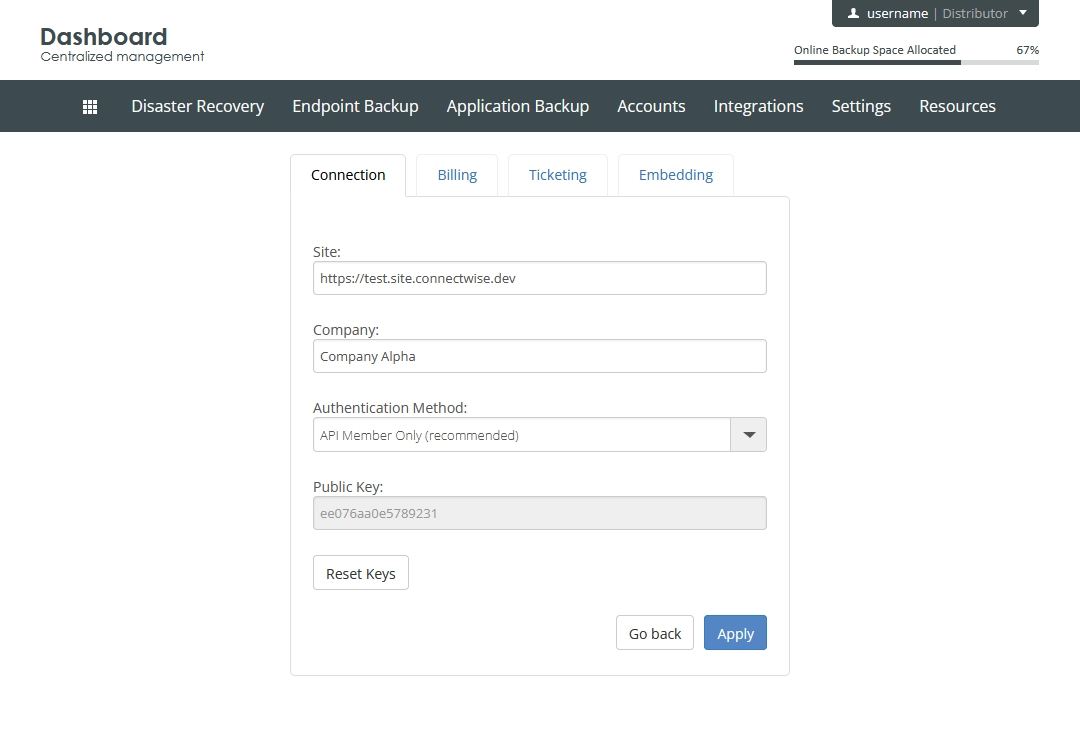
On the Connection tab:
In the Site box, enter the ConnectWise Manage URL for your company.
In the Company box, enter the ConnectWise Manage ID for your company.
In the Public Key box, enter the public key you have created earlier.
In the Private Key box, enter the private key you have created earlier.
After you enter the private key, it will not be shown. If you want to enter other keys, or enter the same keys again, click Reset Keys.
Click Apply to save changes.
If you do not want to save and apply the changes, click Go back to return to the consolidated data page.