
Overview
Configuring replication
When initially configuring the Backup & Disaster Recovery appliance for replication, all of the jobs for clients set to replicate on the primary appliance automatically be identified as replicable by default, and will be copied to the secondary appliance. Depending on the number of jobs and the amount of data they contain, this could be a lengthy process. Therefore, it is highly recommended that both the Primary and secondary appliances first be connected on a LAN or using a high-bandwidth connection.
After this initial job copy (seeding) is complete, the secondary appliance may be moved to its desired location. If a lower bandwidth connection is expected between appliances, byte-level replication is recommended.
Standard replication setup
This first section will detail setting up standard replication between two appliances.
Configuring secondary appliance
Though it may seem out of order, the configuration process is easier when the secondary appliance is configured first, then the primary appliance. Once you become accustomed to configuring appliances for replication, you can configure them in either order successfully.
Log in to the Management Console of the primary appliance.
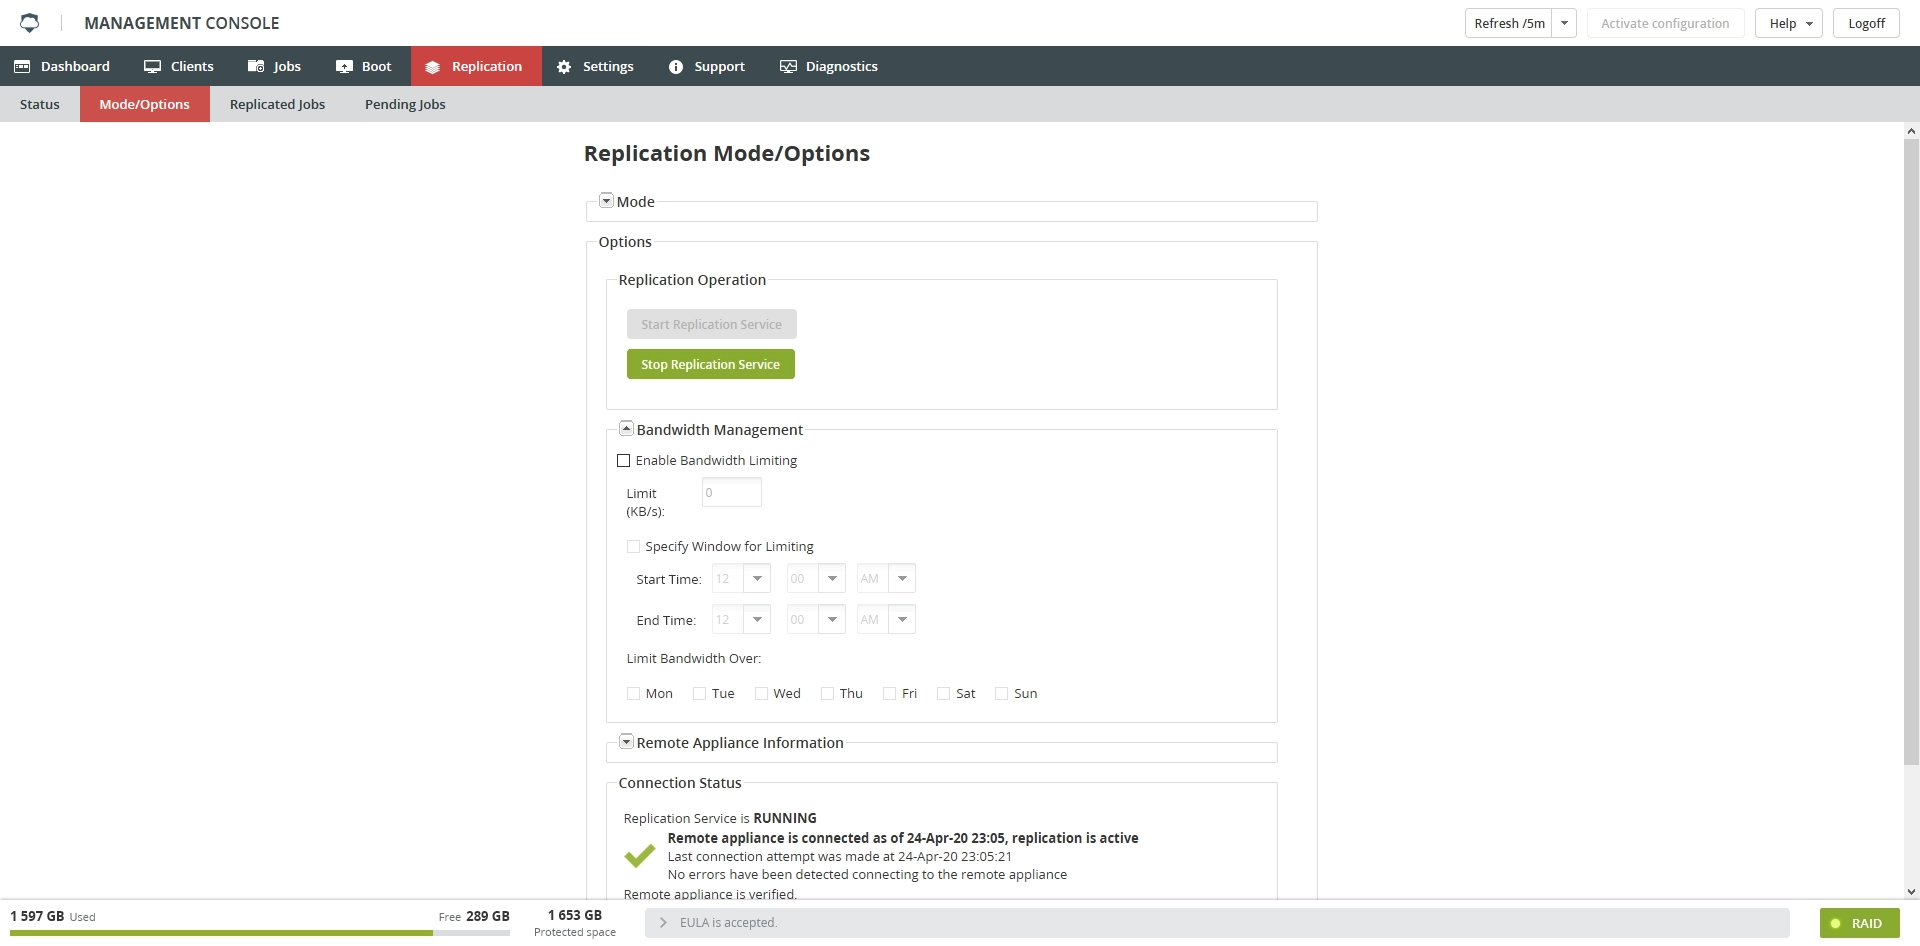
Go to Replication › Mode/Options.
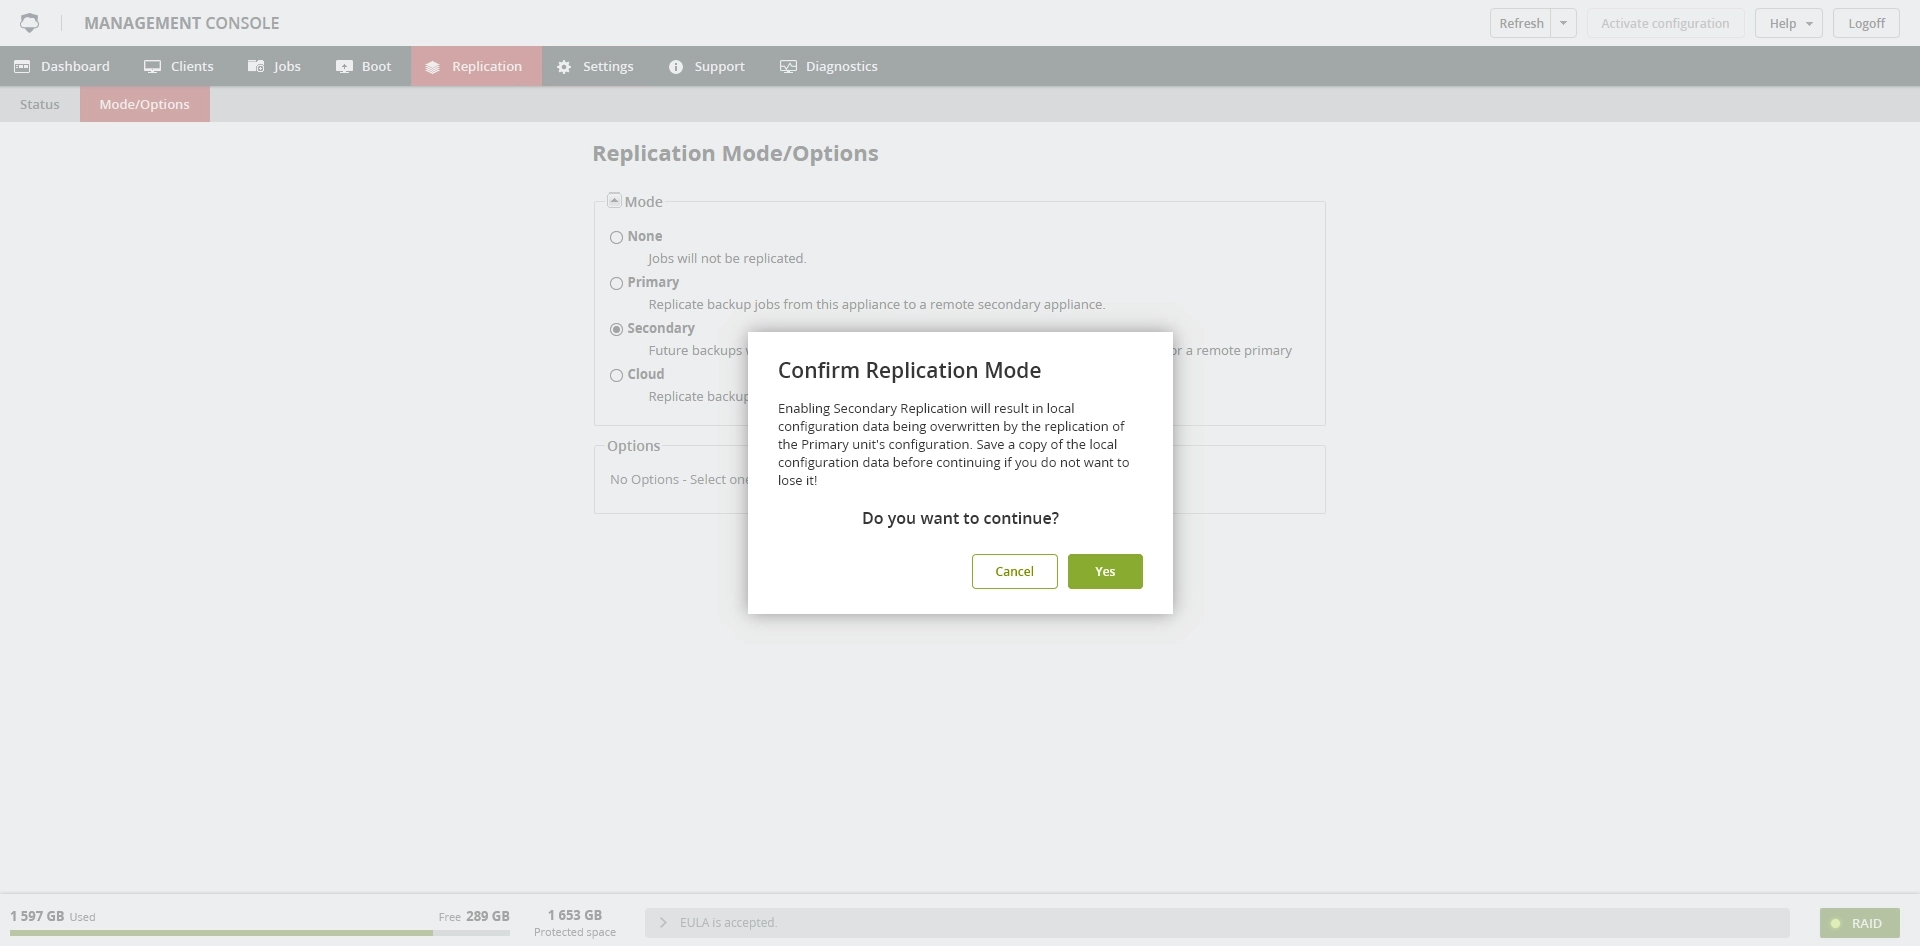
Select Secondary, and then confirm the replication mode.
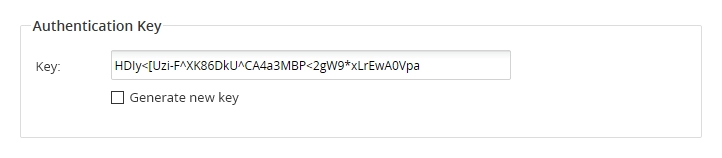
Select Generate new key to indicate that you would like to generate a new key.
Both the primary and secondary appliance need to share a security key. You can generate a new key on the secondary appliance, which will then be used when setting up the primary appliance.

The new key will have to be manually transferred to the replication partner whenever it is changed.
Enter the network address of the appliance you will be using as the primary appliance into the Address box.
You can use either a system name (which must be resolvable via DNS) or an IP address.
You can also enter an optional description of the remote appliance you will be using as the primary appliance.
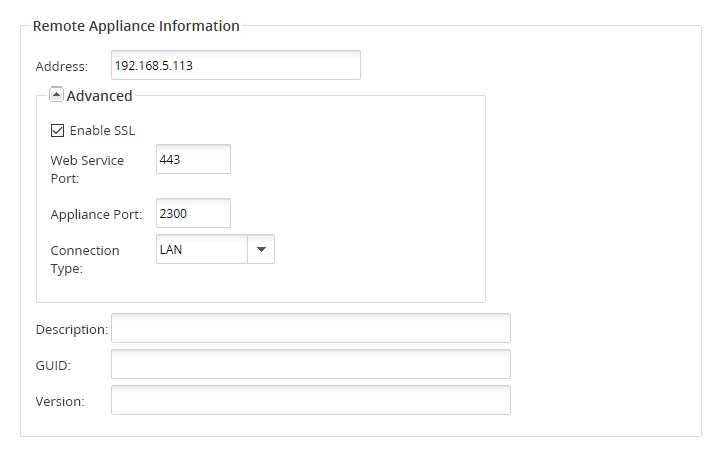
The value in the Appliance Port box should be left at its default value (2300) unless you have a specific reason (firewalls, security, and so on) to change it. If you need to change it, click the down-arrow to expand the box labeled Advanced and access the port setting.
If the value in the Appliance Port box is changed, it will be necessary to change the primary port to the same value.
At this point you have entered enough information to make a connection to the primary appliance. Click Apply at the bottom of the panel.
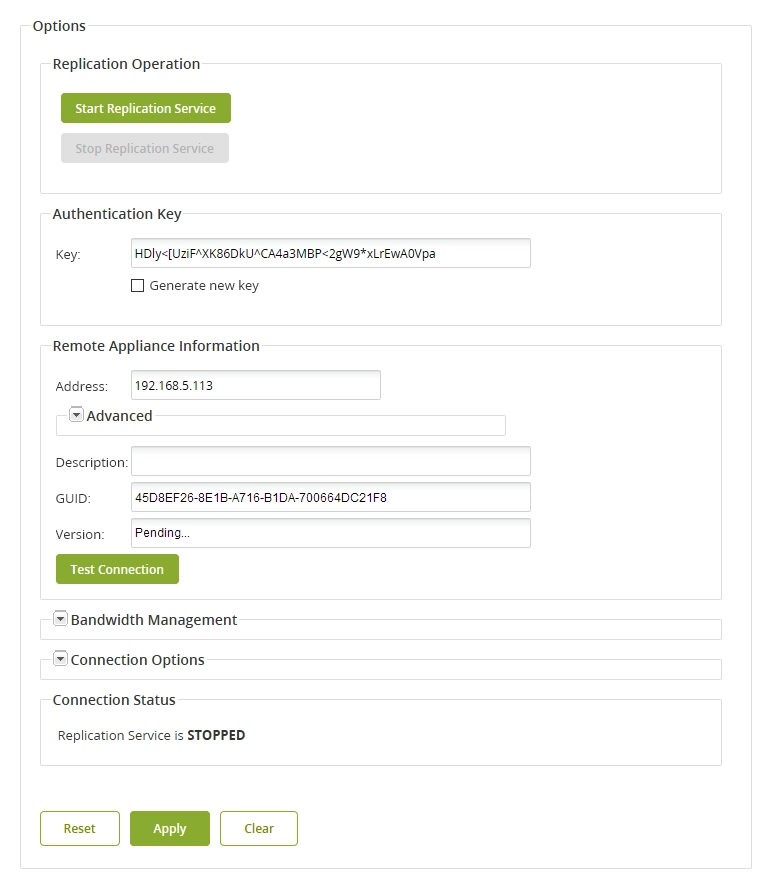
While the primary appliance is being contacted, the UI panel will temporarily become disabled. This is normal and it may remain this way for up to a minute or more. Once the primary appliance has replied, the UI panel will again become active and the authentication key and remote (primary) appliance GUID fields will be populated as shown below.
The actual text shown in the authentication key, address, and remote GUID fields will be unique to your appliance and will not match the example shown above.
The Configuration Status section at the bottom of the panel will keep you informed of any errors that may occur. During the initial setup process, it is normal for the first appliance being set up to receive message saying The remote appliance is not connected and will show an error symbol. This condition will be resolved once the primary appliance has been configured.

If you encounter any errors other than the Remote appliance is not connected error shown above (see Errors During Setup and Configuration for more information).
Now that the secondary appliance has the GUID of the primary appliance the replication service enabled.
Click Start Replication Service to enable replication.
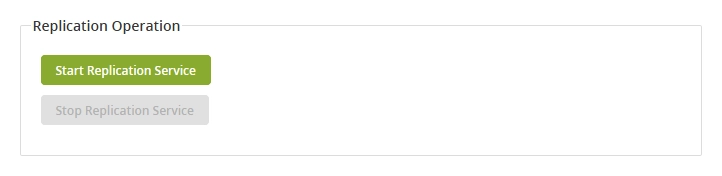
Click Apply again.
This completes the basic configuration of the secondary appliance.
Any error message generated when the first connection attempt was made may come back at this point.
Configuring primary appliance
Log in to the Management Console of the primary appliance.
Go to Replication › Mode/Options.
Select Primary, and then confirm the replication mode.
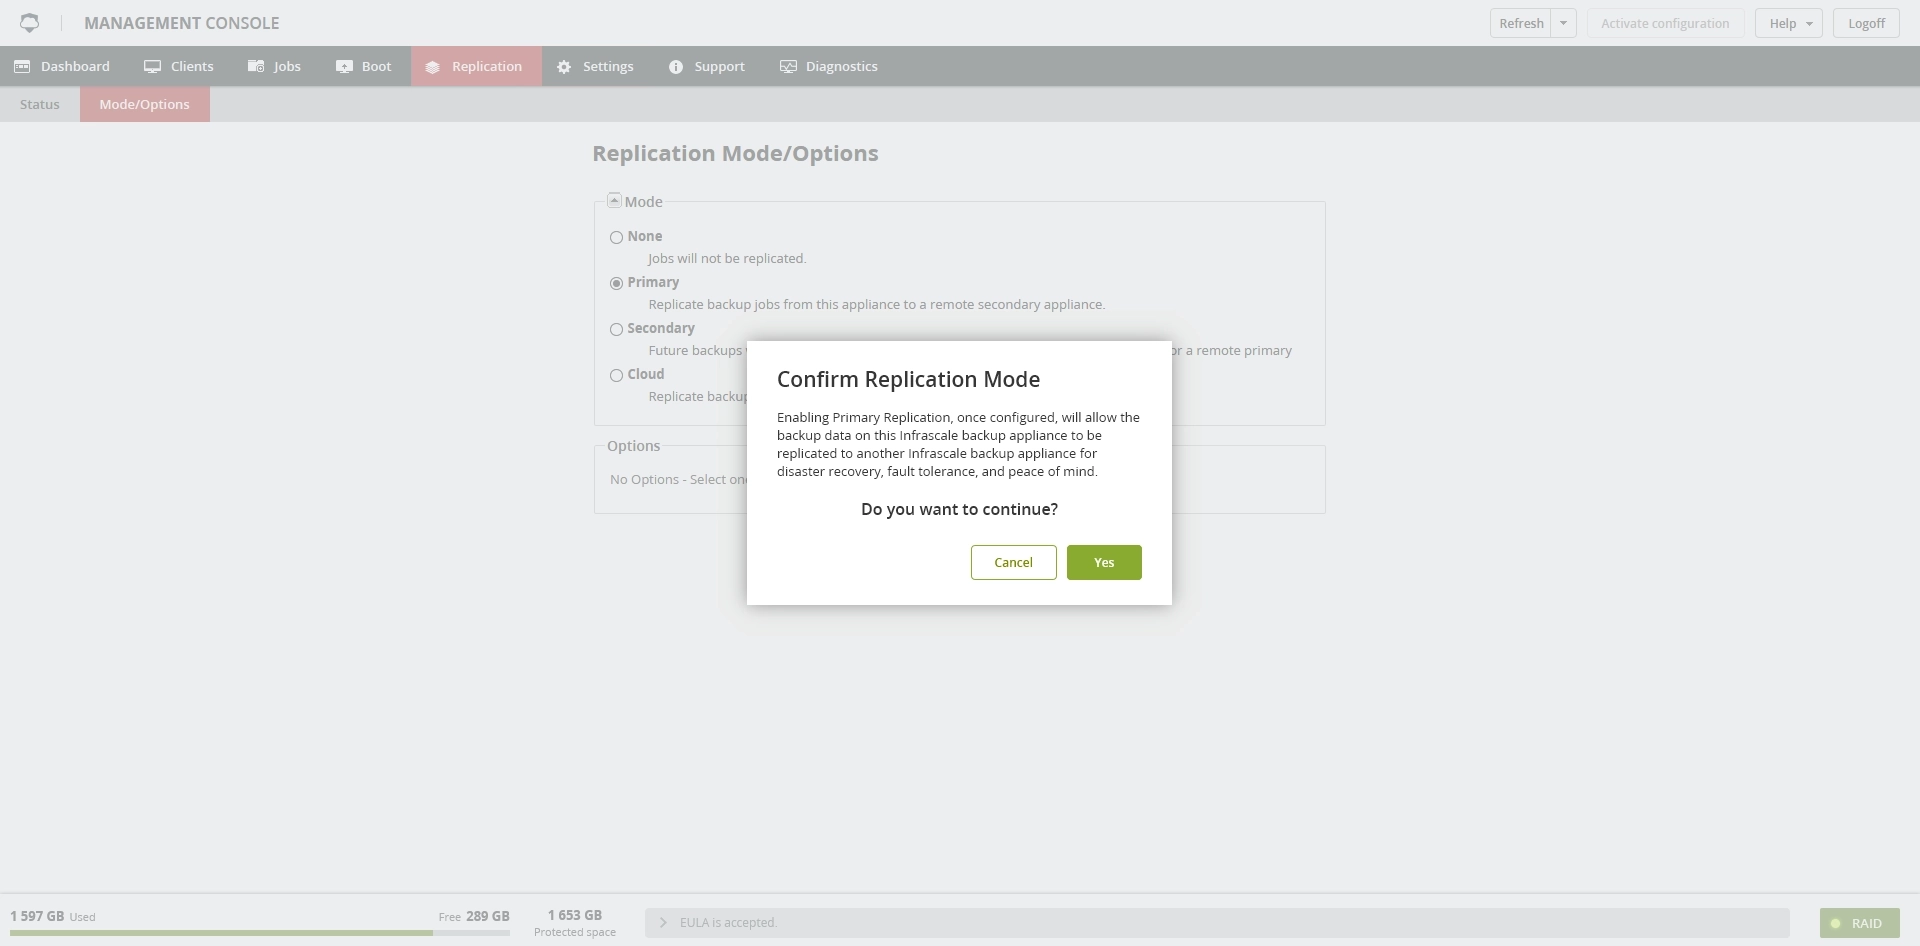
Make sure both Replication service buttons are greyed out while setting up the connection to the secondary appliance.
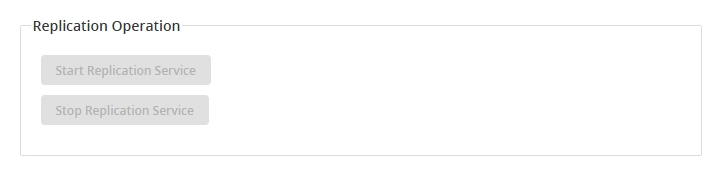
You will come back here later to turn on the replication service once the connection to the secondary appliance has been confirmed.
Using the exact same authentication key that was generated when configuring the secondary appliance, enter the key in the Key box.
The most accurate method to transfer the key is to copy and paste the text from the secondary appliance Key field directly into the primary appliance Key field. This makes it easier to ensure that the text is identical on both appliances.
Enter the network address of the secondary appliance (the one you already set up) into the Address field. As with the secondary appliance configuration, you can also specify an optional description of the appliance you have designated as the secondary appliance.
You will also have to select the connection type under the advanced drop down options. The options are LAN mode and WAN mode. Set these according to the type of connection you will have between the appliances.
LAN mode is designed to be used on local networks, it transfers larger blocks of data at one time, so it can achieve faster speeds, but has more to re-transfer if something does not transfer correctly.
WAN mode is designed for slower connections, it transfers smaller blocks of data at one time, so it cannot achieve as much speed as LAN mode, but is more stable, and has less to retransmit if something does not transfer correctly.
Once initial seeding is complete, you will need to return to the primary appliance bandwidth management options and turn the delta compression on by selecting Enable Byte Level Delta Compression and clicking Apply at the bottom of the panel. This is essential to unlock the full potential of the byte-level replication. See Starting and Monitoring Replication for more information.
You are now ready to complete the primary connection configuration. Click Apply at the bottom of the panel. After a short delay, the UI panels should become re-enabled and the GUID of the remote (secondary) appliance should appear in the GUID field.
If an error appears in a pop-up or in the Configuration Status area at the bottom of the panel, or you do not see the GUID field populated as shown above, please refer to Errors during setup and configuration for more information.
Finally you will need to start the replication service on the primary appliance to complete setup.
Once you have started the service the connection status should show a green check mark, and display the message Remote appliance connected as of ....
There are some additional, optional controls that you have over the replication process and they are described below. You can adjust these settings at any time and do not have to deal with them at this point in the configuration process. It would be a good idea to read through and become familiar with what is available. You can then decide to set them up now or continue with starting the replication process.
Once replication has been enabled, you will need to click Stop Replication Service to be able to modify any of these settings. Then once the settings have been changed and applied, click Start Replication Service again to resume replication with the new settings.
Advanced replication port management
These settings can generally be left unchanged. If you are replicating over the internet by using port forwarding and NAT on the local and remote firewall this section of settings gives you the flexibility to change the ports as required by your firewall setup.
- Web Services SSL
- Check to enable the use of the SSL protocol for appliance recognition, defaults to on.
- Web Services Port
TCP port used to contact remote appliance via web services for appliance recognition.
If port forwarding is not enabled on a firewall in between the two appliances this value must be 443 if SSL is enabled, or 80 if SSL is disabled. If your firewall will translate some other port to the remote appliance port 80 or 443 this value can be changed to said port.
- Appliance Port
- TCP port used by the replication service, this value and the corresponding value on the remote appliance need to match. The default value is 2300.
- Propagate Manual Delete
- Enabled by default. This option will remove jobs from the secondary that have been manually deleted from the primary. Disabling this option will allow the job to remain on the secondary until it is removed by its retention policy.
- Bandwidth Management (optional)
- The settings in this section allow you to tailor the effect of replication on your network.
- Enable Byte Level Delta Compression
- Toggle on/off the process of calculating and using only the changes in job data when replicating jobs to the secondary appliance. This feature may require a feature license key. Contact your sales representative if you require this functionality for replication over limited bandwidth connections.
- Enable DDFS Assisted
- Toggle on/off the process of replicating only the block files needed to recreate a backup job on the secondary.
- Enable Bandwidth Limiting
- Toggle on/off the bandwidth limiting feature. By default, the replication process will use as much network bandwidth between the primary and secondary appliances as it can. You can limit the bandwidth available to replication by using the Bandwidth Management controls. The controls and their function are described below.
- Limit (kB/s)
The maximum number of kB/s that replication will use when transferring data from the primary appliance to the secondary appliance, when bandwidth limiting is enabled. For example, to use only 256 kB/s, enter
256. These values may be adjusted and depends on your internet bandwidth speeds.This is measured in kB/s, while networks are typically measured in kbit/s. To calculate what value to set this setting at to match a specific speed, divide the speed by 8. For example, if you wanted to limit the system to 800 kbit/s you would set this setting to
100.- Specify Window for Limiting
Toggle on/off the ability to specify a start/stop time within which to limit replication bandwidth, this way you can limit bandwidth usage during business hours, but use the full connection when it will not impact production.
The following options are only available on the primary appliance, though they control all communication between the primary and secondary appliances.
- Start Time
- Hour and minute of the day to start limiting replication bandwidth
- End Time
- Hour and minute of the day to stop limiting replication bandwidth
- Limit Bandwidth Over Weekend Days
- Toggle on or off to use the specified limiting on Saturday and Sunday (
offis the default meaning all available bandwidth is used over the weekend)
Connection options
Some additional options are available to control the replication process.
- Encryption
Select to encrypt the data transferred between the primary and the secondary appliances or not. Possible values are:
- None
- Data is not encrypted, this is default and should not be necessary if you are replicating over a secure LAN or VPN
- AES-256
- Data is encrypted using the AES-256-bit block cipher
After changing any of the options described above you must click Apply in order for the options to take effect.
Cloud replication setup
This section will cover configuring your appliance to replicate to our cloud.
Our cloud
After registering appliance, you can select Cloud under Mode/Options.
Select Cloud and you will be prompted to walk through the Cloud Replication Setup Wizard. You will have the option to create a new cloud setup, or an existing cloud setup in the event you need to replace appliance that is no longer replicating.
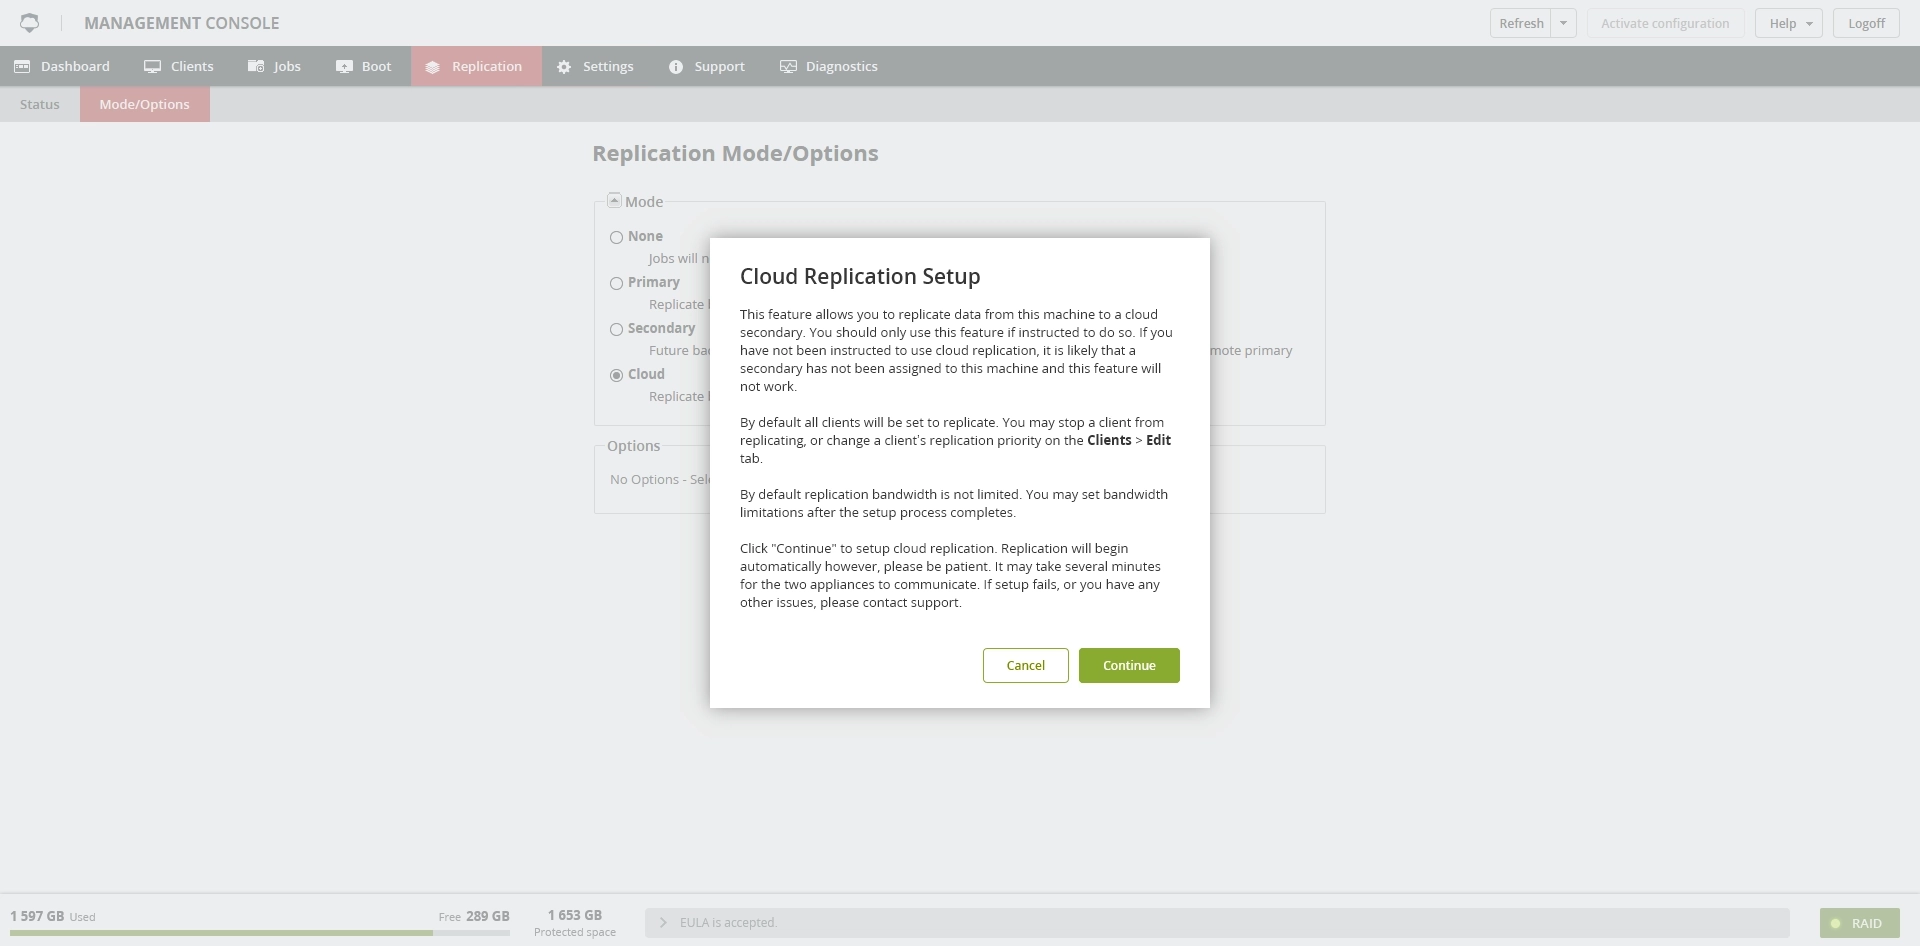
After making your selection, the Cloud Replication Setup Wizard will complete and replication will be started automatically. It may take several minutes for a new cloud setup to come online and communicate with the primary appliance.
Start or stop replication services
To start or stop the replication services on appliance, click the appropriate button.
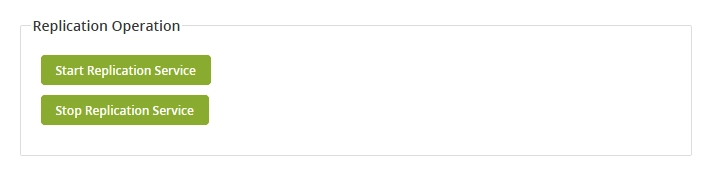
Stopping the replication service is needed to make any changes to any settings once replication has been set up. After making changes in any settings, click Apply, then click Start Replication Service to resume replication with the new settings.