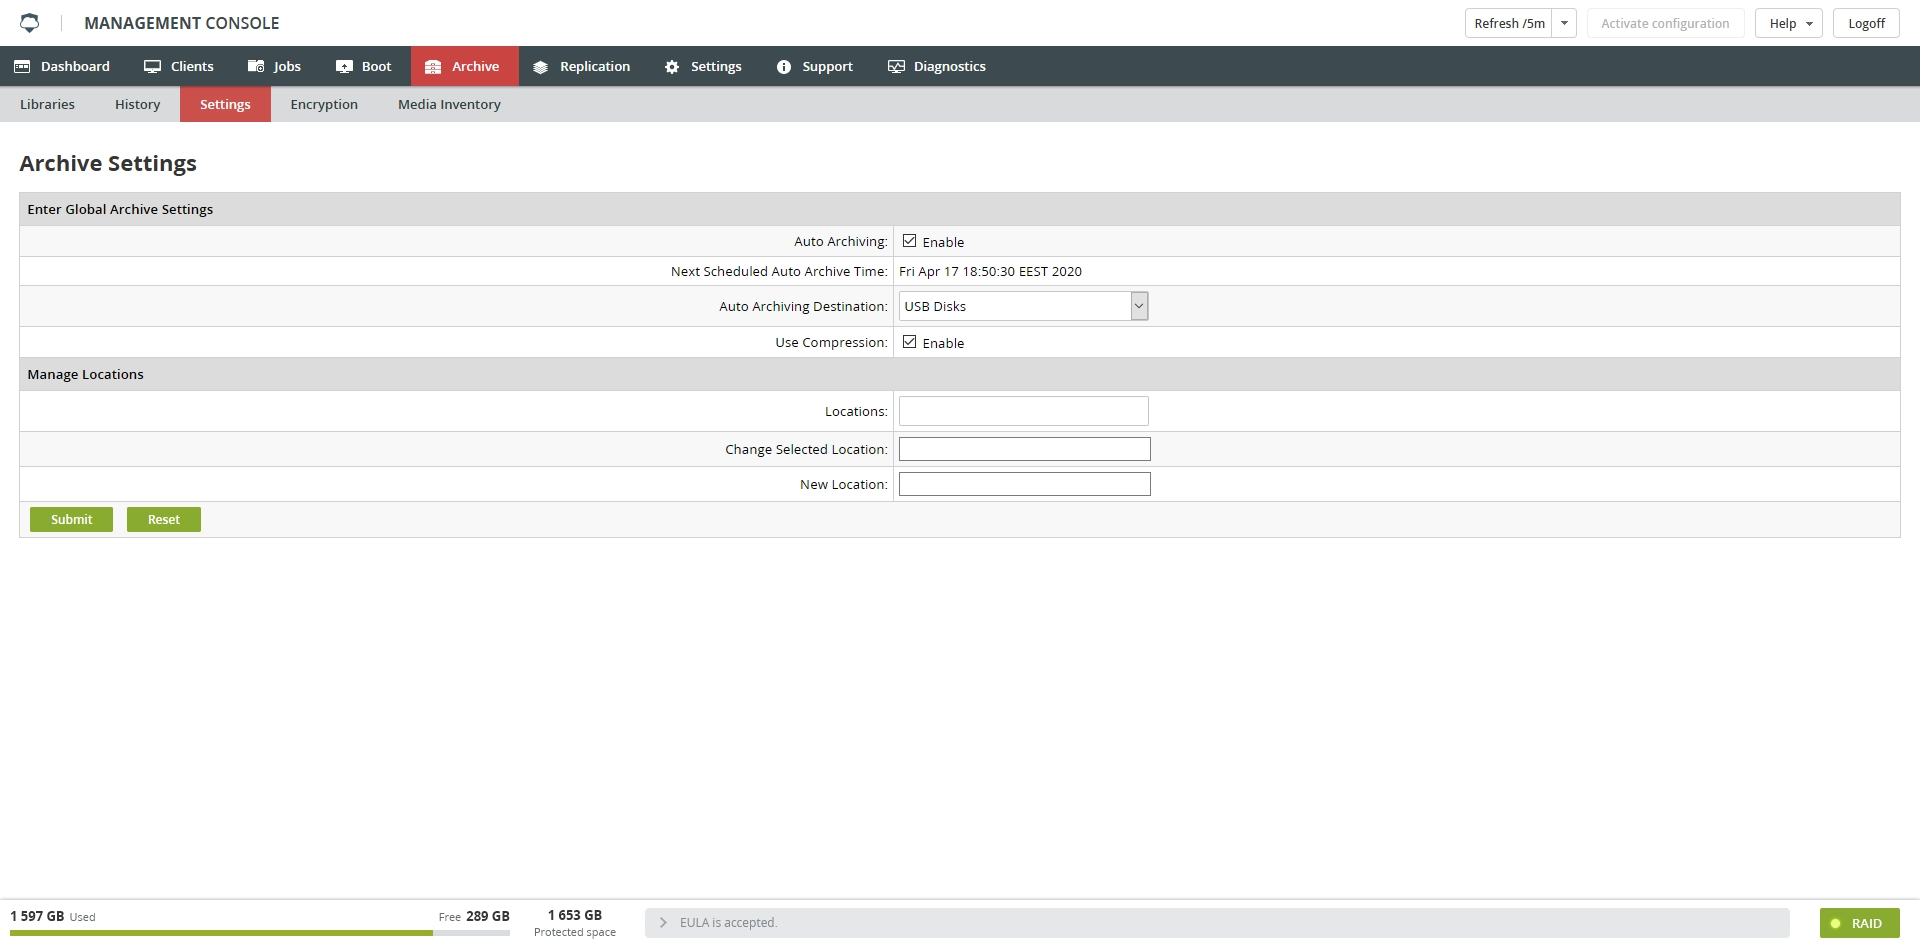
Settings subtab
This functionality is deprecated and not available since Infrascale Backup & Disaster Recovery 8.12.0.
Use the Settings subtab to manage automatic archiving and archive locations:

Use the Enter Global Archive Settings section to manage automatic archiving settings:
| Setting | Description |
|---|---|
| Auto Archiving | To enable automatic archiving, select Enable, and then click Submit. To disable automatic archiving, clear Enable, and then click Submit. When this feature is disabled, no automatic archiving will take place, even if it is enabled at the client level. |
| Next Scheduled Auto Archive Time | This field simply lists when the system will next check to see if any jobs that are set to automatic archiving have been queued. The system should check for new jobs once an hour. |
| Auto Archiving Destination | Use the drop-down list to select the automatic archiving destination—either the local archive disk or attached USB drives—and then click Submit. |
| Use Compression | To enable compression select Enable, and then click Submit. To disable compression, clear Enable, and then click Submit. When this feature is enabled appliance will compress the backup jobs as they are written to the archive drive. This will save space on your archive drive, but will cause the archiving process to be slower. |
Use the Manage Locations settings to create and edit locations that can be assigned to the archive media:
| Setting | Description |
|---|---|
| Locations | This list shows all of your locations |
| Change Selected Location | To change the name of an existing location, select the location in the Locations list, type the new name in the Change Selected Location box, and then click Submit |
| New Location | To add a new location, type the name of the new location in the New Location box, and then click Submit |
