
Requirements
Microsoft SQL Server 2008, 2008 R2, 2012, 2012 R2, 2014, 2016, 2017, 2019, 2022, 2025
Shared Management Objects and CLR Types for Microsoft SQL Server 2008 or 2012 respectively
Online Backup and Recovery Manager (OBRM) must be installed on the same machine where Microsoft SQL Server is installed
OBRM must be run with administrator privileges (Run as administrator)
Database backup
Open OBRM.
Click Configure (
 ) against Microsoft SQL Server Backup.
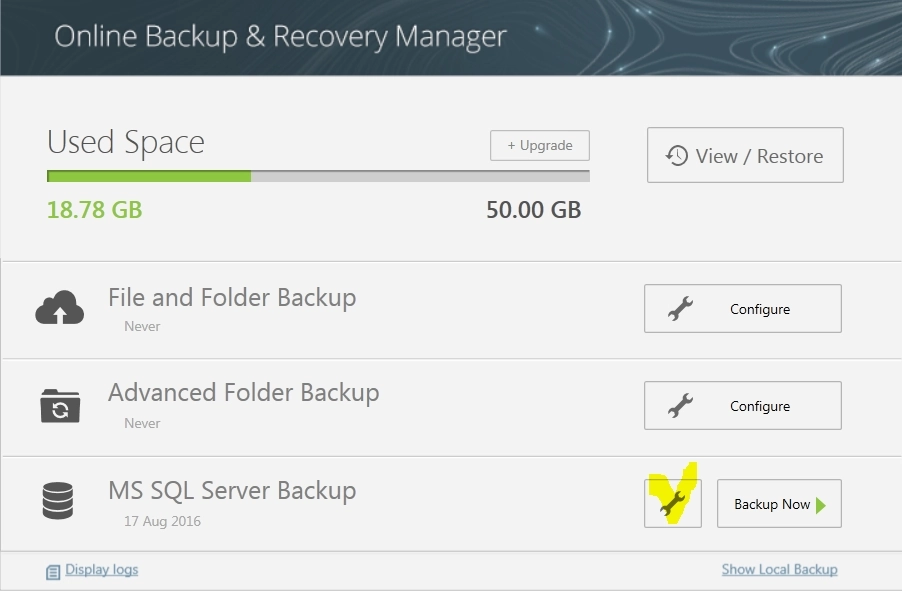
Database selection, retention policy, authentication policies
The OBRM will automatically detect and list supported SQL databases, just select the databases to backup.
If the database has already been backed up, the last full and differential backup dates will be listed.
Select the necessary backup and retention policy options.
The user can set a retention policies for the full and differential backups based on age in days.
Only a single full and, optionally, a single differential backup file are required to recover your SQL Database.
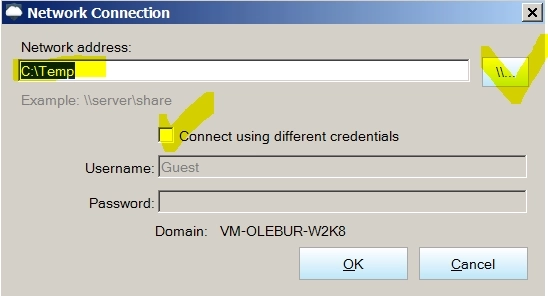
If you decided to keep the latest copy of backup locally (it will be saved and kept in folder you selected as Temp folder path) please check the correspondent field.
If you do not want to use the current credentials, please clear Use Windows Authentication, and then fill the user credentials you prefer.
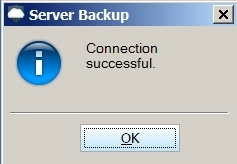
Do not forget to select Test Connection to be sure that selected credentials can be used.
The temp folder path is used to store the SQL Database(s) selected for backup while processing and preparing for online backup (create a backup file, compress, encrypt and then transfer it). While filling Temp folder path field you may select different credentials, appropriated to the selected path. The temp folder path and its credentials must be setup for each database separately.
When finished with backup options, click Next to schedule your backup time.
Backup monitoring
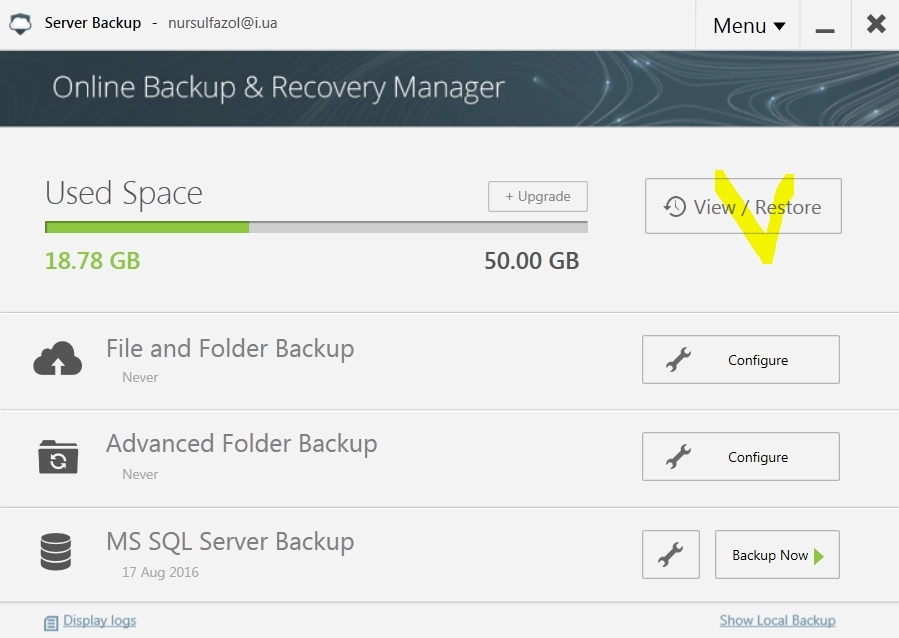
You can check progress of the current backup, and to view details of the previous backups in the Infrascale Dashboard.
Scheduling options
If you choose backup even when Windows user is not logged on, you have to provide the credentials for the account, on behalf of which this backup will run.
Do not forget to fill the email address to which backup reports will be sent.
If you want, the backup job will run right after you complete with the wizard, check the field Run backup at the end of wizard.
When all necessary data filled, just click Finish to complete the wizard.
If you selected Run backup at the end of wizard, your backup will start immediately and you will get the results as follows.

Database restore
Use OBRM to restore protected SQL databases to your local machine by selecting the Restore tab, refreshing your backup set.
Restore from the cloud
Database selection
Find your machine, database and the date of backup you want to restore.
Full Backup
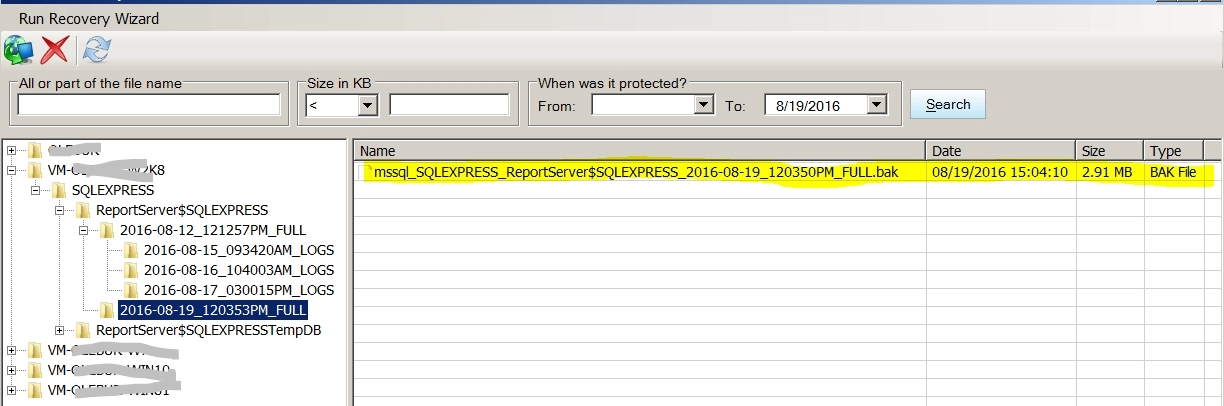
Differential Backup
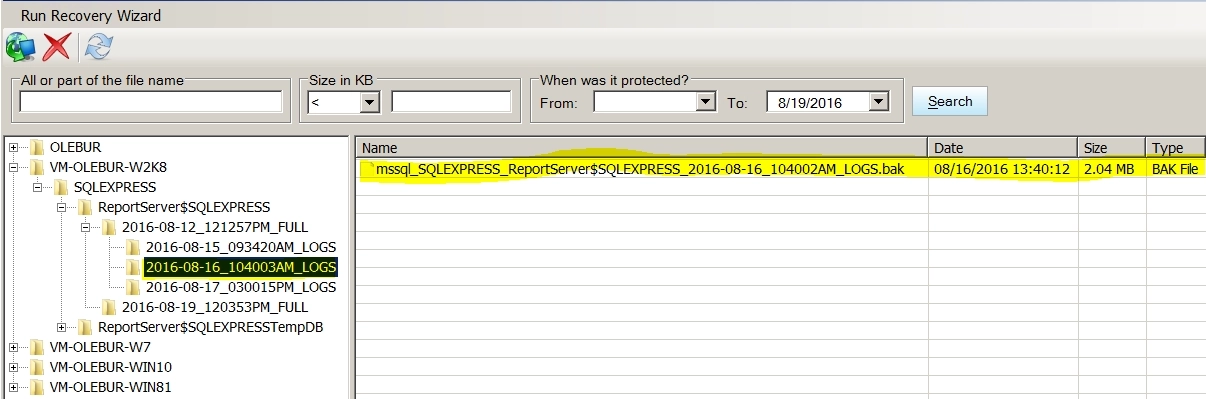
For best recovery speed, it may be best to first restore the full backup to your computer without selecting the differential backups. Then, go back and select the differential backup file, to which you would like to restore.
Right-click the selected
.bakfile, and then click Recover.Select the location for the restored file, and then click OK.
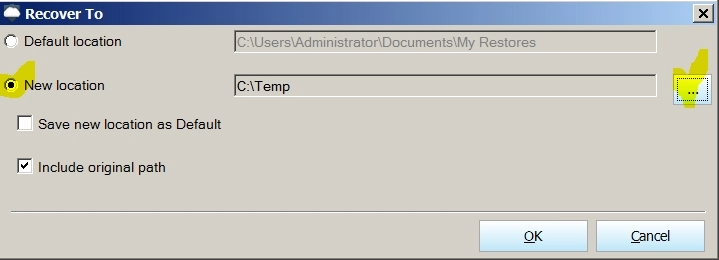
Wait for the recovery process completion.

Database restore to an SQL server
Once you have the backup files you need on your local machine, use SQL Management Studio to recover the full, and after this—the differential backup, if exists.
Instructions can be found here.