
This functionality is deprecated and not available since Infrascale Backup & Disaster Recovery 8.12.0.
Overview
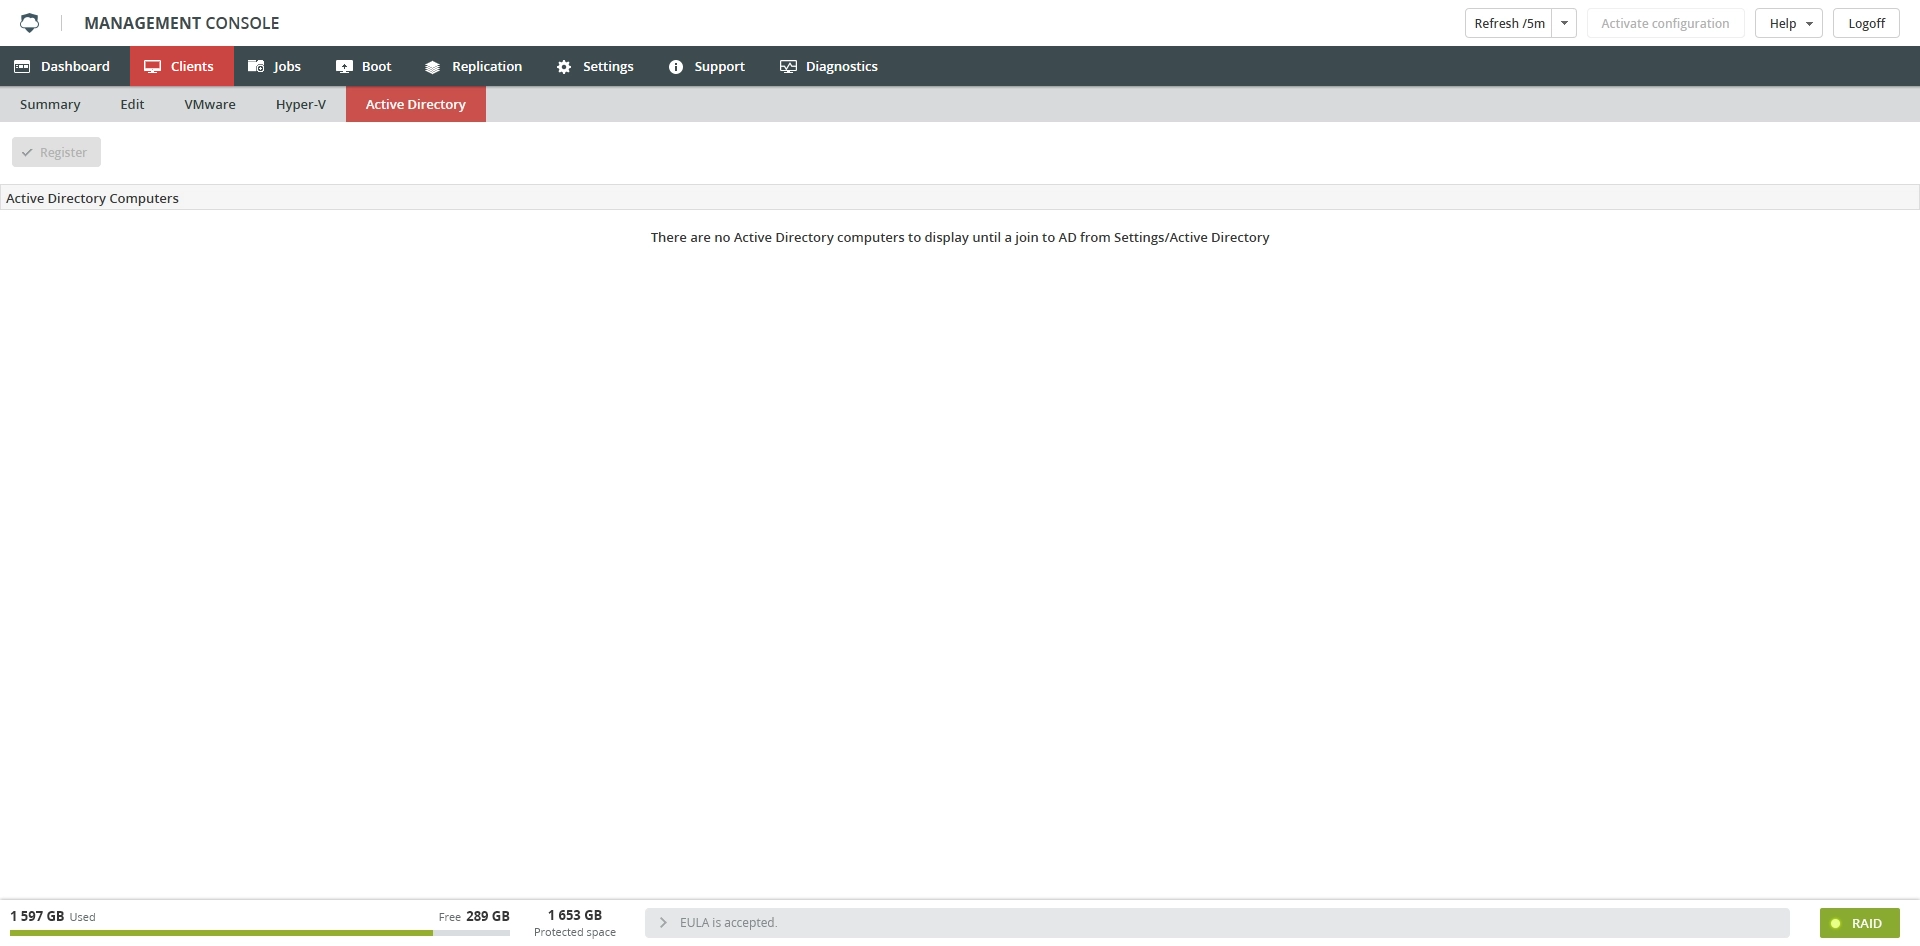
After you add appliance to the Active Directory, a list of clients in the Active Directory will be displayed.
Select the computers that you want to create a client for.
You can also assign default settings to a single or to multiple clients as follows:
Select a client you want to inherit the default settings.
Click the Create Clients link in the lower-left corner.
Remember to click Activate Configuration to apply your changes.
Deploy backup agent
Copy the
backup-client-[version].msifile (this file can be downloaded from Support › Portal) to a shared location on the network that all target machines will have access to. If you are going to apply any.msttransformation files, copy them as well.From the Group Policy Management console, create a new group policy.
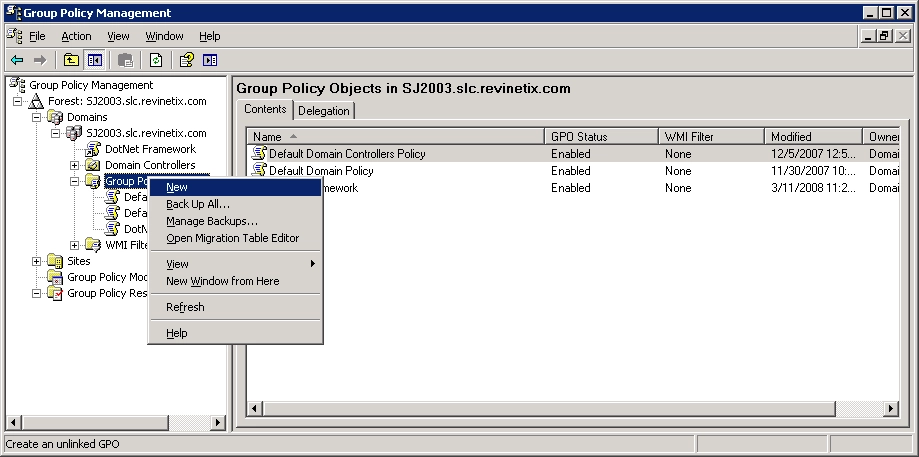
Enter the name for the new group policy.
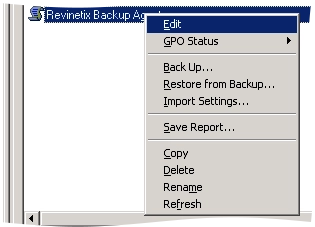
Right-click the newly created group policy, and then click Edit.
Go to Computer Configuration › Software Settings, right-click Software Installation, and then click New › Package.
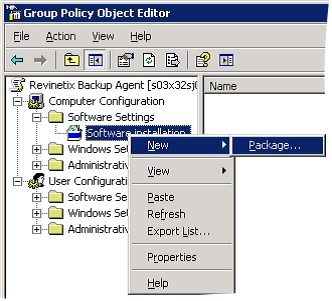
Select the
rvx-backup-client-[version].msifile that you previously copied to a server share.Select Assigned for normal installation, or Advanced to apply an
.msttransformation file, then click OK.If applying a transformation file such as
backup-client-NoFirewallChange.mst, go to the Modifications tab, and then add the desired.mstfiles.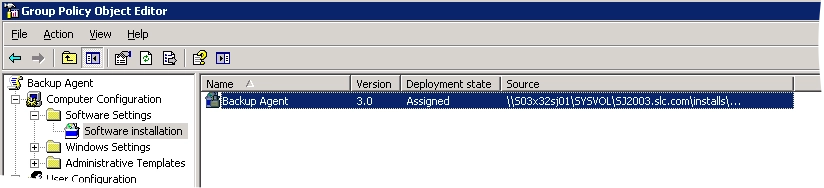
Close the Group Policy Object Editor (but not the Group Policy Management console).
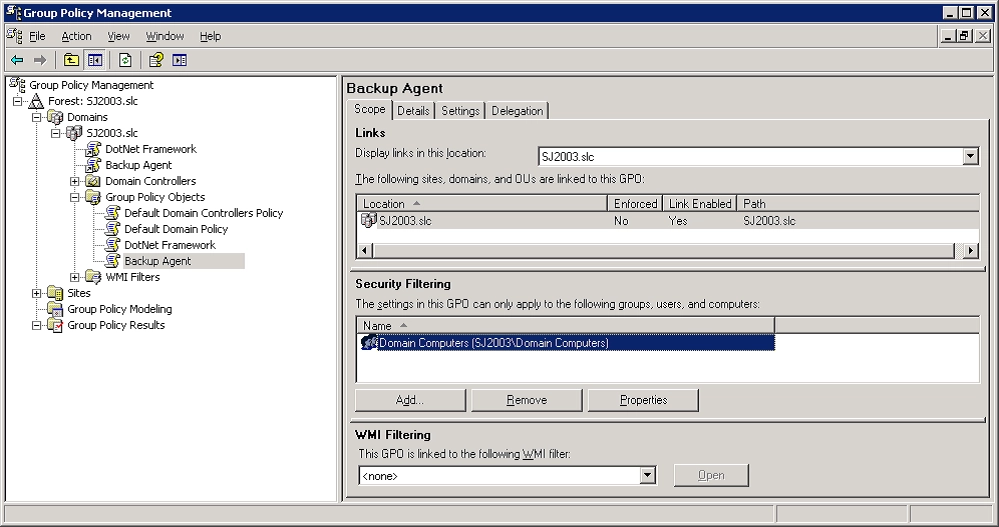
To change the security address for the group policy object (you will apply it to computer objects and not users), delete Authenticated Users, and then add Domain Computers.
Drag and drop the newly created group policy object into a container to create a link.
In the example below, the group policy object named Backup Agent is being linked to the top of the domain. The policy that deploys the .NET framework must also be in the container.
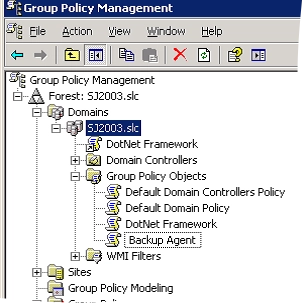
To link the group policy object, click OK.

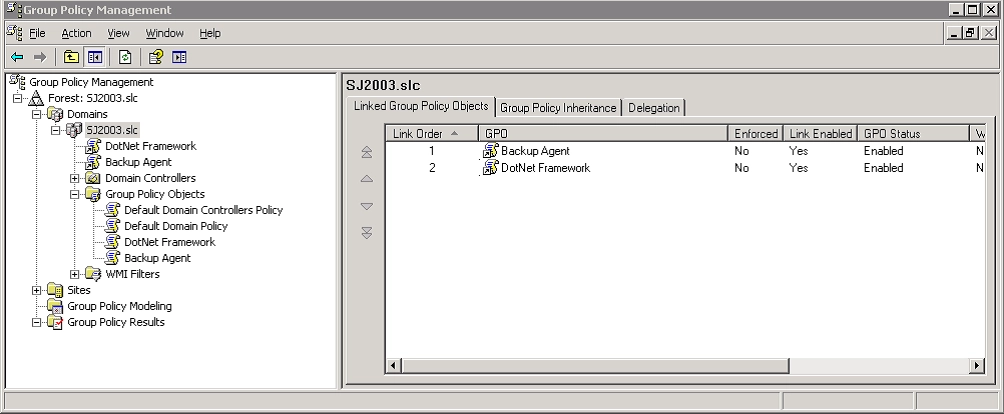
To ensure that the .NET framework is installed before the backup agent, select the container that contains the backup agent, and order the group policy object links such that the priority for the .NET framework group policy object is greater than the priority for the backup agent.
Software installations are only applied when the client computer reboots. During the startup process, before the login screen, you should see the following messages:
Installing managed software Microsoft NET Framework 2.0Installing managed software Infrascale Backup Agent
The first message will appear only if the .NET framework had not been deployed previously.
You would use the same process for the 64‑bit .NET framework and the Infrascale backup agent. WMI filtering could be used to only deploy correct software on 32‑bit and 64‑bit machines.
Back up Active Directory components
By default, system Active Directory components are backed up as part of a system state backup. After you have installed the client on the Active Directory server (domain controller), complete these steps to enable system state backups.
Start RVXConfig on the server, and go to the Service Control tab.
Select Enable System State Backup.
You can also select any other required plug-in overrides.
Click OK or Apply to commit changes.
Agent configuration to enable or disable system state backups is also subject to override using the new plug-in controls on appliance.
Troubleshooting
Make sure that the target machine is properly communicating with Active Directory. From a command prompt, run netdiag and make sure there are no issues related to DNS or Active Directory and that all of the reported values are expected.
If you want to check if the group policy object will be applied without rebooting the target machine, from the command prompt, run gpupdate /force. The output should provide information if reboot is required to install the software.
Also, make sure that the target machine is a member of the container that contains the group policy objects.
Check the event log.