Overview
To browse and view the monitoring data regarding the status of the latest backups of the protected endpoints—that is, virtual and physical machines—made using the Backup & Disaster Recovery appliances within Infrascale Backup & Disaster Recovery:
Sign in to your account in the Dashboard.
Go to Disaster Recovery › Backup Status.
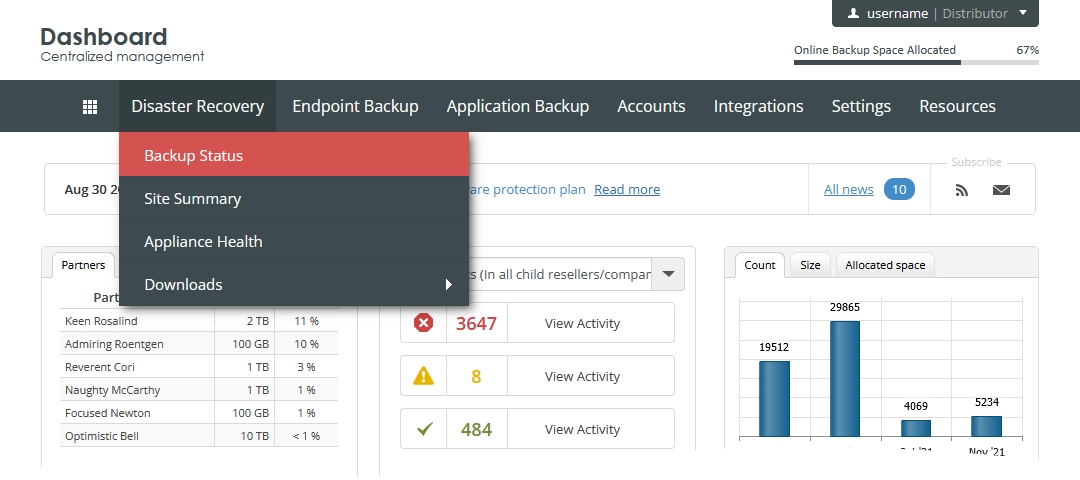
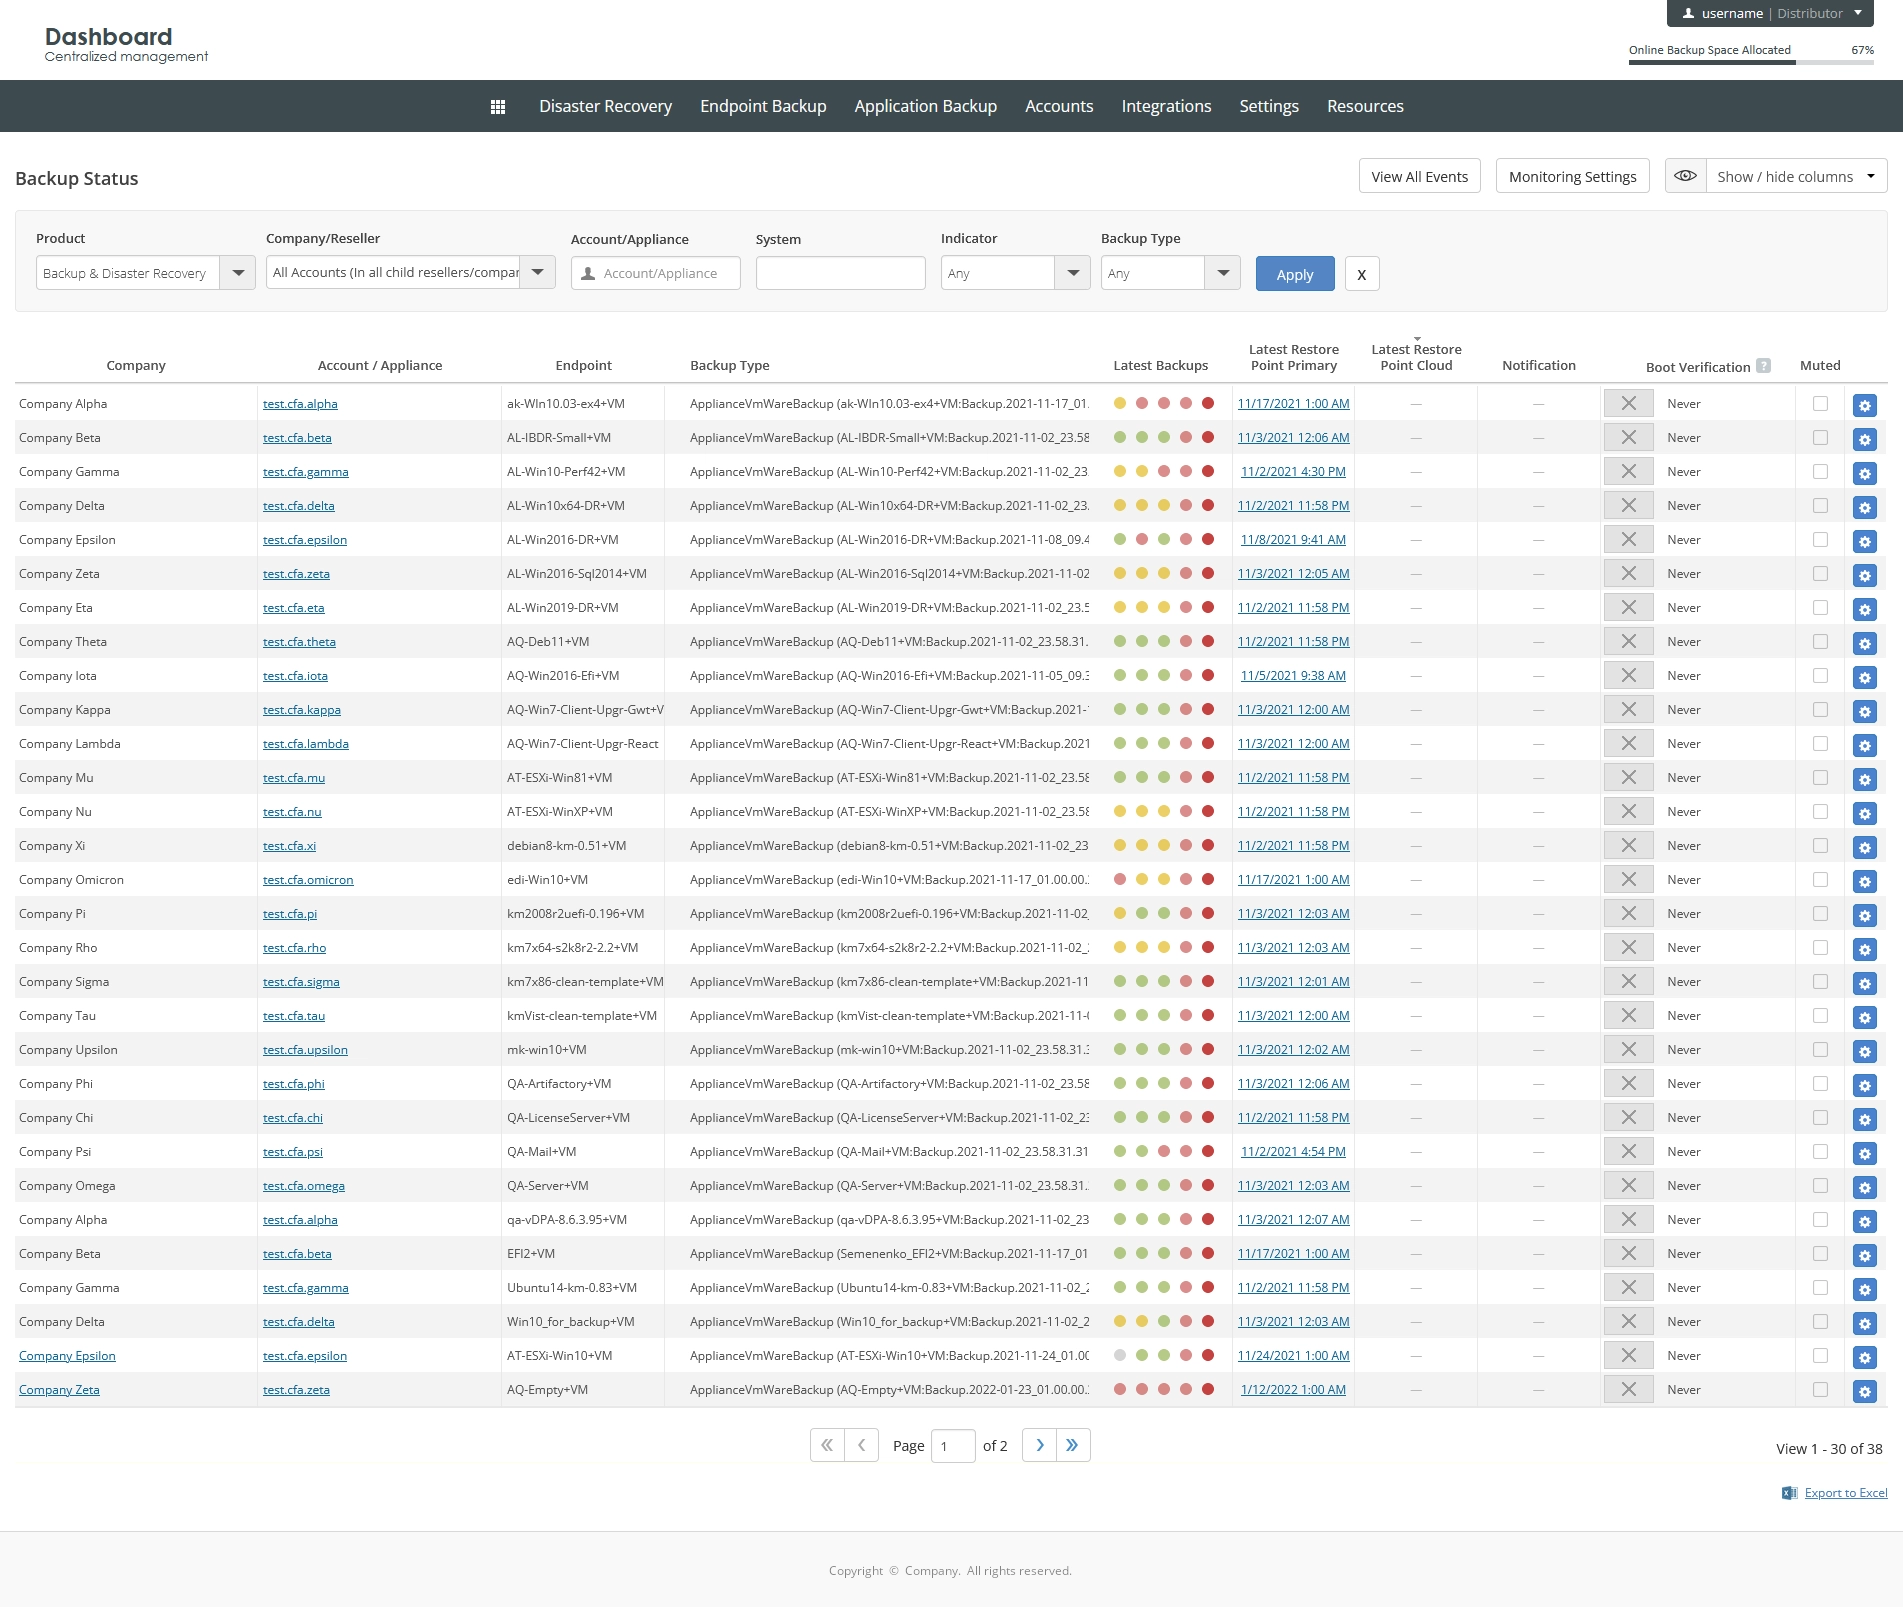
The backup status monitoring page opens.
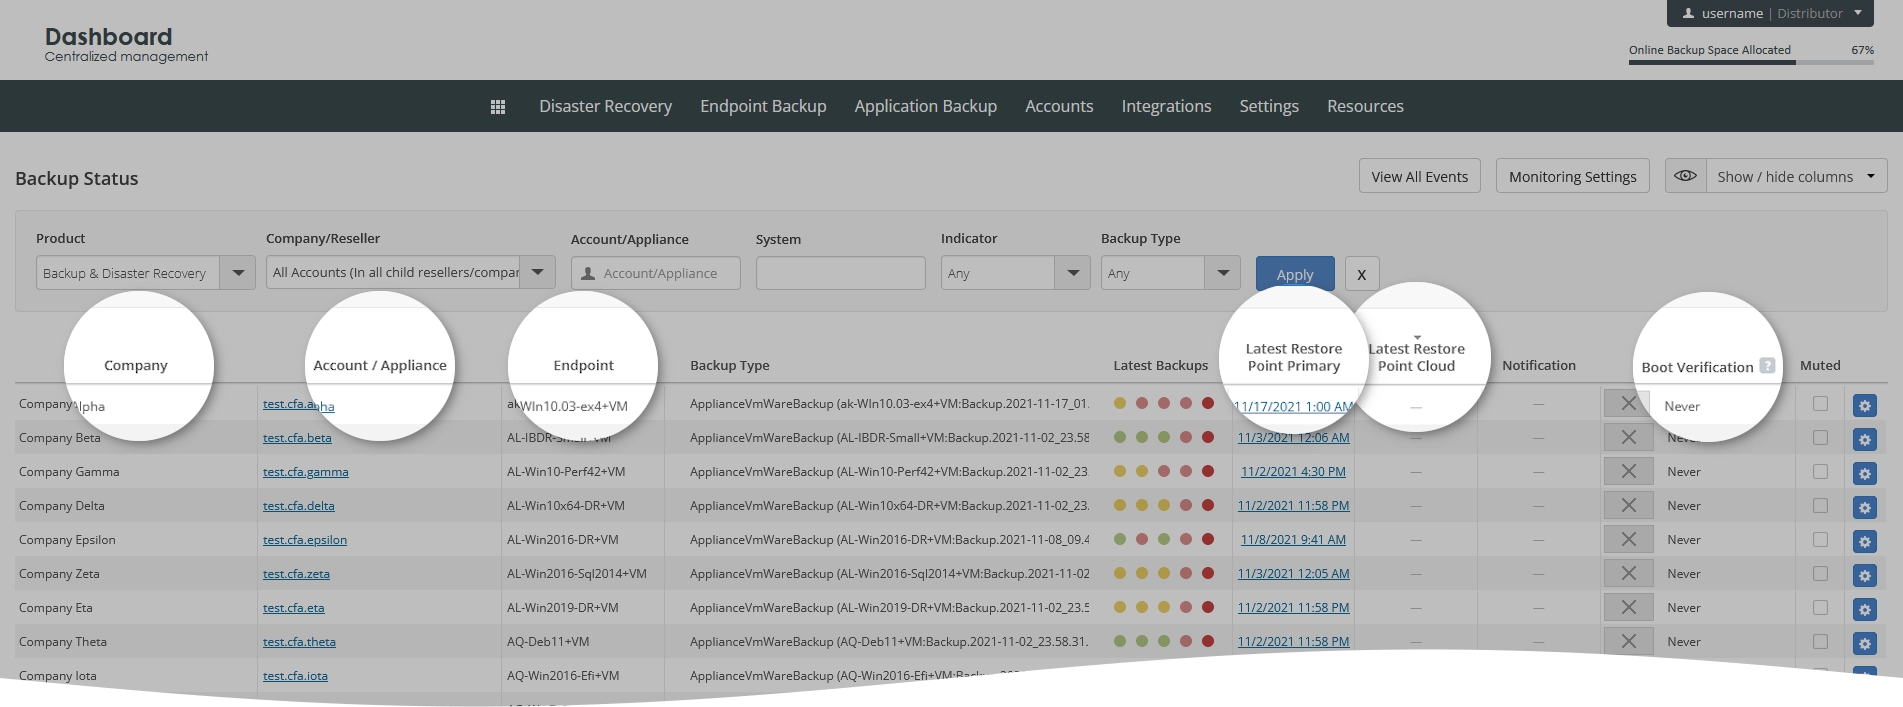
Information on the page is presented in the table format with the following columns:
| Column | Description |
|---|---|
| Company | Name of the company the appliance is registered under |
| Account / Appliance | Name of the appliance |
| Endpoint | Connection status and name of the protected endpoint—that is, a virtual or a physical machine |
| Backup Type | Type of the backup |
| Latest Backups | |
| Latest Restore Point Primary | |
| Latest Restore Point Cloud | |
| Notification | |
| Boot Verification | Status of the boot verification |
| Muted | Indication if the events—that is, alerts, notifications, reports, and so on—are suspended for the protected endpoint |
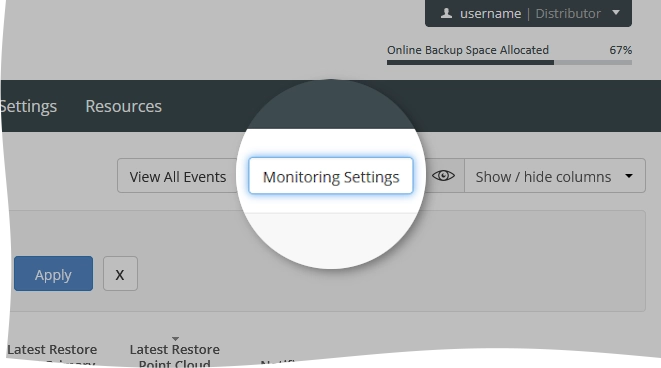
Configure
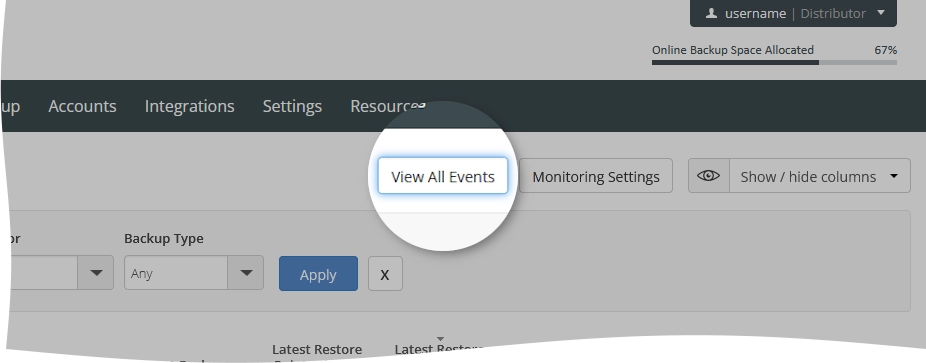
To configure monitoring of and reporting on the backup status, click Monitoring Settings.
View history
To browse and view the full history of backup events related to Infrascale Backup & Disaster Recovery, as well as to Infrascale Cloud Backup, and to Infrascale Cloud Application Backup, click View All Events.
See details about the backup history.
Actions
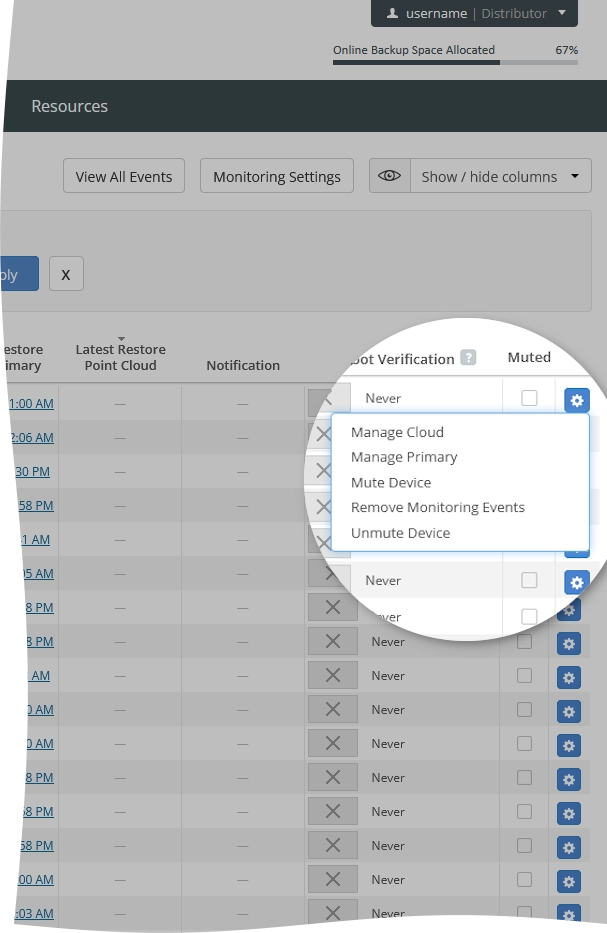
You can take actions on individual protected endpoints shown on the page. For this, click Actions (![]() ) in the last column of a protected endpoint record, and then click the desired action to take.
) in the last column of a protected endpoint record, and then click the desired action to take.
Some actions are available and active only if the protected endpoint is online.
| Action | Description |
|---|---|
| Manage Cloud | Go to the Management Console of the secondary appliance |
| Manage Primary | Go to the Management Console of the primary appliance |
| Mute Device | Suspend all events—that is, alerts, notifications, reports, and so on—for the protected endpoint |
| Remove Monitoring Events | Turn the monitoring off and remove all events for the protected endpoint from the system |
| Unmute Device | Resume all events—that is, alerts, notifications, reports, and so on—for the protected endpoint |
Navigate
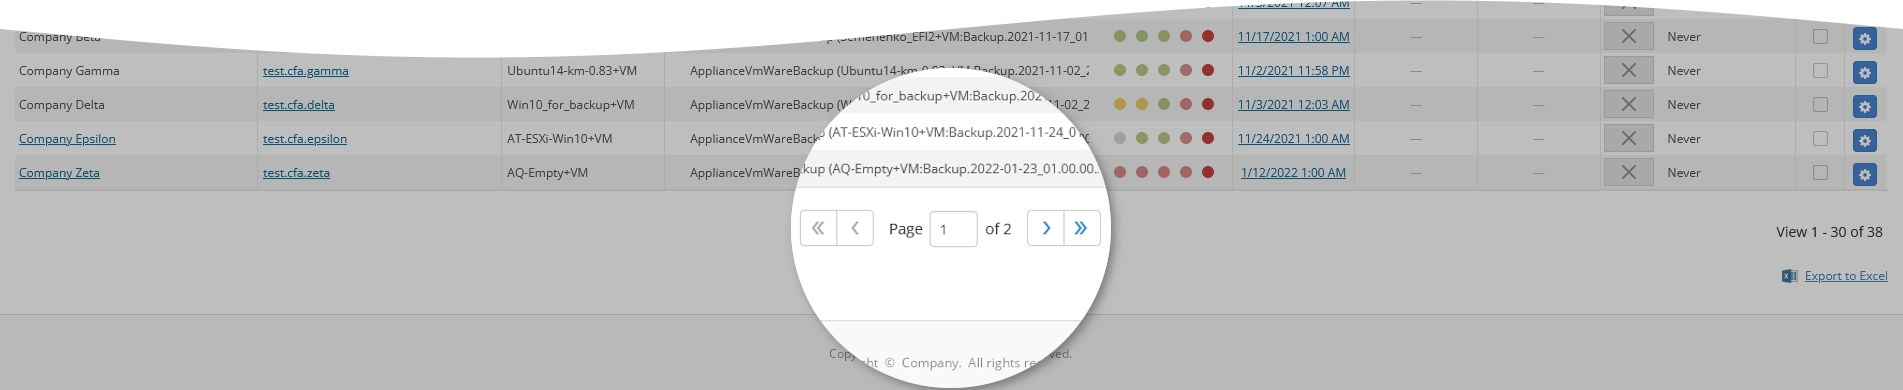
By default, the system shows 30 protected endpoint records in the table per page. To browse over the protected endpoints, use the navigation buttons at the bottom of the page. Also, you can enter a number in the box, and then press Enter to go to the respective page.
| Name | Icon | Description |
|---|---|---|
| Next | Go to the next page | |
| Previous | Go to the previous page | |
| Last | Go to the last page | |
| First | Go to the first page |
Show or hide data
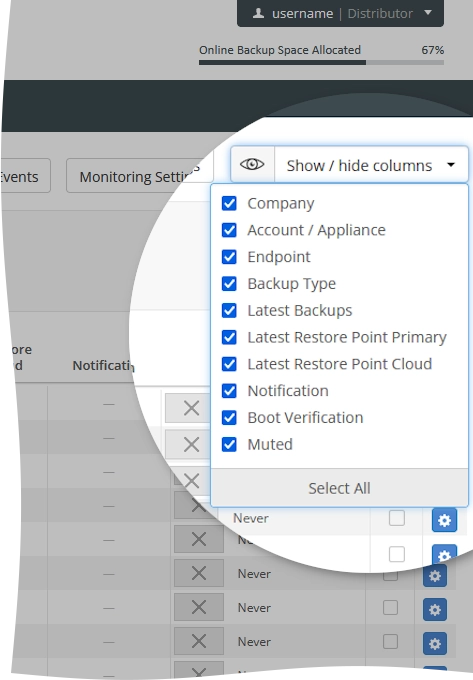
You can select what data to show on the page. For this, click Show / hide columns on the upper right, and then select or clear the columns you want to show or hide.
Sort data
You can sort data in the table in ascending or descending order by:
name of the company the appliance is registered under (Company),
name of the appliance (Account / Appliance),
name of the protected endpoint (Endpoint),
Latest Restore Point Primary,
Latest Restore Point Cloud, or
status of the boot verification (Boot Verification).
For this, click the name of the corresponding column.
Filter data
You can filter data in the table by:
Infrascale product (Product),
partner (Company/Reseller, for distributors only),
company (Company/Reseller, for distributors and partners),
name of the appliance (Account/Appliance),
name of the protected endpoint (System),
Indicator, and
type of the backup (Backup type).
For this, set the desired filters on the toolbar, and then click Apply.

To reset all filters at once, click Clear (![]() ) next to the filters on the toolbar.
) next to the filters on the toolbar.
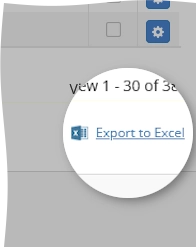
Export data
You can export all data (in all visible and hidden columns) in the table to an XLS spreadsheet. For this, click Export to Excel on the lower right, and then save the file with the exported data to the desired location.