
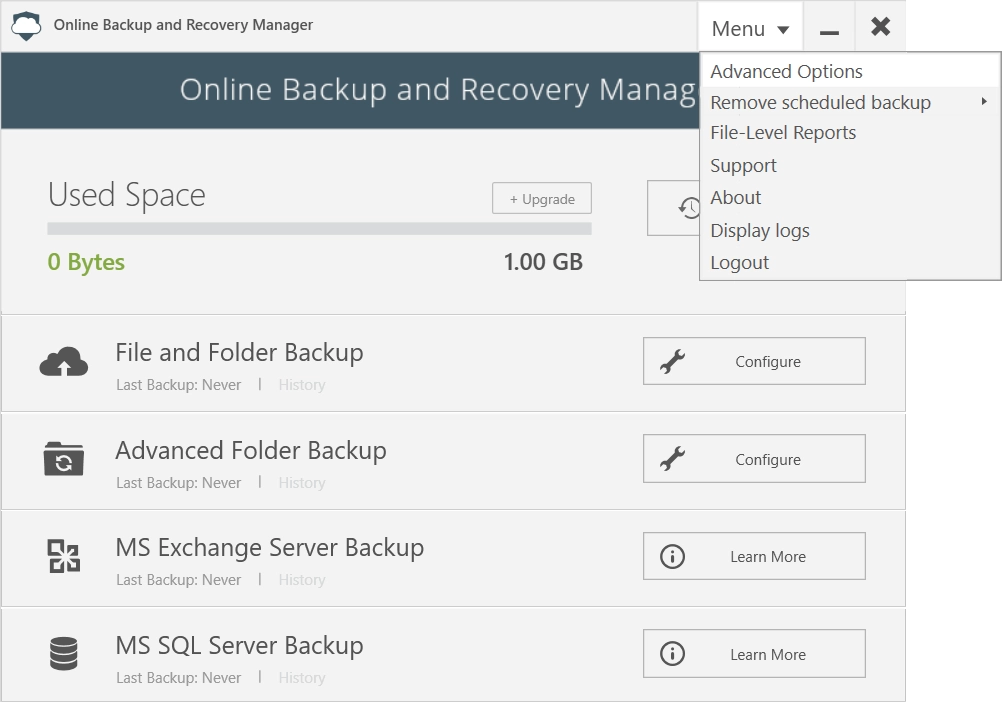
To access and configure the overall settings of Online Backup and Recovery Manager (OBRM), open OBRM, and then go to Menu › Advanced Options.
Set internet usage limits
To set the internet usage limits:
In OBRM, go to Menu › Advanced Options, and then select Internet Usage Limits.
To limit the network bandwidth allocated for OBRM to upload the backup data to the cloud, select Network Bandwidth Usage Limit, and set the preferred value.
Select Always Throttle to always limit the bandwidth.
Select Throttle Between, and set days and time to limit the bandwidth during the preferred time interval.
To limit the amount of backup data OBRM uploads to the cloud daily, select Daily Upload Limit, and then set the preferred value.
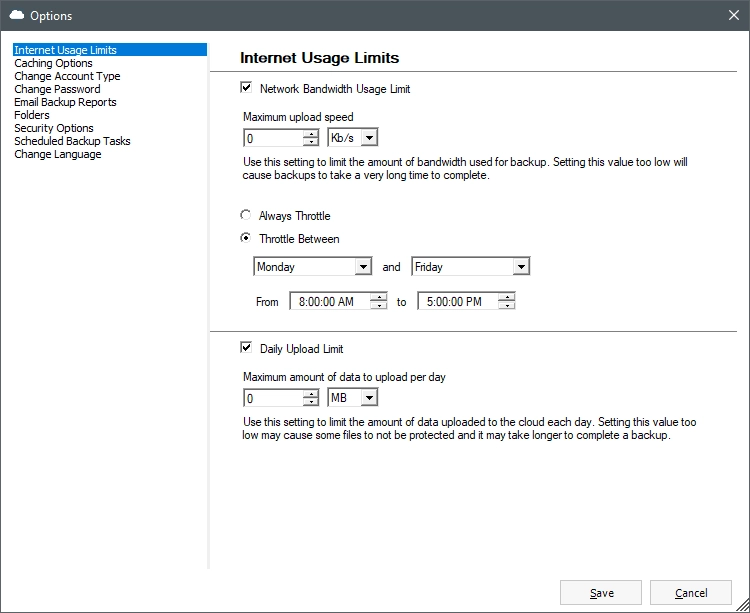
Click Save to apply changes.
Set caching options
When you are backing up over the internet—one of the biggest considerations is what data gets transferred. Obviously, if a file has not changed—it should not be backed up. The real issue is how files that have changed are treated. Online backup can be set up to transfer the whole file again, or transfer just 1’s and 0’s that have changed. The problem with this second approach, is that it requires that files be cached on your computer, which is why IntelliCache is the default. The application will intelligently determine which files to cache, meaning that the cache requirements on your machine are minimal.
To set the caching options:
In OBRM, go to Menu › Advanced Options, and then select Caching Options.
Select one of the available caching options:
- Retransfer Entire File
- No local cache. More data transferred. Has the smallest footprint.
- Use Binary Compression
- Caches every file locally (takes up space). Fastest backups.
- Use Online Backup IntelliCache
- Best of both worlds. Fast backups, small cache.
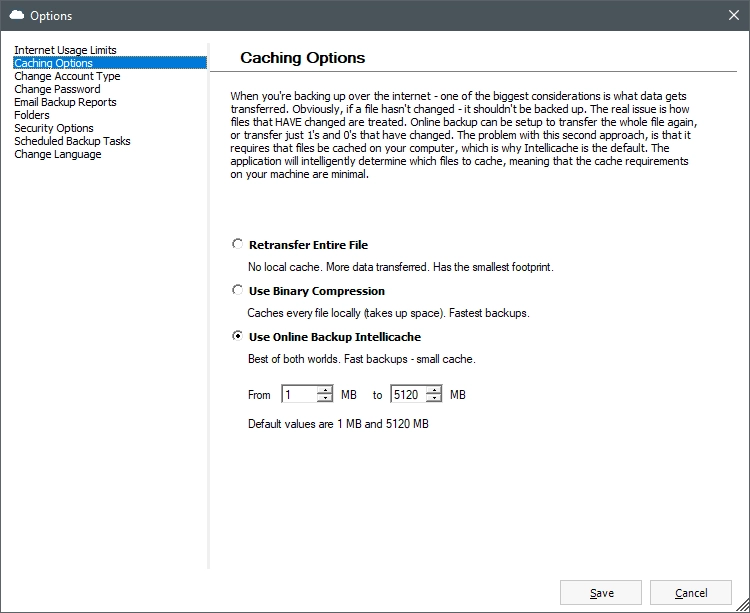
Click Save to apply changes.
Change account type
Before changing the account type, you have to delete all cloud data associated with the account. For this:
In OBRM, click View/Restore.
Right-click the computer name, and then click Delete.
After you delete the data from the cloud, change the account type as follows:
In OBRM, go to Menu › Advanced Options, and then select Change Account Type.
Select one of the available account types:
Regular account
Standard UltraSafe (managed encryption)
Setting your account to UltraSafe means that encryption keys for your account will be securely managed in the cloud making your password unrecoverable and disabling access by your admin (if applicable).
UltraSafe MAX (personal encryption)
UltraSafe MAX is recommended for truly sensitive data. A separate passphrase from your account passphrase will be used to generate a unique encryption key to protect and recover your data. UltraSafe MAX passphrases are unrecoverable and must be maintained by the user. UltraSafe MAX keys are never stored in the cloud and all access to data must be done through the Online Backup software. The UltraSafe MAX passphrase must be provided upon recovery. Only empty accounts can be converted to UltraSafe MAX.

Click Apply Changes.
Change account password
To change the account password:
In OBRM, go to Menu › Advanced Options, and then select Change Password.
Enter the current account password, a new password to set, and confirm the new password.
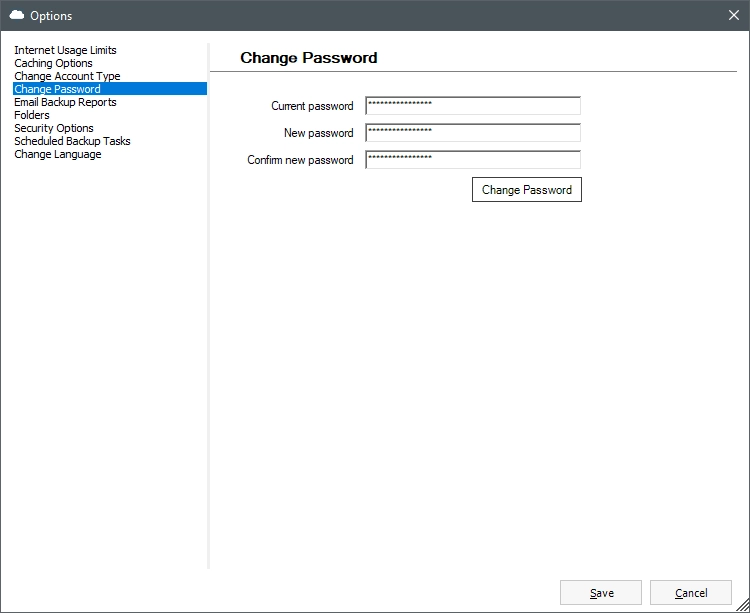
Click Change Password to apply changes.
Set email backup reports
The email backup report is sent when the online backup session completes. It is also sent if the online backup session was canceled in Online Backup and Recovery Manager.
The online backup session can be interrupted if the computer turns off, restarts, or goes into the sleep/standby mode. If the online backup session is interrupted, the backup report will not be sent.
To set the email backup reports:
In OBRM, go to Menu › Advanced Options, and then select Email Backup Reports.
Select Send email reports at the end of backup.
Enter an email address to send the reports to.
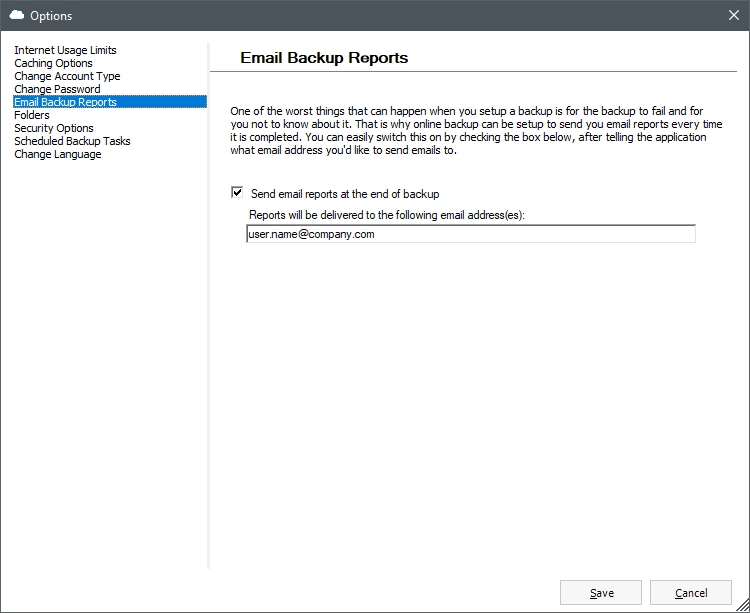
Click Save to apply changes.
The fastest way to verify that you can receive the email backup reports is to start the backup session and cancel it.
Set app folders
To set the default OBRM folders:
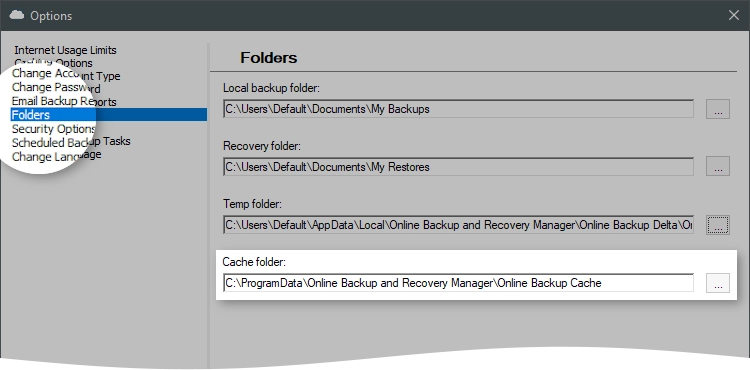
In OBRM, go to Menu › Advanced Options, and then select Folders.
Set the following folders:
Folder Description Local backup folder Used to store the data backed up locally Recovery folder Used to store the recovered data Temp folder Used to store temporary app data Cache folder Used to store the app cache 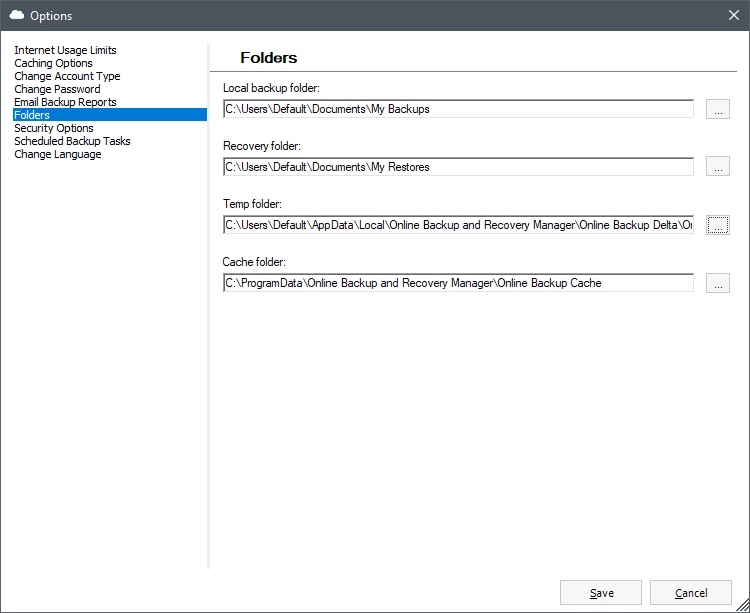
Click Save to apply changes.
Change security options
In OBRM, go to Menu › Advanced Options, and then select Security Options.
Choose if you want OBRM to use SSL or not.
Encryption is based on 256-bit AES and protects your files before they are transferred to cloud, ensuring your data is completely private. To further increase security during transfer, we recommend using SSL.
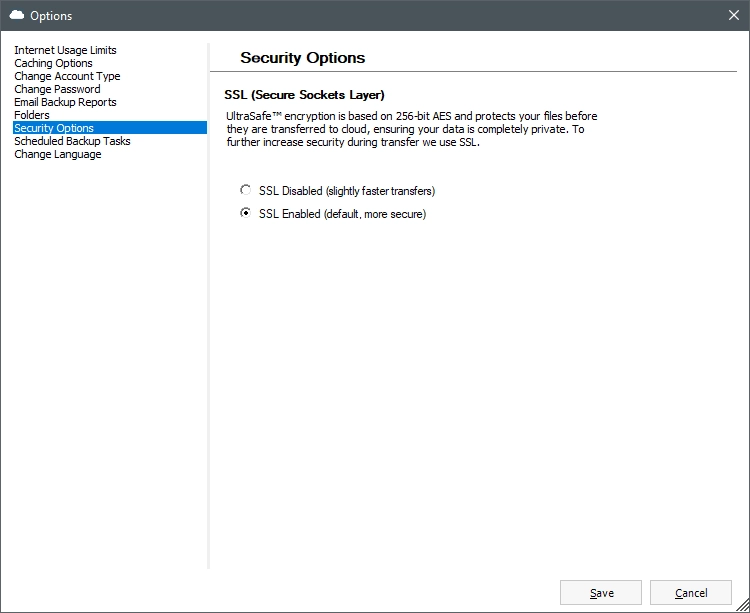
Click Save to apply changes.
Change scheduled task options
To change the options for the scheduled backup tasks:
In OBRM, go to Menu › Advanced Options, and then select Scheduled Backup Tasks.
Select or clear the following:
Run a task as soon as possible after a scheduled start was missed
Wake the computer to start a task
Start a task only if the computer is on AC power
Pause a task in progress if the computer switches to the battery power
If you change these settings, they will apply only to the newly created tasks. To apply changes to the existing tasks, you have to configure those tasks again.
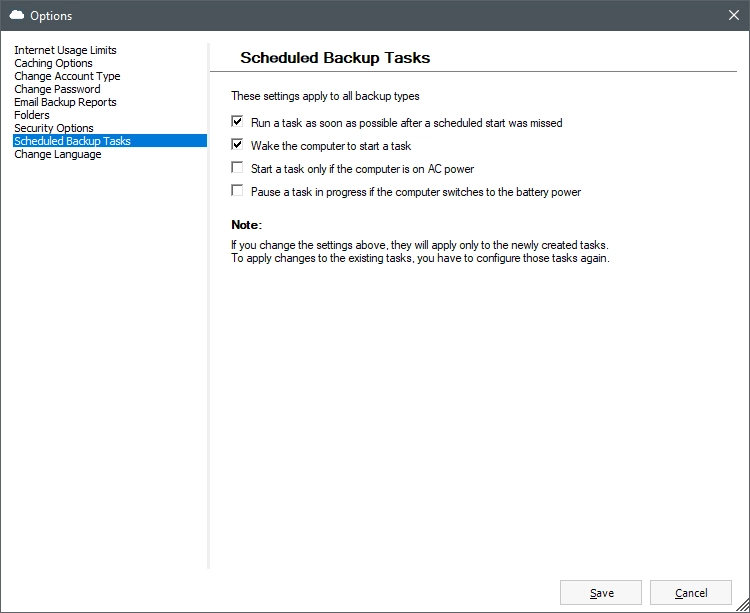
Click Save to apply changes.
Change app language
To change the app language:
In OBRM, go to Menu › Advanced Options, and then select Change Language.
From the drop-down list, select the preferred language.
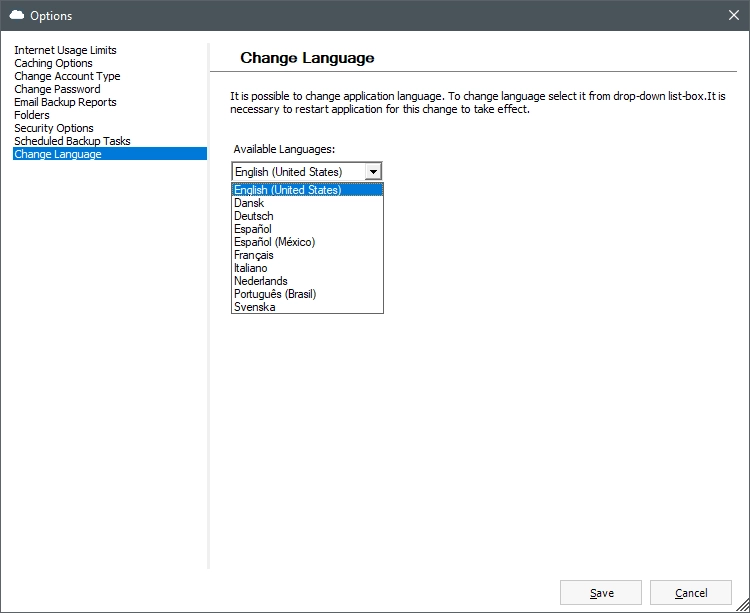
Click Save, and then restart OBRM for changes to take effect.
Save settings when uninstalling and installing again
To save configuration (caching options, app cache, backup set, and so on) when uninstalling OBRM and installing it again:
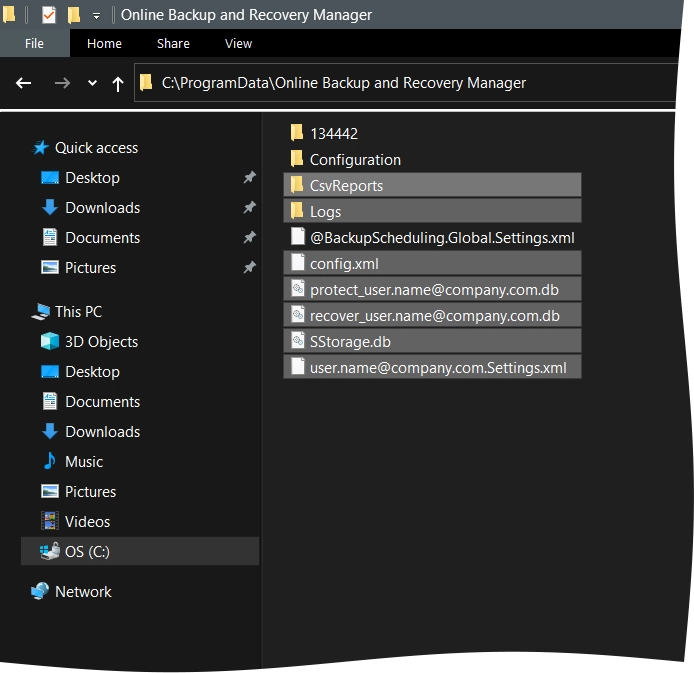
Go to the OBRM data folder (for example,
C:ProgramDataOnline Backup and Recovery Manager).Copy the following files and folders to a temporary location:
CsvReportsLogsconfig.xmlprotect_[username].dbrecover_[username].dbSStorage.db[username].Settings.xml
Copy the cache folder to a temporary location:
Open OBRM, go to Menu › Advanced Options, and then click Folders.
Note the cache folder location.
Copy the cache folder to a temporary location.
After you uninstall OBRM and install it again:
Move the files and folders copied earlier back to the OBRM data folder (for example,
C:ProgramDataOnline Backup and Recovery Manager).Move the cache folder copied earlier back to its previous location.