
These instructions use Shrew Soft VPN Client (Standard edition) for Windows as an example. If you use another VPN client, or another operating system, the routine may differ somewhat.
In the Infrascale Dashboard, go to Disaster Recovery › Hybrid Cloud Status.
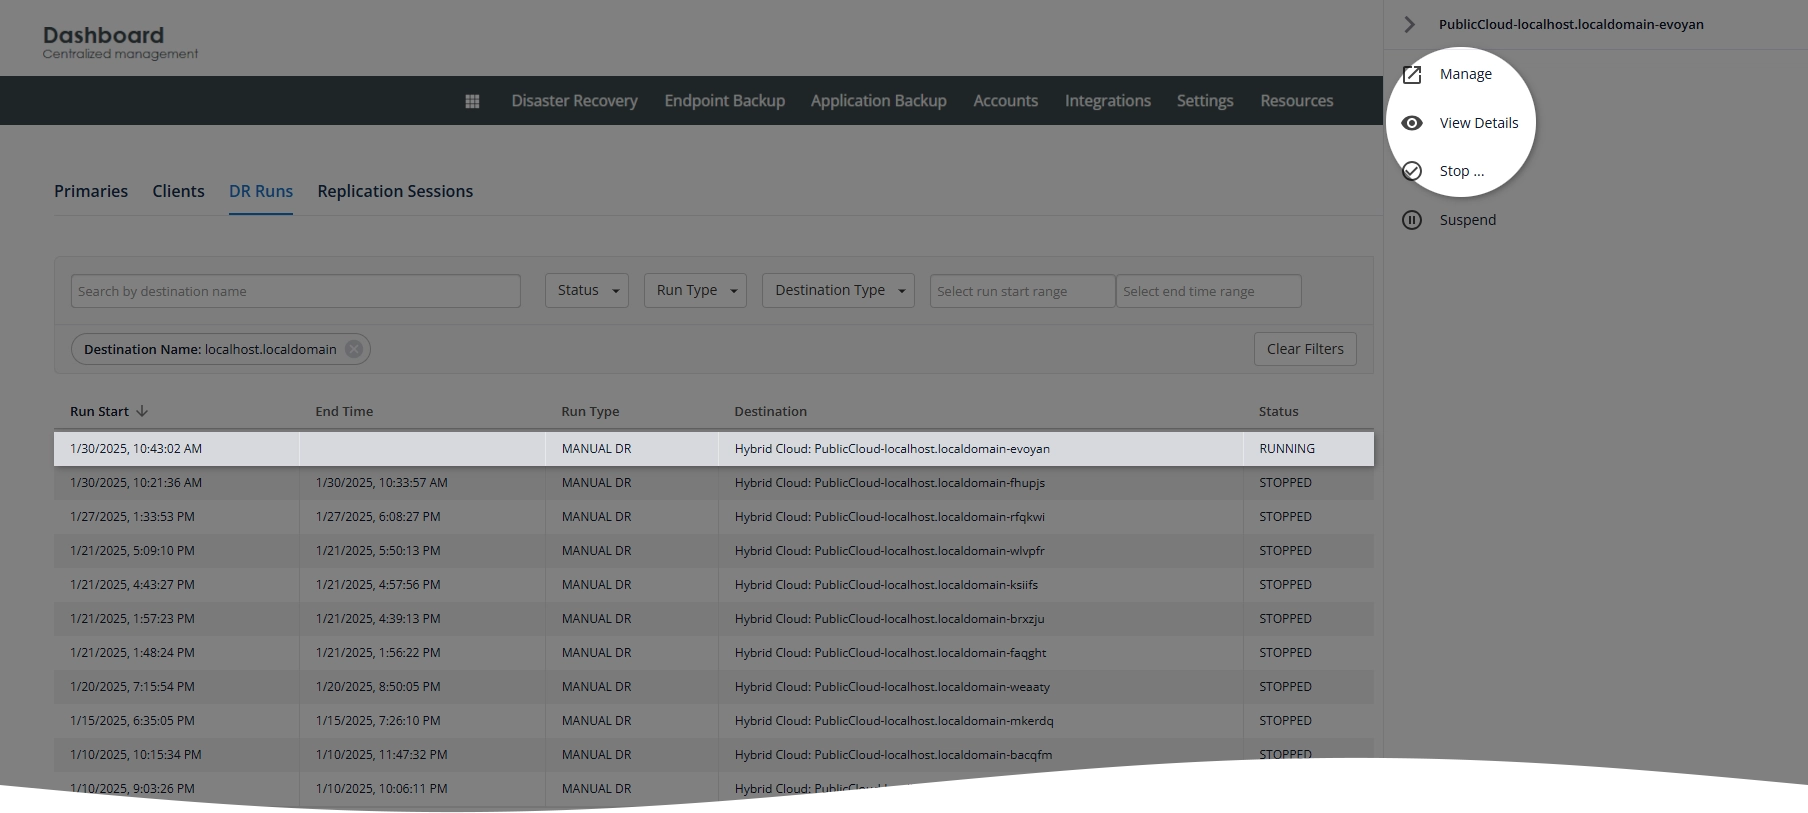
On the DR Runs tab, find and click a DR run you need to connect to, then click View Details in the left pane that opens.
The DR run must be booted, that is – must have the RUNNING status (see the Status column).
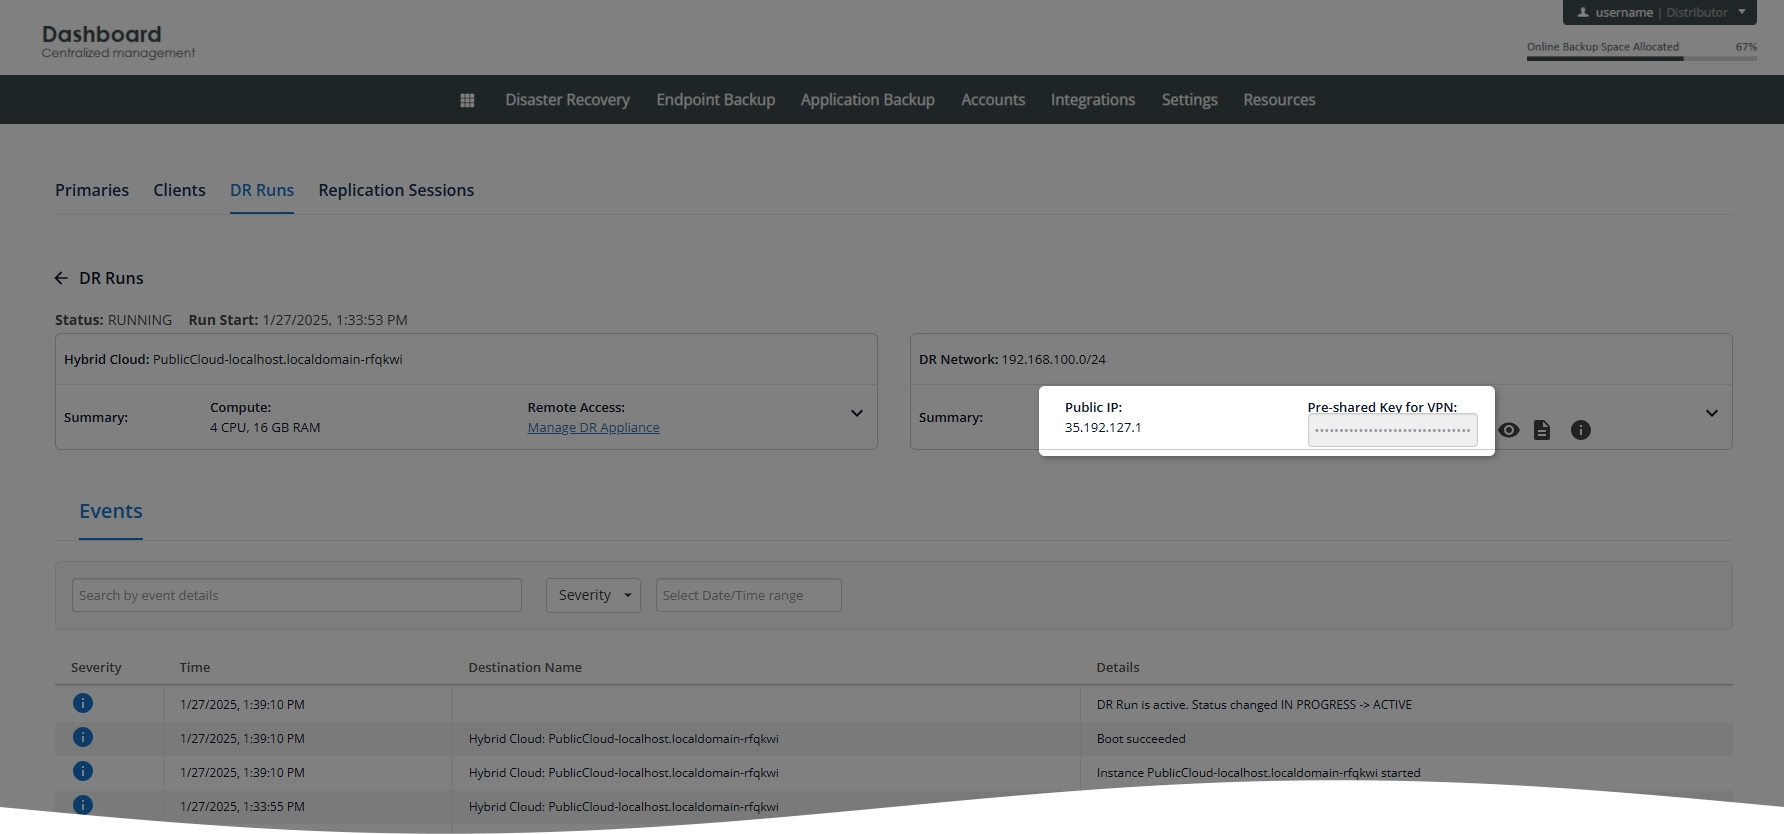
On the right side of the DR run details page, note Public IP and Pre-shared Key for VPN – these will be used later to establish the VPN connection.
Download and install the VPN client.
Open the VPN client (VPN Access Manager), and click Add (or Edit › Add).
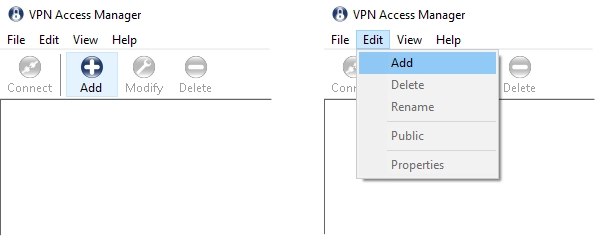
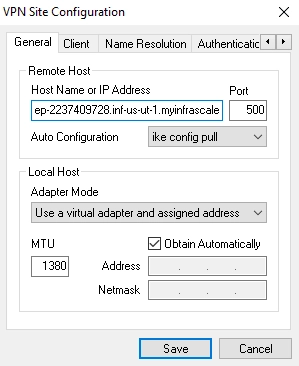
The VPN Site Configuration dialog box opens.
On the General tab, in the Host Name or IP Address box, enter the public IP address you have noted in the DR run details page.
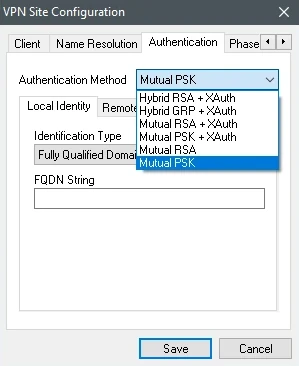
On the Authentication tab:
In the Authentication Method drop-down list, select Mutual PSK.
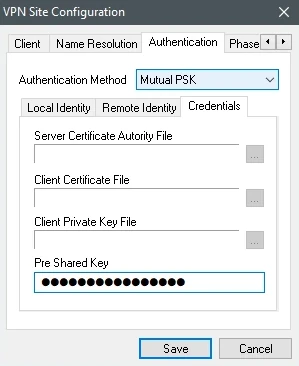
On the Credentials subtab, in the Pre Shared Key box, enter the pre-shared key for VPN you have noted on the DR run details page.
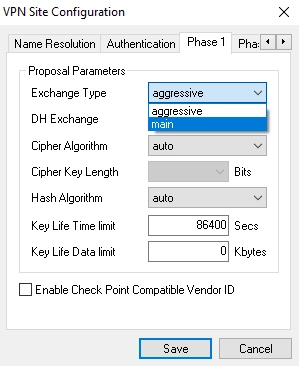
On the Phase 1 tab, in the Exchange Type drop-down list, select main.
Click Save to apply changes.
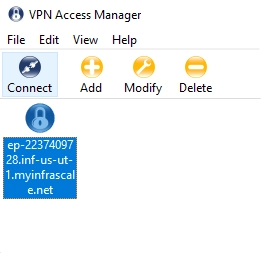
Select the newly created configuration, and then click Connect.
The VPN Connect dialog box opens.
On the Connect tab, click Connect to establish the VPN connection.

The VPN client will show
tunnel openedafter it establishes the connection successfully.