
Introduction
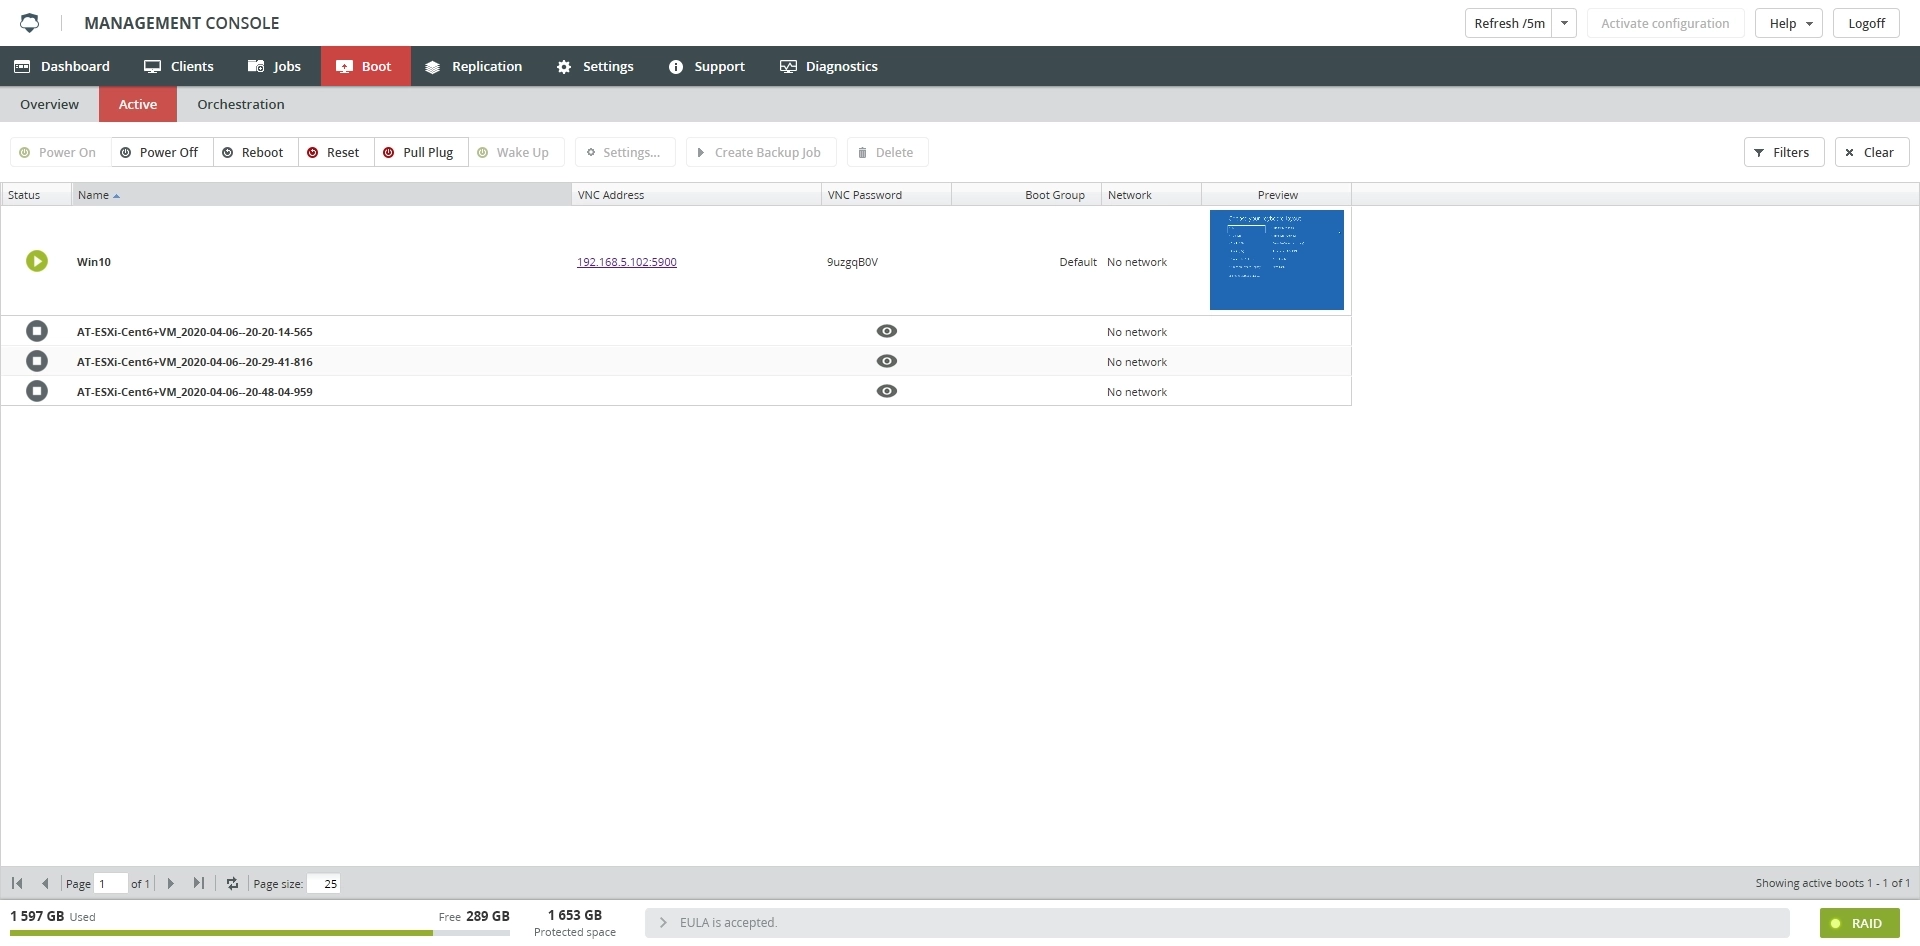
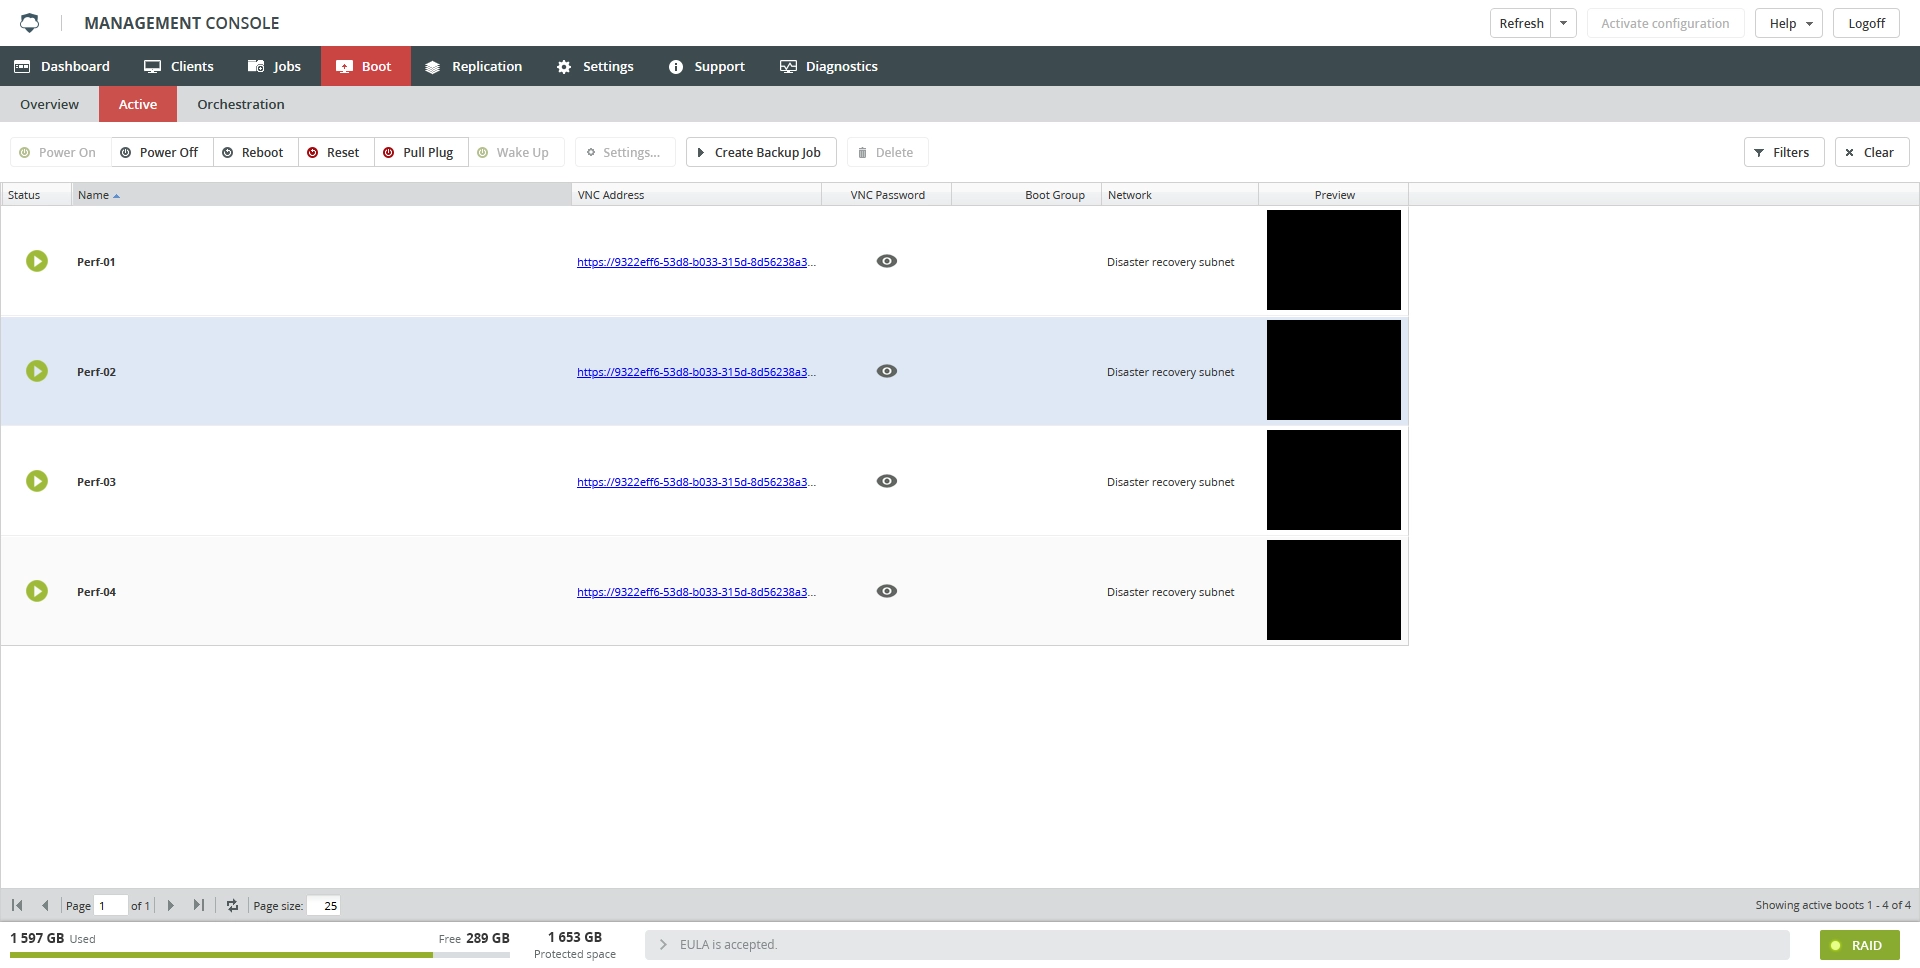
The Active subtab lists virtual machines (VMs) currently booted on the Backup & Disaster Recovery appliance.
Information
The Active subtab shows information in the table format with the following columns:
| Column | Description |
|---|---|
| Status | Current status of the VM |
| Name | Name of the VM |
| Job Id | ID of the backup job, from which the VM was booted |
| UUID | Unique identifier of the VM |
| VNC Address | VNC address to access the booted VM |
| VNC Password | VNC password to access the booted VM |
| VNC Keymap | Keyboard mapping used within VNC console. Default is English US. |
| VM uptime | Amount of time the VM has been running and available |
| Boot Group | Name of the boot group, to which the VM belongs |
| Network | Network interface used by the VM |
| Preview | Preview thumbnail of the booted VM |
Actions
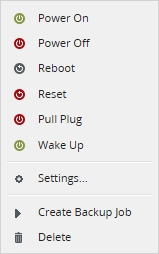
All actions on the Active subtab are available:
on the toolbar, and

in the context menu of a virtual machine.
| Action | Description |
|---|---|
| Power On | Boot VM |
| Power Off | Shut down VM |
| Reboot | Restart VM |
| Reset | Force restart VM without the guest operating system warning (can result in data loss). Use if guest operating system is not responding. |
| Pull Plug | Force shutdown VM without the guest operating system warning (can result in data loss). Use if guest operating system is not responding. |
| Wake Up | |
| Settings | View VM boot settings |
| Create Backup Job | Create a backup job from the current VM state 1. The job can then be restored or archived as usual. Note that while backup is in progress, you cannot edit VM settings, perform power management operations, start another backup of the VM, or delete VM. |
| Delete | Delete the current state of the VM and remove it from the tab |
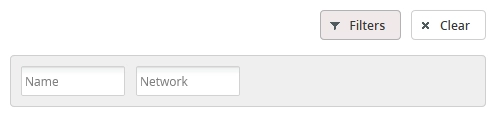
Filtering
You can refine the list of virtual machines using filters.
To show all filters available on the Active subtab, click Filters on the toolbar.
Interact with booted virtual machine
You can interact with a VM booted on appliance by means of VNC using either a browser-based VNC viewer or the VNC client software.
The system does not support file transferring to or from a booted VM over the VNC connection.
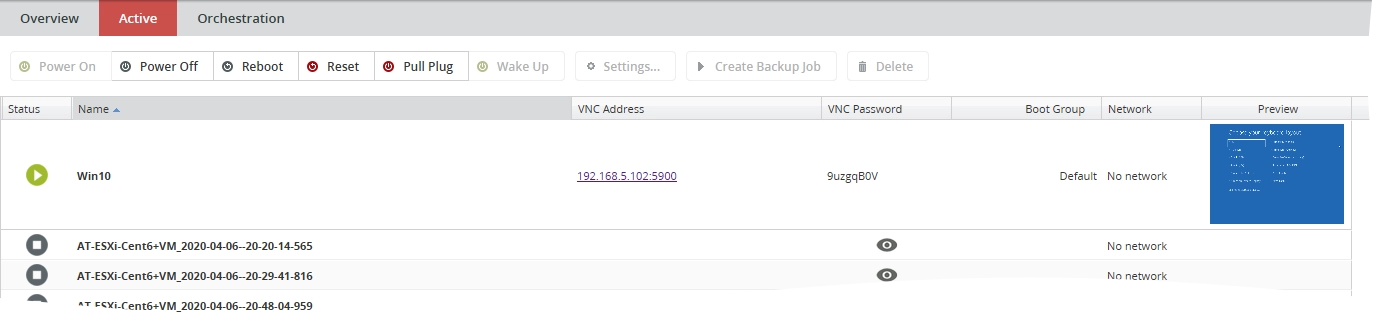
Using a browser-based VNC viewer
To connect to a booted VM using the browser-based VNC viewer:
click the boot detection screenshot in the Preview column, or
click the address link in the VNC Address column.
Using the VNC client software
These instructions use TightVNC for Windows as an example VNC viewer. If you use another VNC software, or another operating system, the routine may differ somewhat.
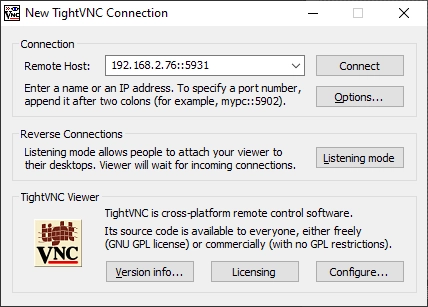
Run TightVNC Viewer.
In the New TightVNC Connection window:
In the Remote Host box, enter the IP address (or the host name) of the appliance where the VM is booted, and the port to use for connection, in the format
ip::port.If you connect to a VM booted on the primary (local) appliance, you can find both the IP address (or the host name) and the port on the Active subtab (the VNC Address column).
If you connect to a VM booted on the secondary (cloud) appliance, only the port is shown on the Active subtab (the VNC Address column). To get the address of appliance (in the format
ep-XXX.inf-YYY.myinfrascale.net), please contact Infrascale Support.Click Connect.
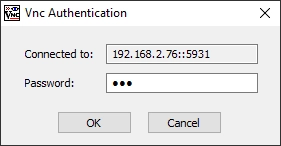
In the VNC Authentication window, enter the password for VNC connection.
You can find the password for VNC connection on the Active subtab (the VNC Password column).
Connect to booted virtual machine from Dashboard
You can connect to and interact with a VM booted on the secondary (cloud) appliance from the Dashboard using the secured and encrypted web-based VNC connection. For this:
Sign in to your account in the Dashboard.
Go to Disaster Recovery › Site Summary.
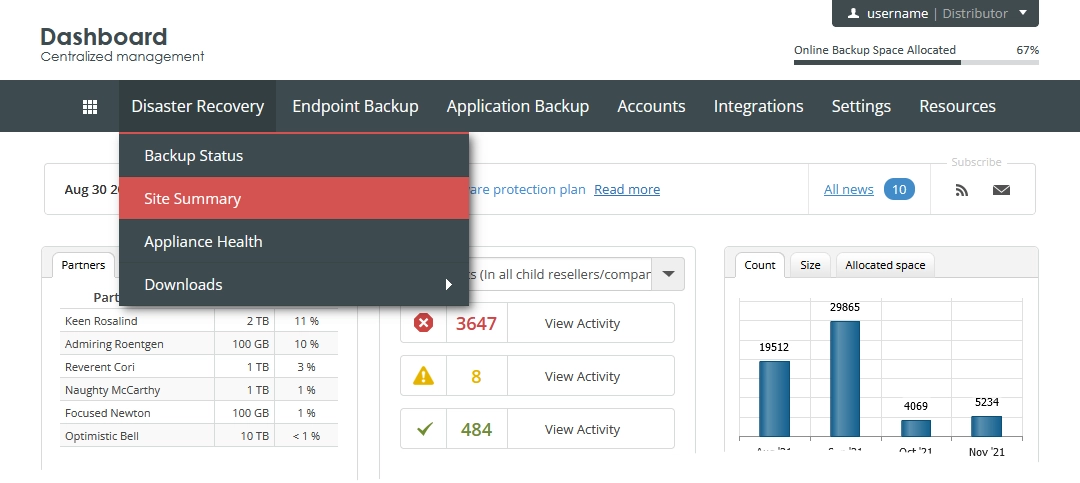
The consolidated appliances page opens.
In the list of appliances, find the one you want to connect to.
Click Actions (
 ) in the last column of the appliance record, and then click Manage Cloud.
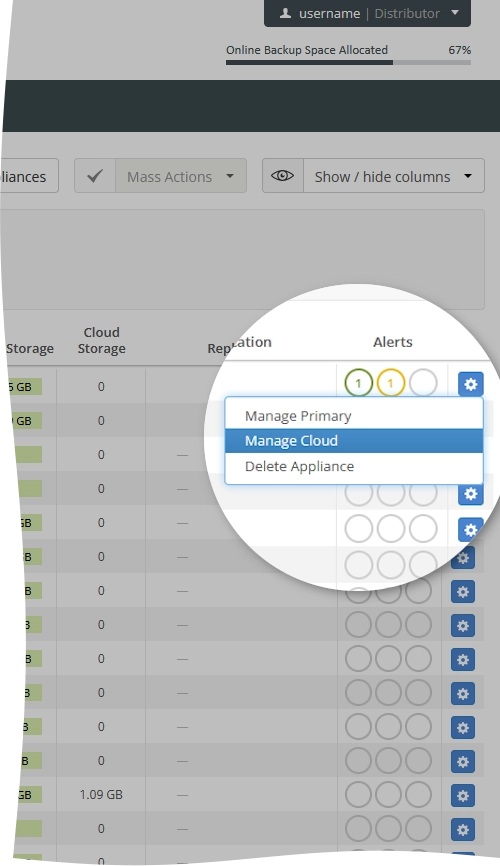
The appliance Management Console opens.
In the appliance Management Console, go to Boot › Active.
To connect to booted VM:
click the boot detection screenshot in the Preview column, or
click URL address in the VNC Address column.
URL address of the running VM contains a special session token. The system generates new token each time you go to the Active subtab. Token is valid only for three minutes. After that, token expires, and URL address becomes not valid. To renew the URL address, click Refresh on the upper right.
Backup jobs created from the Boot tab cannot be archived with the dehydrated archive option. ↩