Configure monitoring of Backup & Disaster Recovery appliances in the Dashboard
Overview
| Sensor | Description |
|---|---|
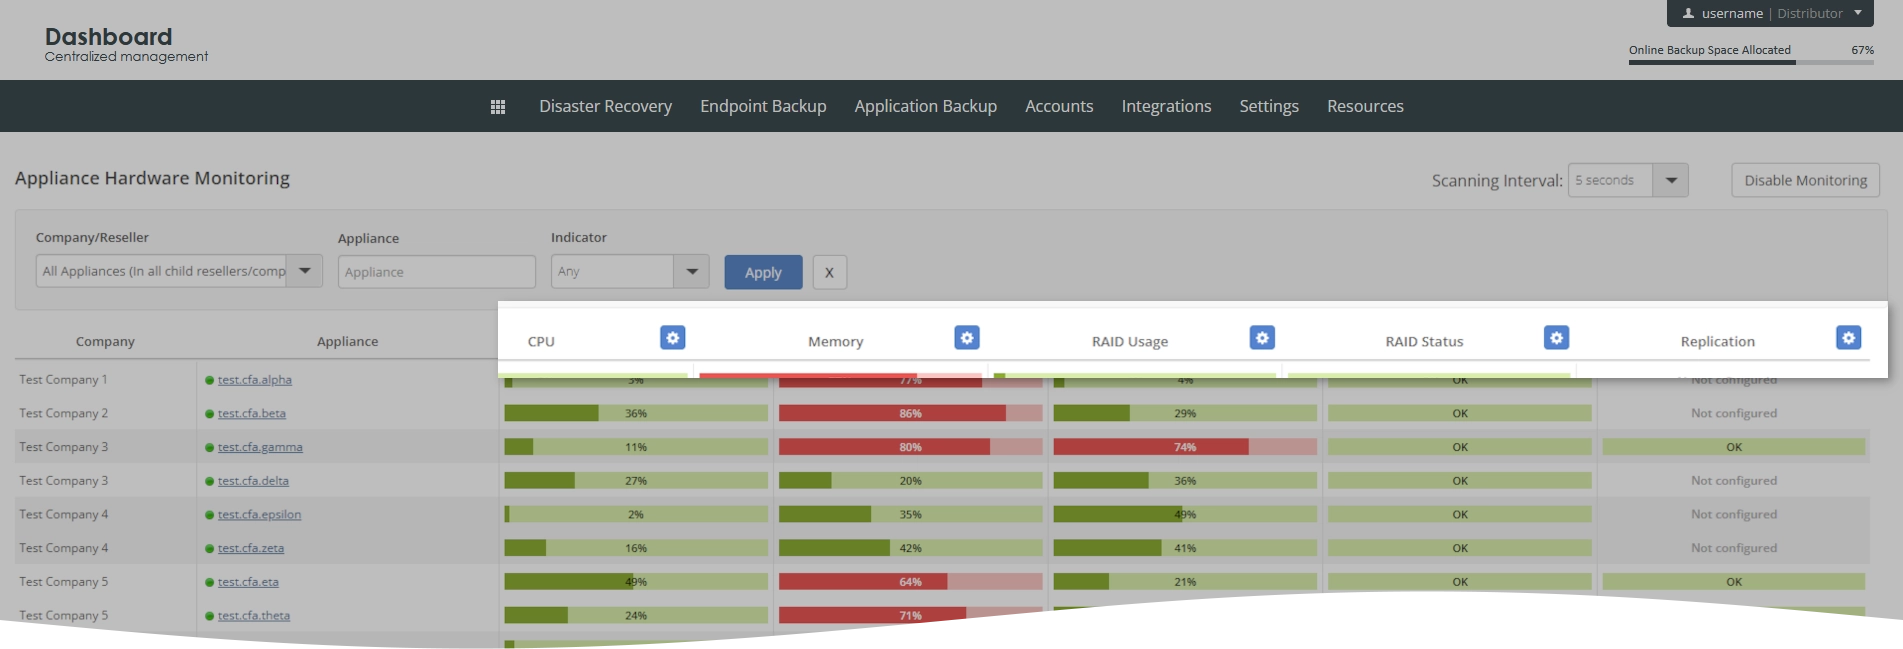
| CPU | Monitors overall CPU utilization percentage on each appliance in your company and all sub-companies with frequency defined by scanning interval |
| Memory | Monitors Memory usage as percentage ratio of used amount of memory to total memory size on each appliance in your company and all sub-companies with frequency defined by scanning interval |
| RAID Usage | Monitors RAID Storage usage as percentage ratio of used disk space to total space on each appliance in your company and all sub-companies with frequency defined by scanning interval |
| RAID Status | Monitors RAID Storage health using RAID status on each appliance in your company and all sub-companies with frequency defined by scanning interval |
| Replication | Monitors replication process using status on each appliance in your company and all sub-companies where replication enabled with frequency defined by scanning interval |
Access sensor configuration
To access and configure a sensor:
Sign in to your account in the Dashboard.
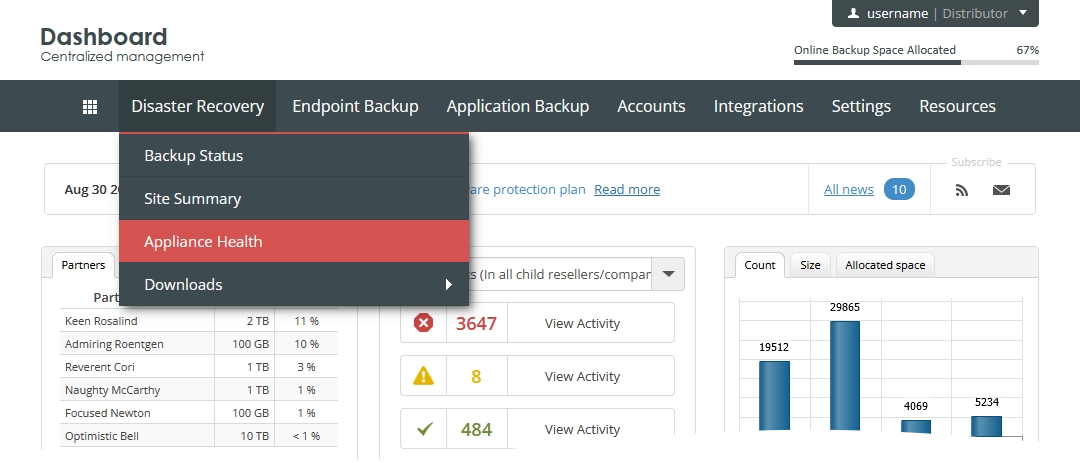
Go to Disaster Recovery › Appliance Health.

Appliance monitoring page opens.
Click Configure (
) next to the sensor you want to configure.

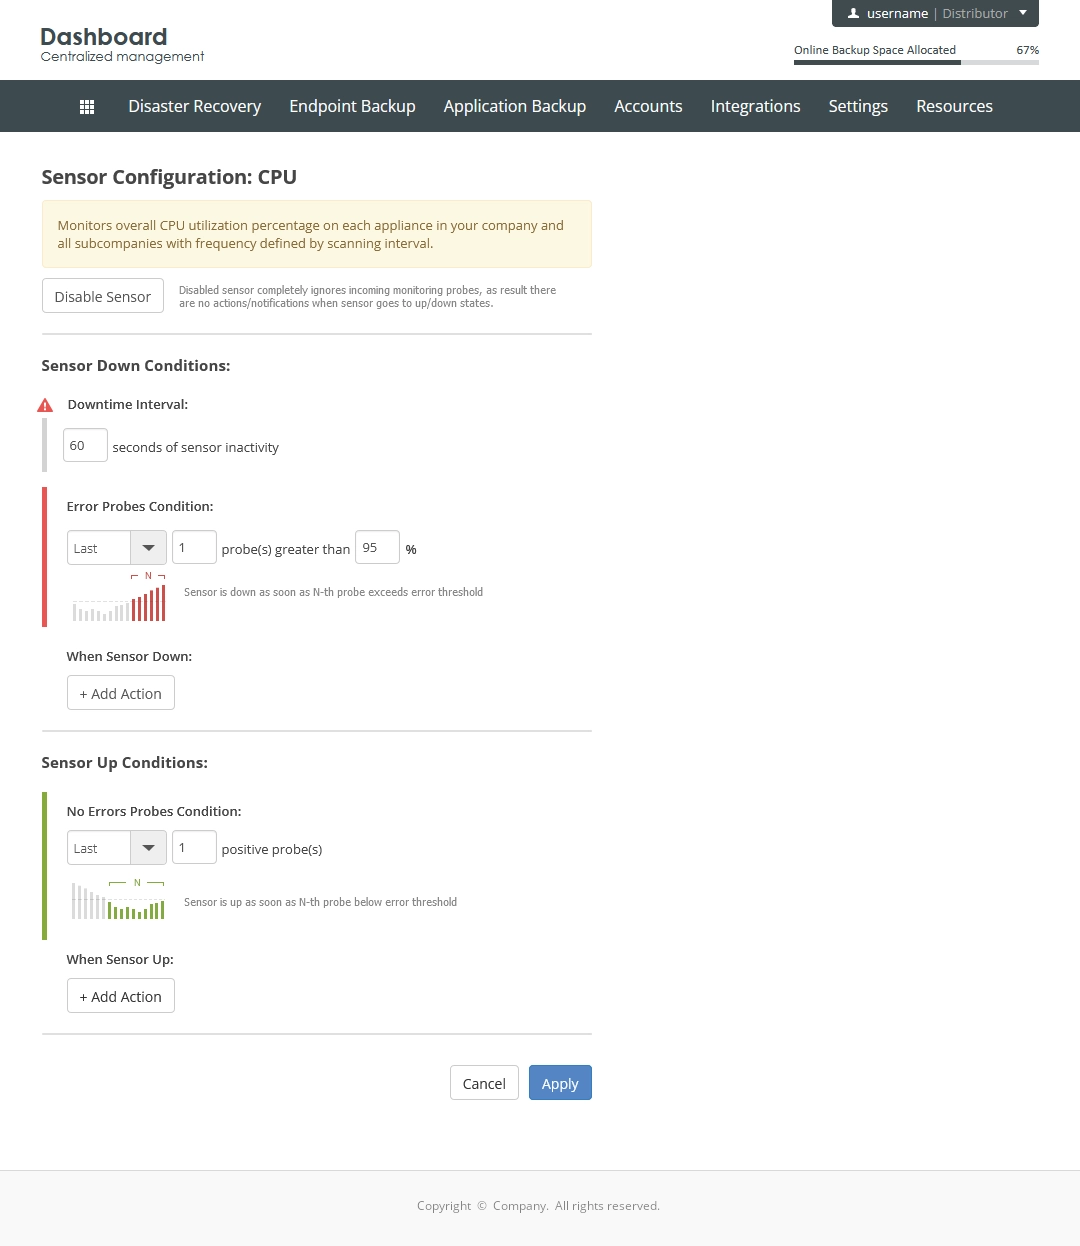
The sensor configuration page opens.

Configure the sensor up and down conditions, and then click Apply to save the changes.
To discard the changes and to return to the appliance monitoring page, click Cancel.
Turn off sensors
You can turn off and on each of the available sensors independently.
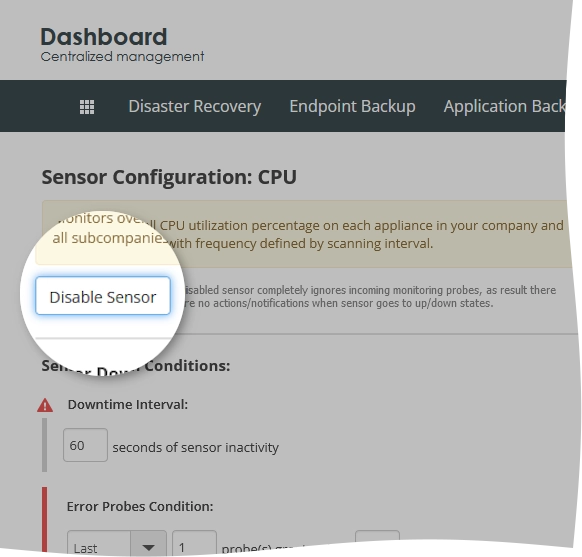
A disabled sensor completely ignores the incoming monitoring probes, and thus there are no actions or notifications when the sensor goes up or down.
To turn off a sensor, click Disable Sensor on the corresponding sensor configuration page.

